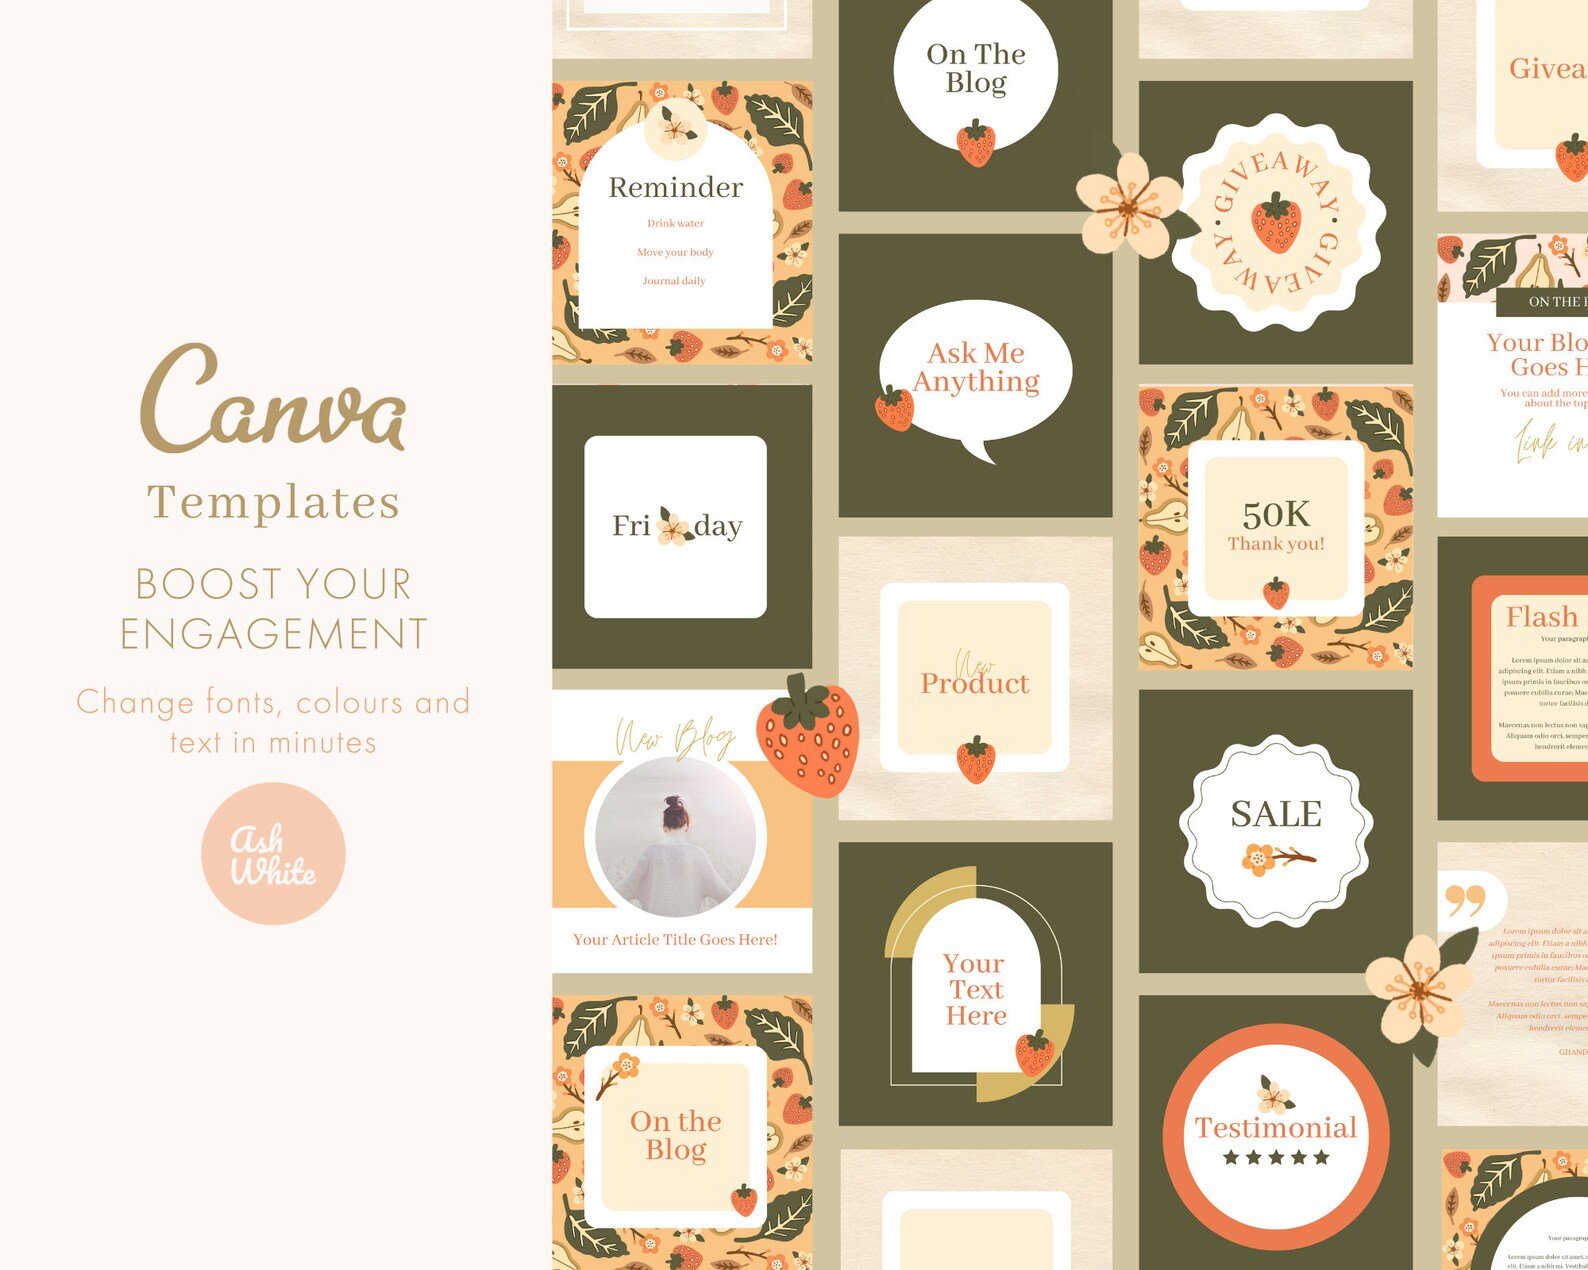
It’s easy to create aesthetic Canva templates for Instagram to sell on your platform of choice and promote on your social media, let me show you how!
Read More
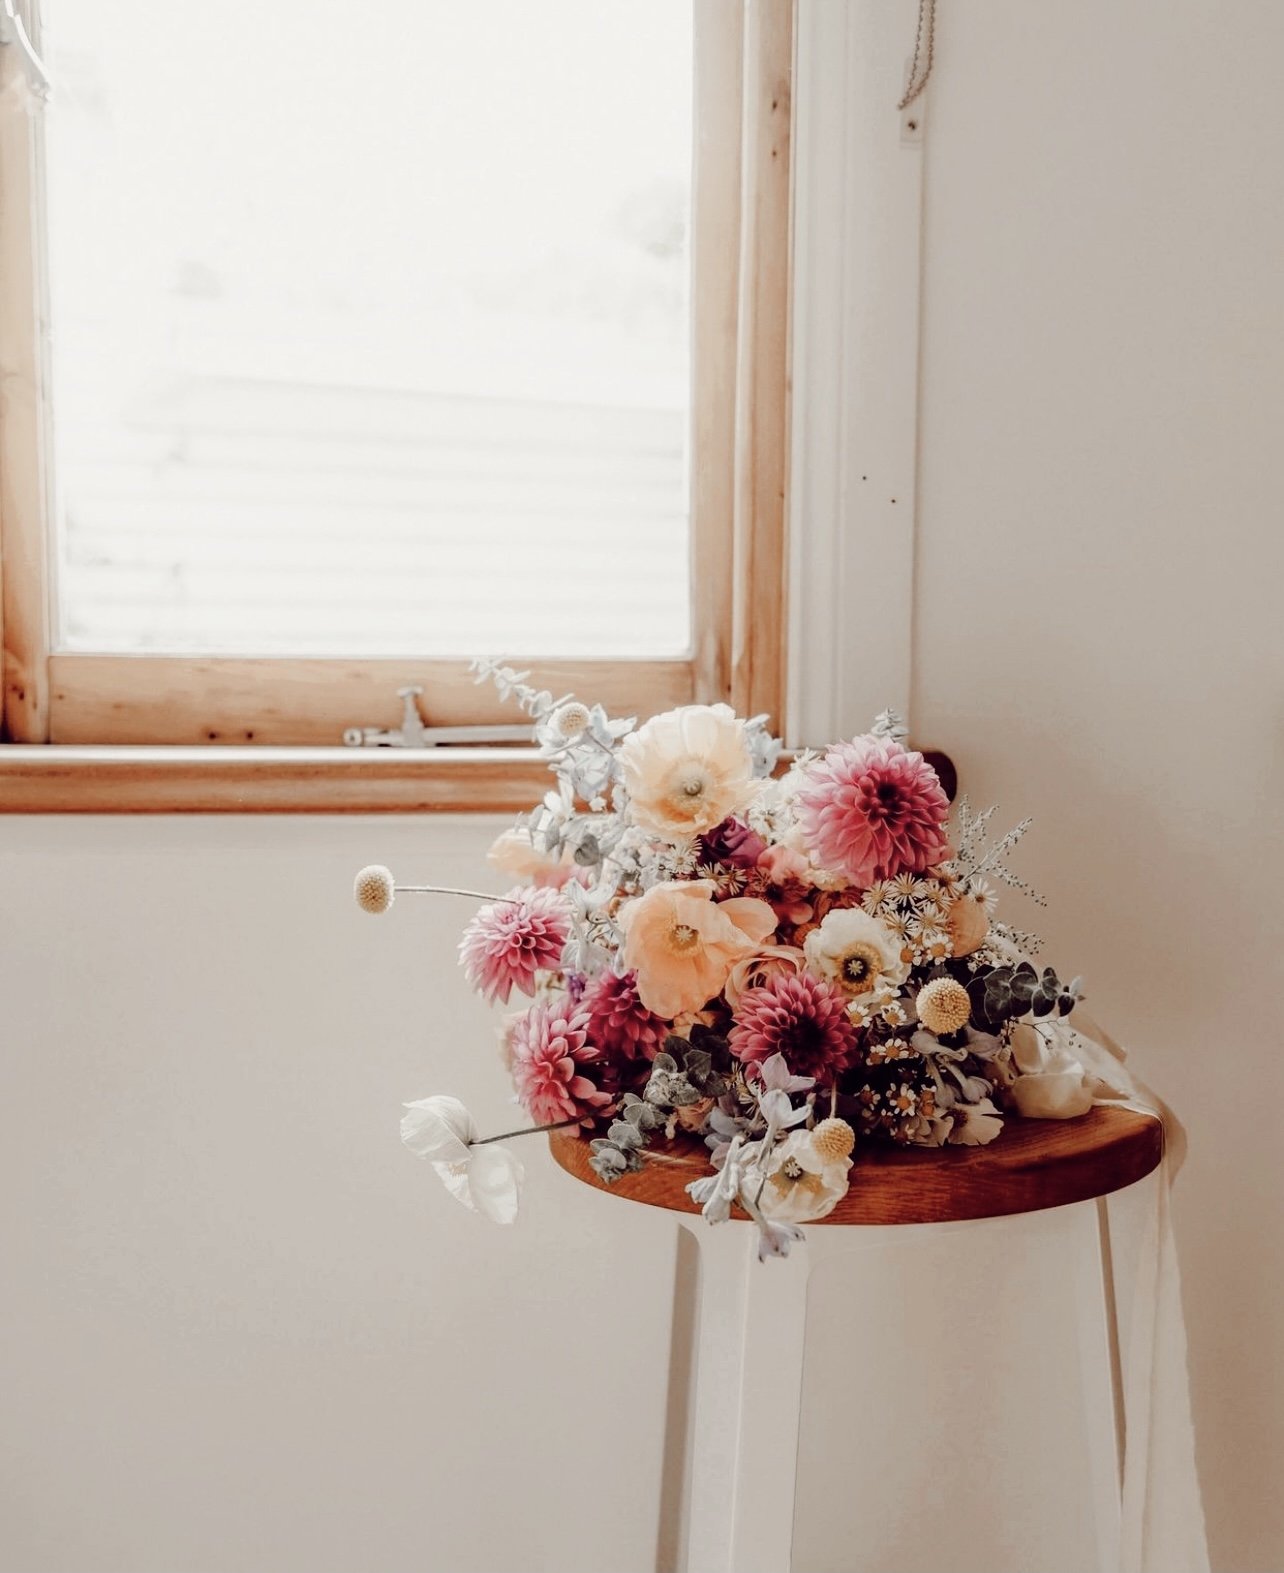
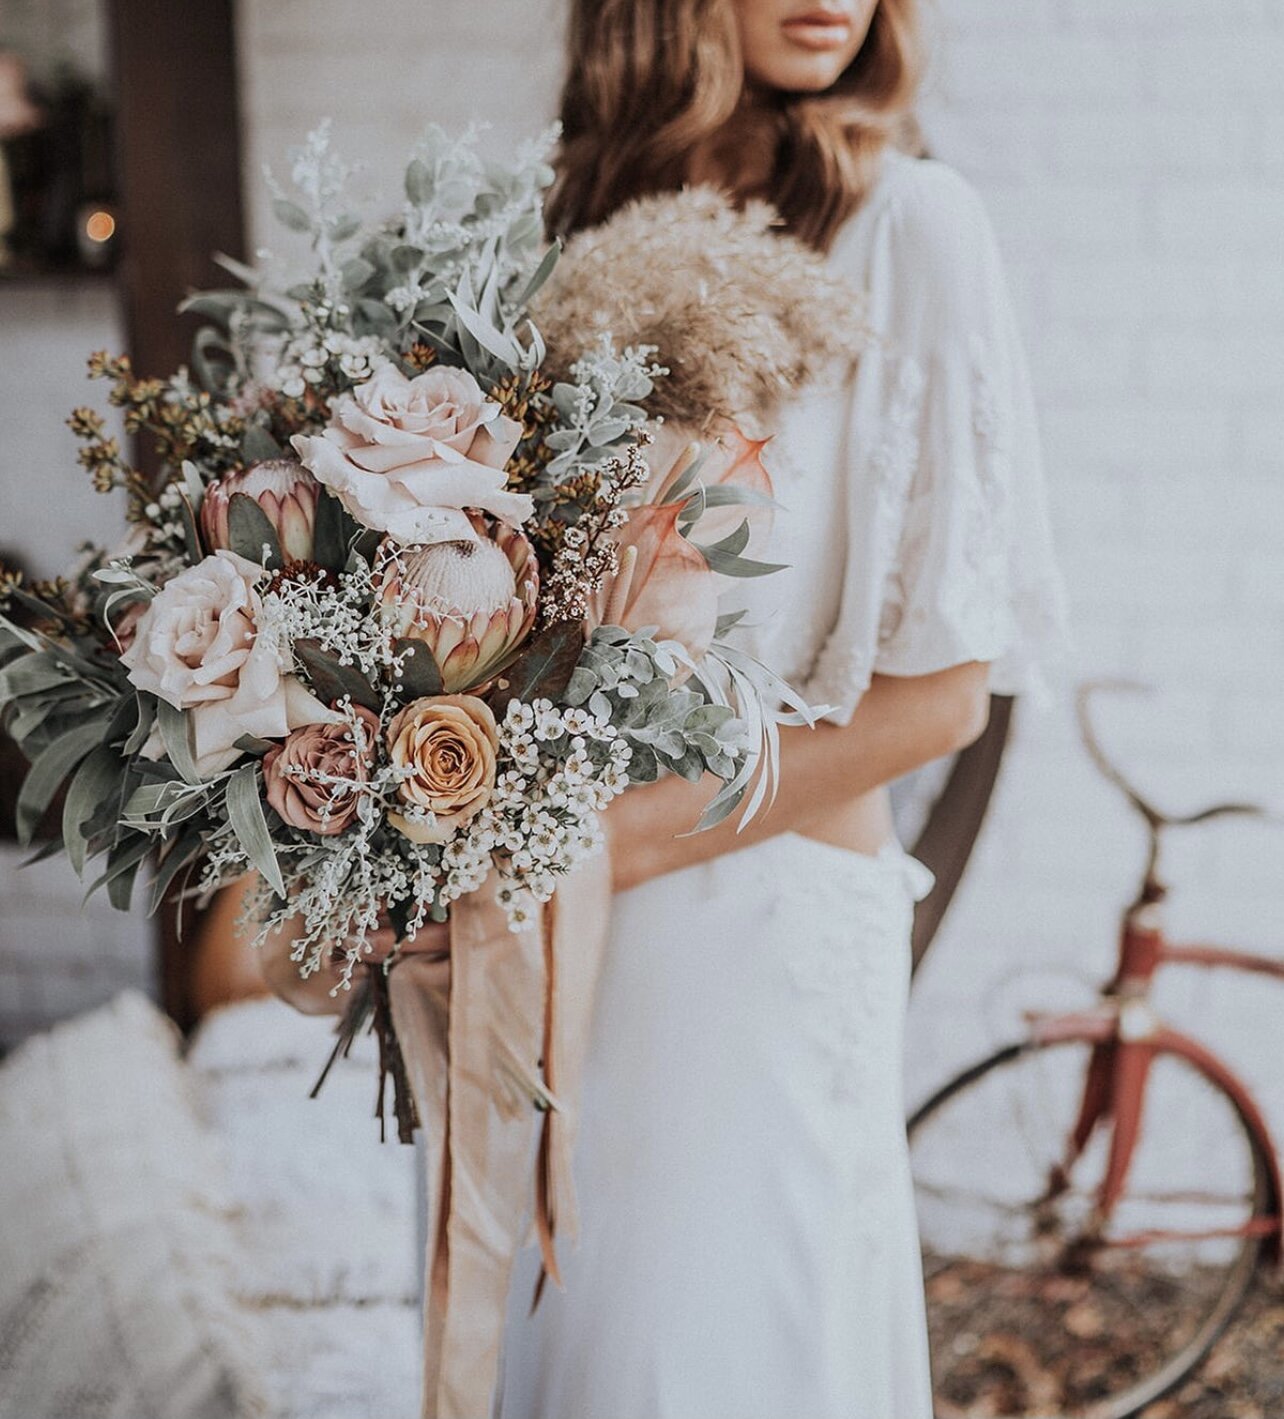
Bonnie Dowie, Floral Designer, Port Wilunga, South Australia

Tell us about yourself and what you do?
I’m Bonnie, a florist from Willunga, South Australia. I’ve been running my little business, Bonnie Blooms, for about a year and a half. I work with seasonal, locally grown flowers and strive to operate in a sustainable/eco-friendly way. My main focus is wedding florals, but I also do the occasional special order, and weekly bunches for a local café. I’ve always been drawn to things of beauty, especially in nature. I try to work with flowers as ‘gently’ as possible…observing the way they grow in nature and arranging them in a way that doesn’t feel forced or contrived. My aim is to celebrate nature’s inherent beauty whilst bringing joy to those who receive my flowers.
How did Bonnie Blooms start?
I was working in Scotland as a wool roller (roustabout or shedhand in Aussie terms), and on my days off I’d go for walks through meadows and down country lanes, gathering wildflowers as I went. I fell in love with the simple joy it brought me. When I got back to Australia, I kept up my foraging/flower gathering adventures. In need of work/income, I posted photos on Facebook of some of my bunches around Christmas time, and asked if anyone would like to place an order. I had a good response…and it wasn’t too long before I found myself registering a business name! A huge help in getting my business off the ground was the NEIS program (New Enterprise Initiative Scheme). This is a government funded program helping small businesses get established by offering a 10-week training course where you put together a detailed business plan. Once your plan is approved, you have access to 10 months of income support, plus quarterly meetings with a business mentor. (Highly recommend for anyone out there wanting to start a business!)

What kind of flower brings you the most joy?
It’s almost impossible to pick a favourite flower…it often changes for me! But some of my favourites are Forget Me Nots, Japanese Anemones, and old English/garden variety roses.
What’s your creative process?
Within my business, my creative process often begins with the first few interactions I have with my clients. I listen to their vision and ideas, view their inspiration pictures, and ask clarifying questions. I spend a lot of time just thinking/visualising things in my head. It often helps me to get things out on paper, whether that’s writing down the client’s main ideas on colours and vibe, or sketching out an idea for an installation. A lot of my creative process with flowers really gets going at the markets and all the other places I gather flowers. Much of it is intuitive – picking colours and varieties I think will go well together and create a cohesive look. After hours or days of flower prep (depending on the size of a wedding), I start the designing. Usually I’ve made sure my flower studio/bedroom/living space (all-in-one!) is relatively tidy to begin with. I’ll put on a podcast or music, or sometimes just enjoy the silence, and begin quietly creating. I often don’t quite know how things will turn out until they’re done…I just let the flowers do a lot of the speaking! A challenge I seem to constantly encounter in my creative process is questioning and doubting myself towards the end of getting something finished. Often, I start out confident, but by the end of a bridal bouquet think I’ll have to throw it away and start again. I’ve learnt at these points to step away for a bit, get something to eat, have another cup of tea, and come back to it later with fresh eyes. And also, to remind myself that others won’t look at things with as critical an eye as my own!

A fun fact about yourself?
I love creating spaces and events that bring people together and create a sense of community. And I get PARTICULARLY excited about helping people find their spouses! Through Jolly Good Events (old fashioned town hall dance fundraisers), 3 couples have met and married. I even recently ran a Christian speed dating event which was quite a hoot!
When or how do you feel most inspired to create?
When there’s afternoon or morning light streaming through my studio windows, soft music is playing, flowers are prepped, I’ve got a warm cup of tea or coffee and I’ve had enough sleep (rare).
How would you describe your aesthetic?
Nature-inspired, whimsical, joyous, perfectly imperfect.
If you could choose any vocation in the world (aside from floristry) which would you choose?
Not an official vocation but I’d love to create community gathering spaces where art, creativity, dance, seasonal food and fun happens, bringing people together and combatting loneliness in towns and cities all across the world. :)

What do you like to do in your spare time?
Be with my people. Give me a good friend or two, a cup of coffee, maybe a slice of cake, deep conversation, laughter, and I’m one happy girl. Add in a botanic garden, a beach or some other beautiful piece of nature and I’m a VERY happy girl. Take me on an adventure with my people and gosh, I just might explode. Also…family, especially nieces and nephews. Fills my heart to the brim.
What do you think sets Bonnie Blooms apart from other brands?
I’ve never been too worried about ‘the competition’. I firmly believe there is space for every florist, because every florist is different and will therefore connect to a different client base. I put a lot of ‘me’ into my work. It’s very personal and from the heart. I also love learning about my clients and putting as much of their personality or ‘vibe’ into what I create for them. So, apart from ensuring my work is eco-friendly and locally sourced/seasonal, I think what sets me apart from other brands is simply me, and all the heart and soul I put into my work.


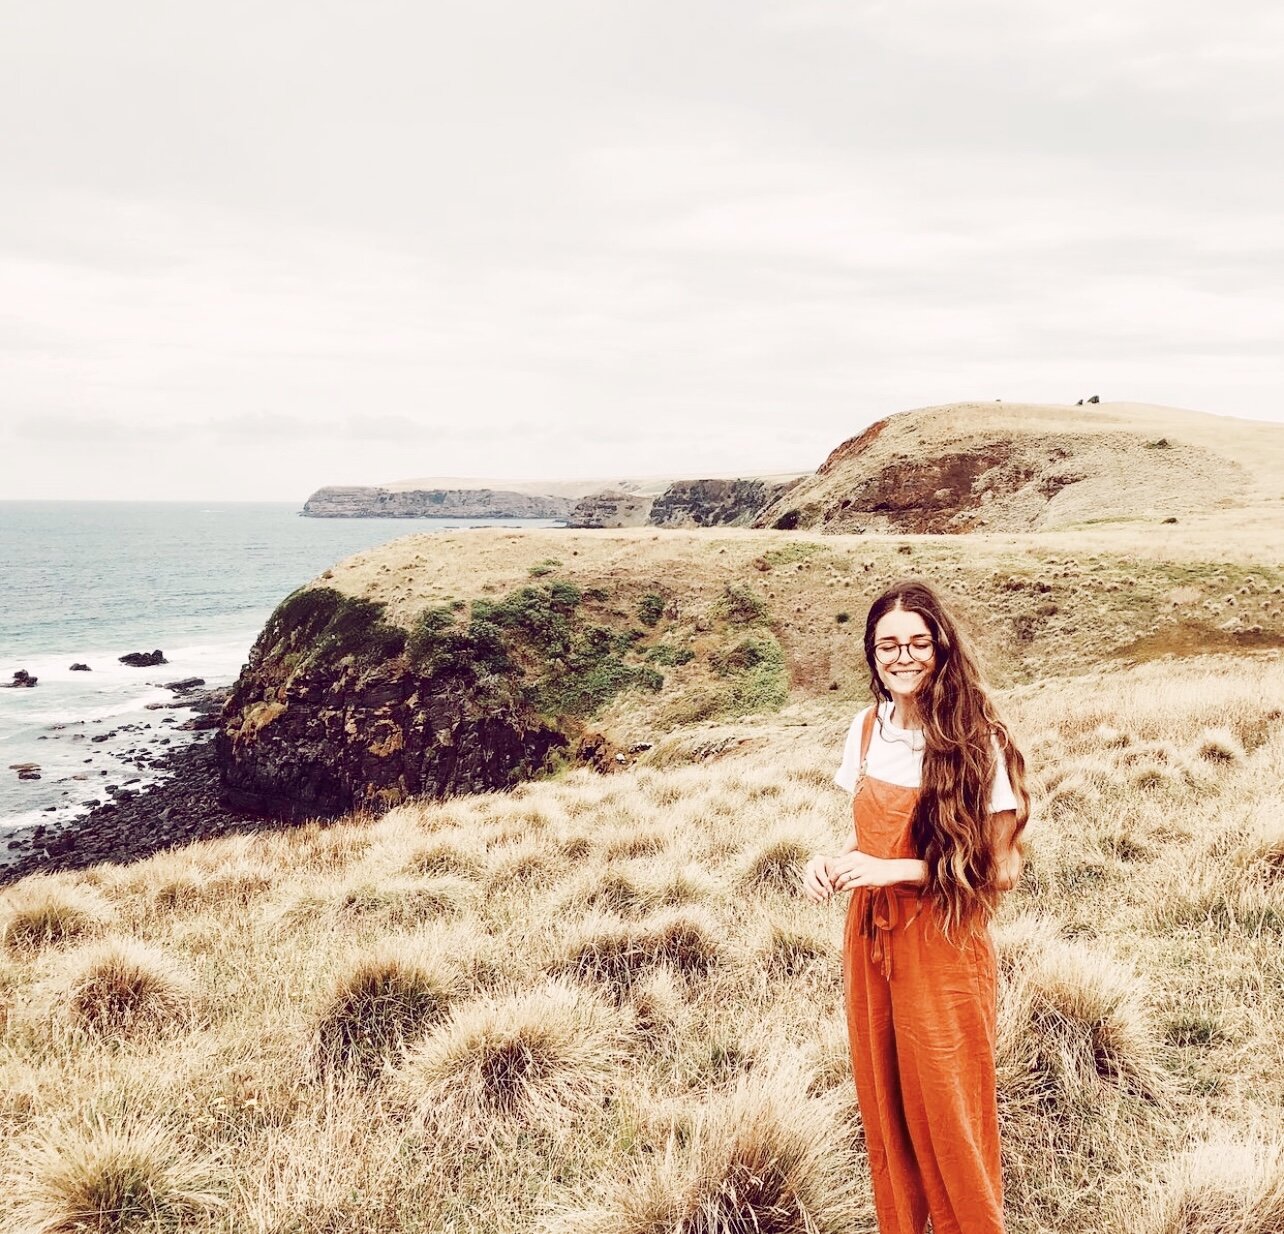
Phoebe Simpson, Creative Designer, Melbourne
Tell us about yourself and what you do?
Hey, I am Phoebe! I adore the beach, being outdoors, spending time with friends and family, cooking, styling, creating and expressing beauty. I am a communication designer and I run my own design studio, Double Creative, with my husband Tom on the Mornington Peninsula. We have been doing this for about two and a half years, and it has been super challenging but so fun and deeply rewarding. We have also just launched another business called Hosea Store, an ecommerce rattan furniture store.

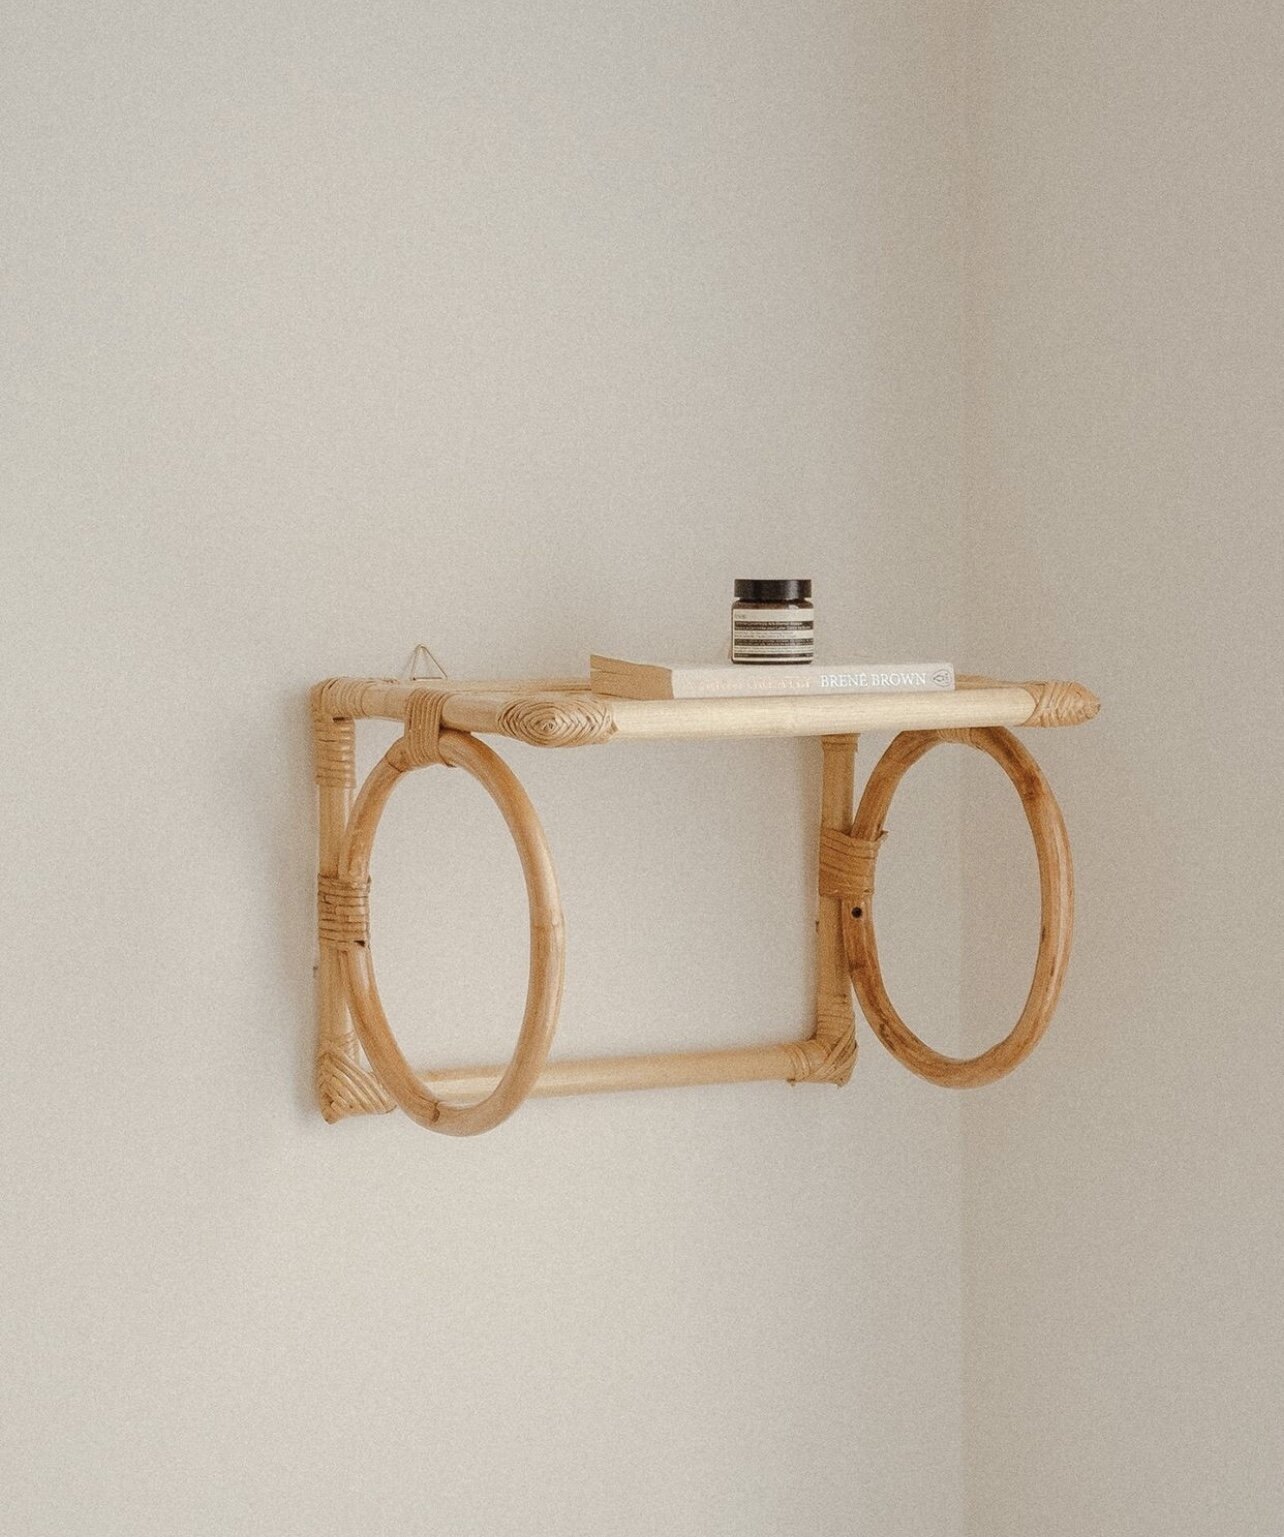
Why did you decide to start Hosea?
Tom and I have a joint heart for inspiring people to live a wholehearted and creative life so that together we can create an authentic and beautiful world. We try and fulfill that in everything we do, and Hosea felt like a perfect opportunity to bring that to life. It's a place to explore, dream and wonder—and is devoted to products and wares that evoke mindful and creative living. It's creative, playful, exciting with endless opportunities to grow and develop new skills. Any startup takes a lot of work and we've already faced our fair share of challenges that we've managed to overcome, and some we're still overcoming as the business develops. But also like trying anything new and creative, it gets to the point where you just have to launch, and it becomes a practice that we can chip away, change, develop and grow over time.

What’s your creative/design process?
My process is about exploring and reflecting. All our work starts with a research and discovery phase. It's a mix of conversations, exploration, reading, interpreting, and forming a brief that can help guide the rest. When it comes to inspiration, I like to take things in from all different expression—designs, art, music, nature, and all the beauty that's around me in small ways and large. This looks like taking time not just at the computer researching, but by getting out in the world to gather inspiration from others around me, from natural beauty and conversations with people.
I then reflect, take it in and process everything. This is by no means the easy part—sometimes it requires letting go of expectations and fears around creating or designing something new. New is daring—it's more than just copying. And to create something new is more about the process than it is the outcome. In trusting ourselves and the process, we can focus on developing something meaningful, something that fulfills the brief, and exceeds expectations. This process allows me to carry my head high when things get messy... knowing it's all a part of the process. This allows the gold to come through. Not to mention how important this is when collaborating and creating with others or for others—you have to trust the process and yourself. As our design business grows we get to do this in bigger, more daring ways. Clients and their businesses are depending on us delivering something creative that's on time, on budget, and to spec. It's in these times you have to hone in on this practice of the process. When it's done well, working with and being inspired by our clients, their stories and ideas draws creativity out of me rather than boxes it in.

A fun fact about yourself?
I grew up in Byron Bay and moved down because I met Tom five years ago on NYE! We have been doing life together ever since, married for three years this past April.
When or how do you feel most inspired to create?
After taking time to rest and allowing my ideas to run wild. When there's room and permission to play. This goes back to the process idea... when you're not so concerned with the outcome you can allow yourself the permission to explore and have fun.


How would you describe your aesthetic?
My aesthetic is always evolving and changing—sometimes because of personal taste, but a lot of the time because we work in different contexts. We are so blessed to work with so many amazing, unique businesses across various industries and therefore I get the opportunity to explore and express through design, with no project ever being the same. The aesthetic in these cases is just one element of expressing the heart of a business and helping them connect with their community.
Having said all that... I am a lover of simplicity, with beautiful colour palettes and typefaces to match. Art has always been a passion of mine and integrating creativity and artful expression into my designs is always a goal. Hosea's aesthetic is simple and refined. We wanted it to come with room to breathe, to feel restful and calm. The neutral palette adds to this too.
If you could choose any vocation in the world which would you choose?
"Design" for sure! I say "design" because running our own business, we cover a lot of ground in terms of what we do. Even though we specialise in branding, it's still a pretty vast landscape of brands, marketing, design, digital etc. The part I love the most is helping others find their "why" and encouraging them to pursue the things that make them come alive. I have a real heart for people and creativity. Design feels like the best expression of all of these things.
Who are some other artists that inspire you?
There are a bunch of designers, studios and artists who inspire me. A few of my favs would be Projects of Imagination, House of Folk, Jasmine Dowling and my dear friend, Bonnie Gray.


What kind of flower brings you the most joy?
One from my husband.. hehe any flowers he buys me bring me joy!
What do you think sets Hosea apart from other brands?
Hypothetically anyone could start a furniture business. But we're not in it for the furniture as much as we are the people that buy our furniture. Our hope is to establish a community of people who are pursuing a holistic life of creativity, beauty and courage. The furniture is an expression of that heart... it's how we've chosen to tell that story, and it's one of the ways that we express beauty ourselves. I'm sure it's going to evolve quite quickly into more too. Anyone is welcome to join that story—furniture or no furniture.

You can find more of phoebe’s work here:
Hosea Store Instagram
Double Creative Instagram
Double Creative Website

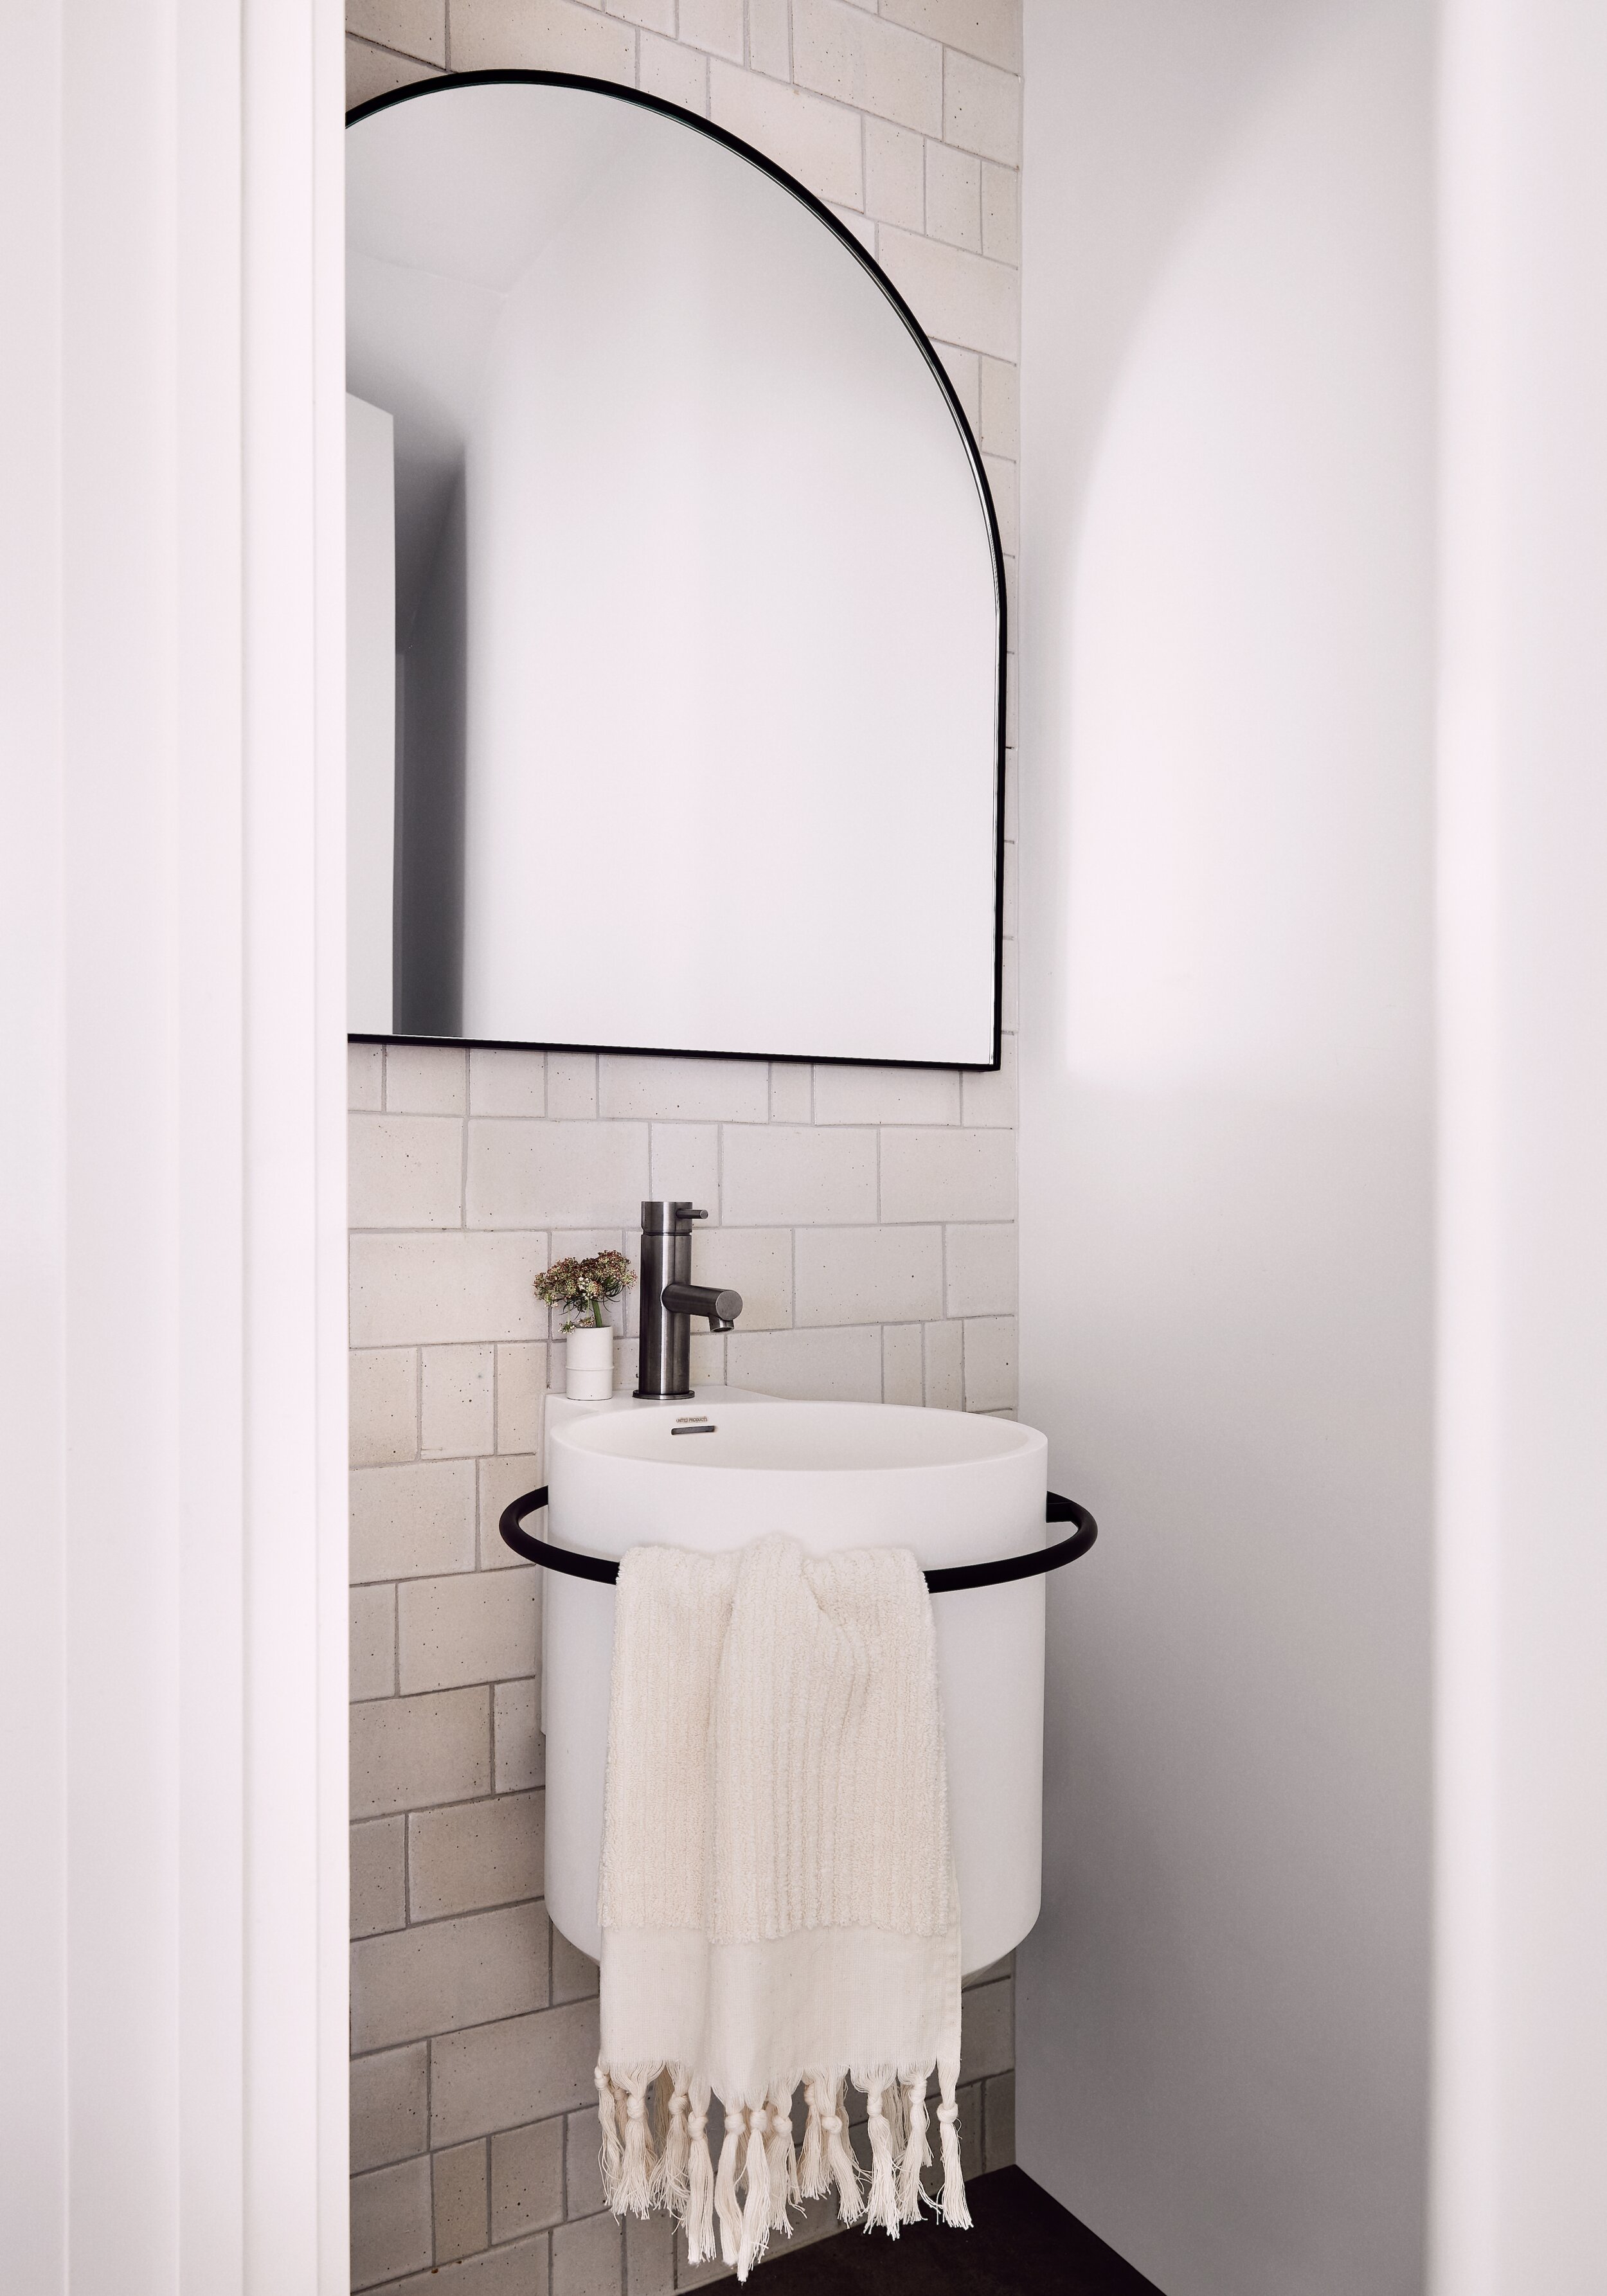
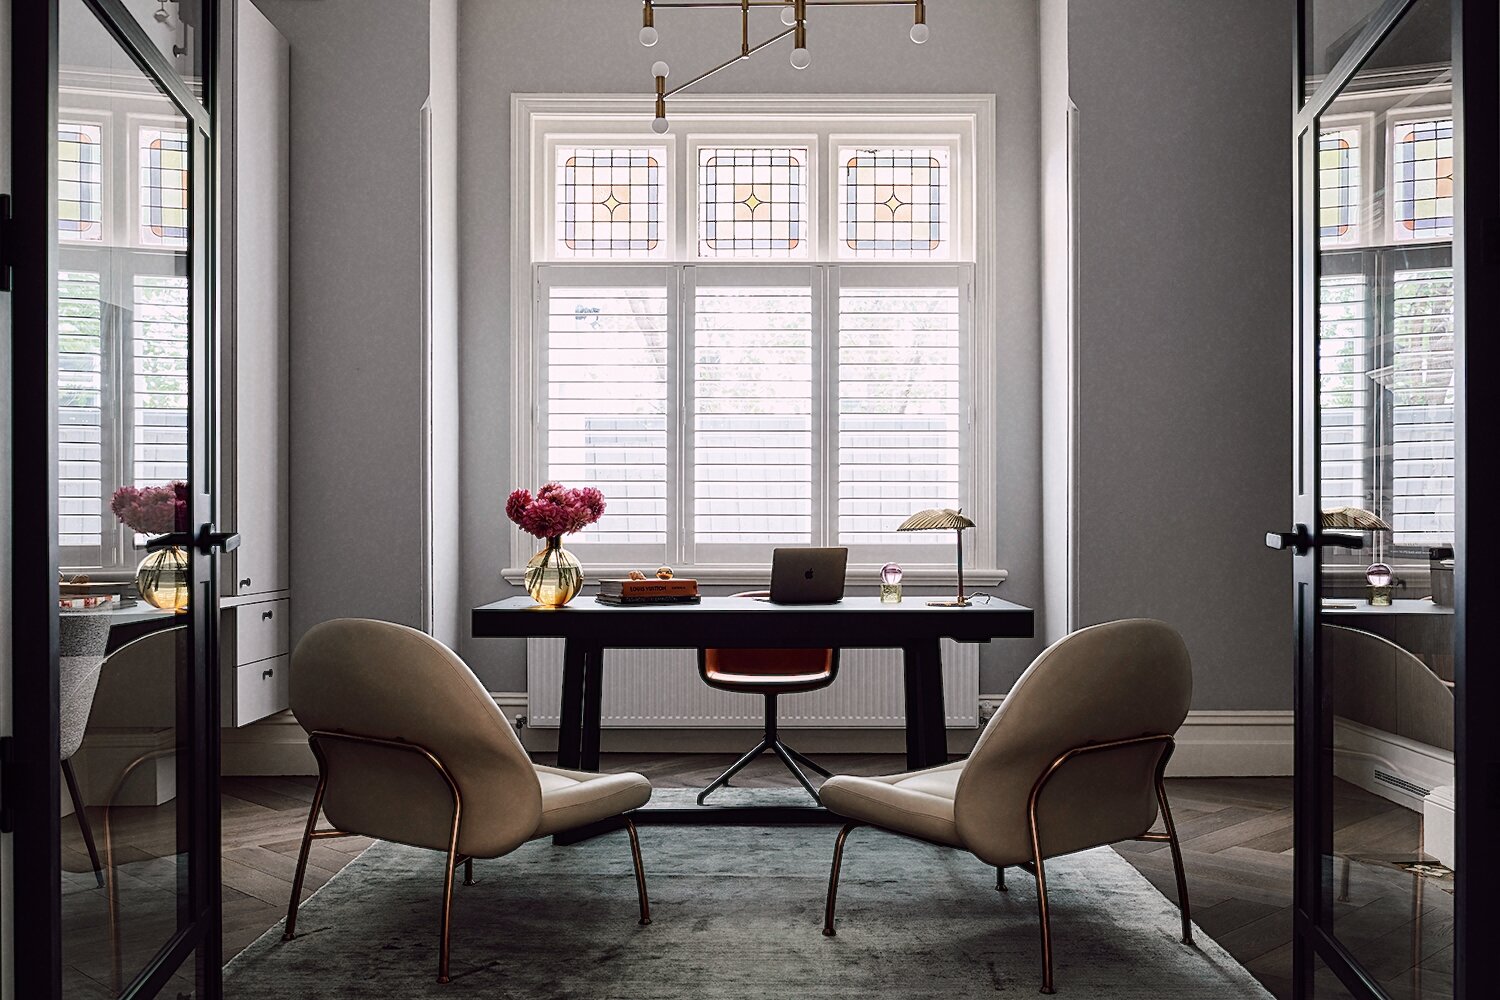
Cassandra Walker, Interior Architect and Designer, Melbourne
Tell us about yourself and what you do?
I am a Residential Interior Architect and Designer. I love getting to personally know my clients to create a truly unique interior for them. The way we use our homes and environments is crucial to our wellbeing. It brings me so much joy to create timeless and perfectly tailored interiors.
Why did you want to become an interior architect?
I have always loved playing with drawings and plans of homes. I remember even as a little girl drawing over the top of plans my Dad would bring home from work.

What would be your dream project to work on?
I am dreaming of designing and building a complete Passive house. Entirely designed, built and manufactured here in Australia with Australian materials.
How would you describe your aesthetic?
Contemporary and Australian bearing a timeless aesthetic with an holistic appeal.
Favourite memory in your career so far?
Oh that’s tricky, there are actually so many. I don’t think I can pick one, I'd say generally meeting so many amazing people doing amazing things, particularly of recent in relation to my Passivhaus training. There are so many knowledgable people willing to share.
You're passionate about sustainability and regeneration, how do you integrate that into your projects?
Thats another tricky one. I am finding there is still a lack of education around possibilities here and many are scared by this. It's a daunting process to renovate or build without the added layer of sustainable and regenerative homes. I find most of my clients pop it in the too hard and too expensive basket at the moment, which I totally understand. I am undergoing my PassivHaus training at the moment and hoping to come out of this armed with knowledge I can simplify and pass onto my clients.
What’s your creative process?
I firstly listen as I need to understand everything about the way they live. Personal, social and family rituals are noted so that we can design the perfect fit for each unique client. I then find inspiration for that project. In books, our Environment, Online, and sometimes I go back through photo archives of places I have travelled. From here I sketch and ‘play’ to produce a concept design. This is presented to my clients. Then we go away and document/detail this for the builder/s. I really enjoy the construction process as I get to see my/our vision come to life, my clients responses are always the best part. Some projects I manage onsite others I hand over a construction package. It really depends on my scope.

A fun fact about yourself?
I drive my husband crazy with my home organisation and love reformer pilates, that’s two sorry.
What kind of flower brings you the most joy?
Peonies, as they remind me of my wedding day.
What do you hope to achieve in 2021?
Totally cliche but a better balance of family and work. Both make me so happy.


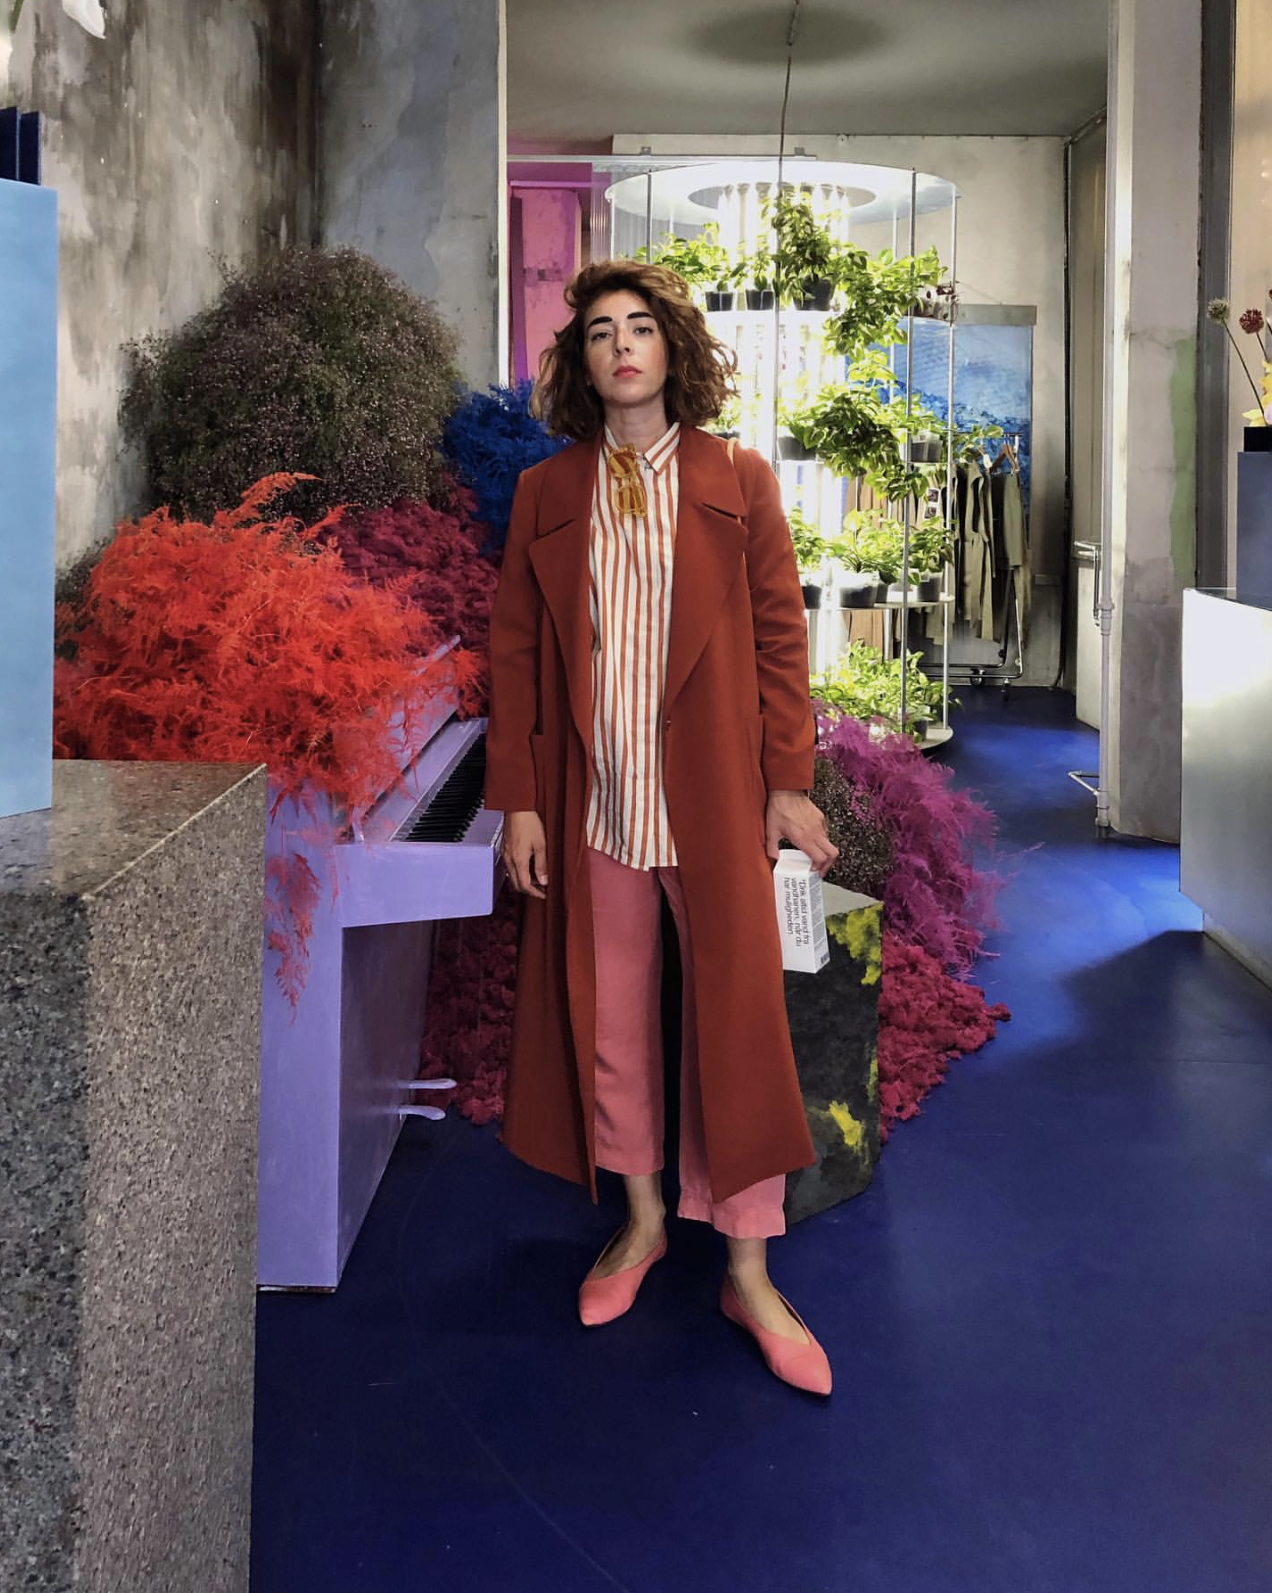
ILENIA MARTINI, CREATIVE CONSULTANT, BERLIN, GERMANY
Tell us about yourself and what you do?
I am a creative consultant and I run Neni Studio which is a visual communication agency that I co-founded in 2017. Neni Studio works with international design and lifestyle brands to create digital communication strategies and content aimed for social media.


How did you get into photography and creative consulting?
I got into photography pretty early on in life. Mine is one of those stories where one of the parents introduces the medium. For me it was my dad, who with both film cameras and 16mm film recorded my childhood from basically birth to age thirteen.
I had mixed feelings about turning it into a career, so I experimented within the field, assisting other photographers and then becoming an editor and ultimately went to film school where I graduated as DoP (Director of photography for Film).
Fast forward to 2015 where after seven years in New York, I relocated back to Europe for a job as Head of Creative for a Design brand called Hem - where I worked until 2017. In the meantime the work I had done for them got quite the traction and started receiving requests for work outside if the brand and that’s when I decided to consult. It was a natural transition.

What’s your creative process?
It’s messy - that’s for sure. It doesn’t really follow any specific rule but one thing is constant, I write everything down on paper, and I sketch a lot - from concepts to ideas that come to mind. You’ll never find me without a pen and a notebook.
A fun fact about yourself?
Ah, I don’t know if this is fun, but for sure for me it is.
I have a thing for pens and paper, well, stationery in general.
When do you feel most inspired?
I feel like inspiration is a muscle that needs constant training, so I constantly work on it. From reading/flipping through books about architecture, typography, art, photography, to watching films with incredible cinematography. I usually dedicate a couple of hours to inspiration and research each week, no matter what project I am working on.
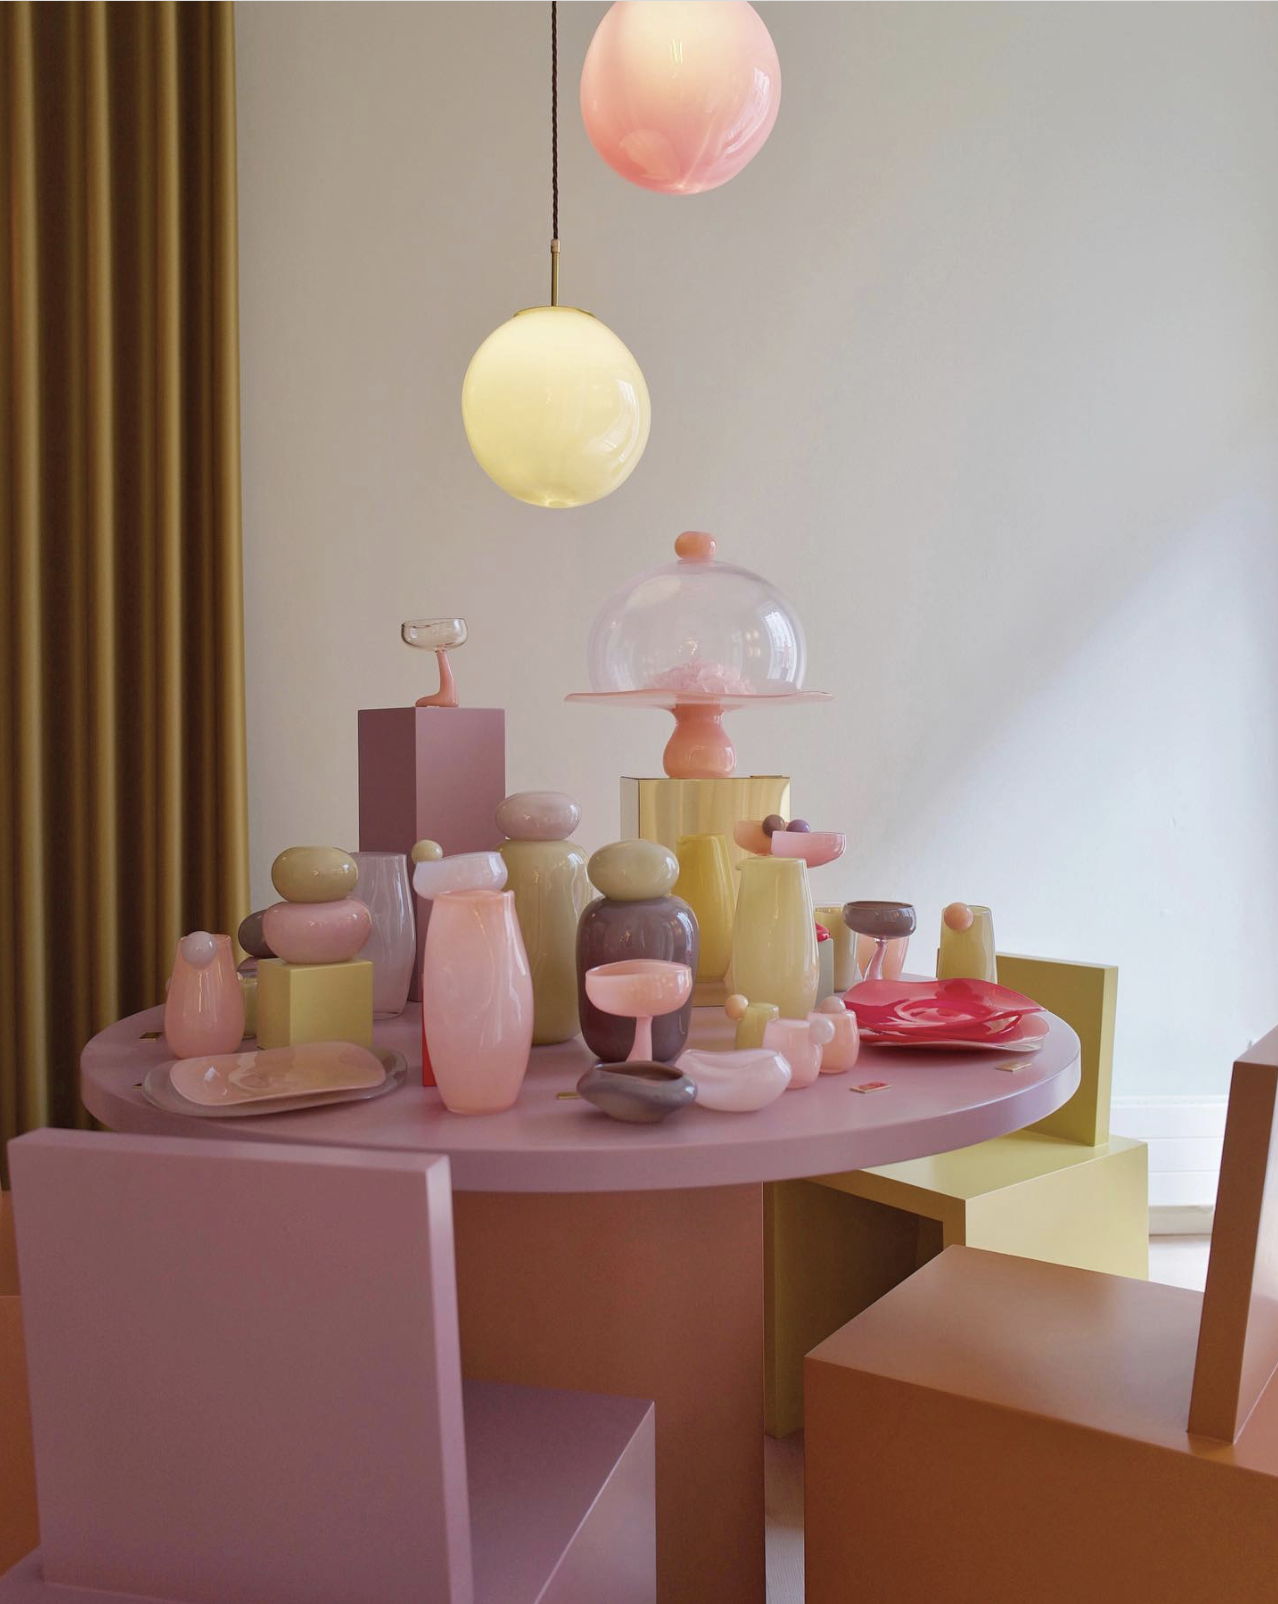
How would you describe your aesthetic?
I would say ‘experimental’. I like to mix colors and patterns in a subtle way and I stay away from matchy-matchy pairings for both work and personal style.
How do you think COVID has affected the creative industry?
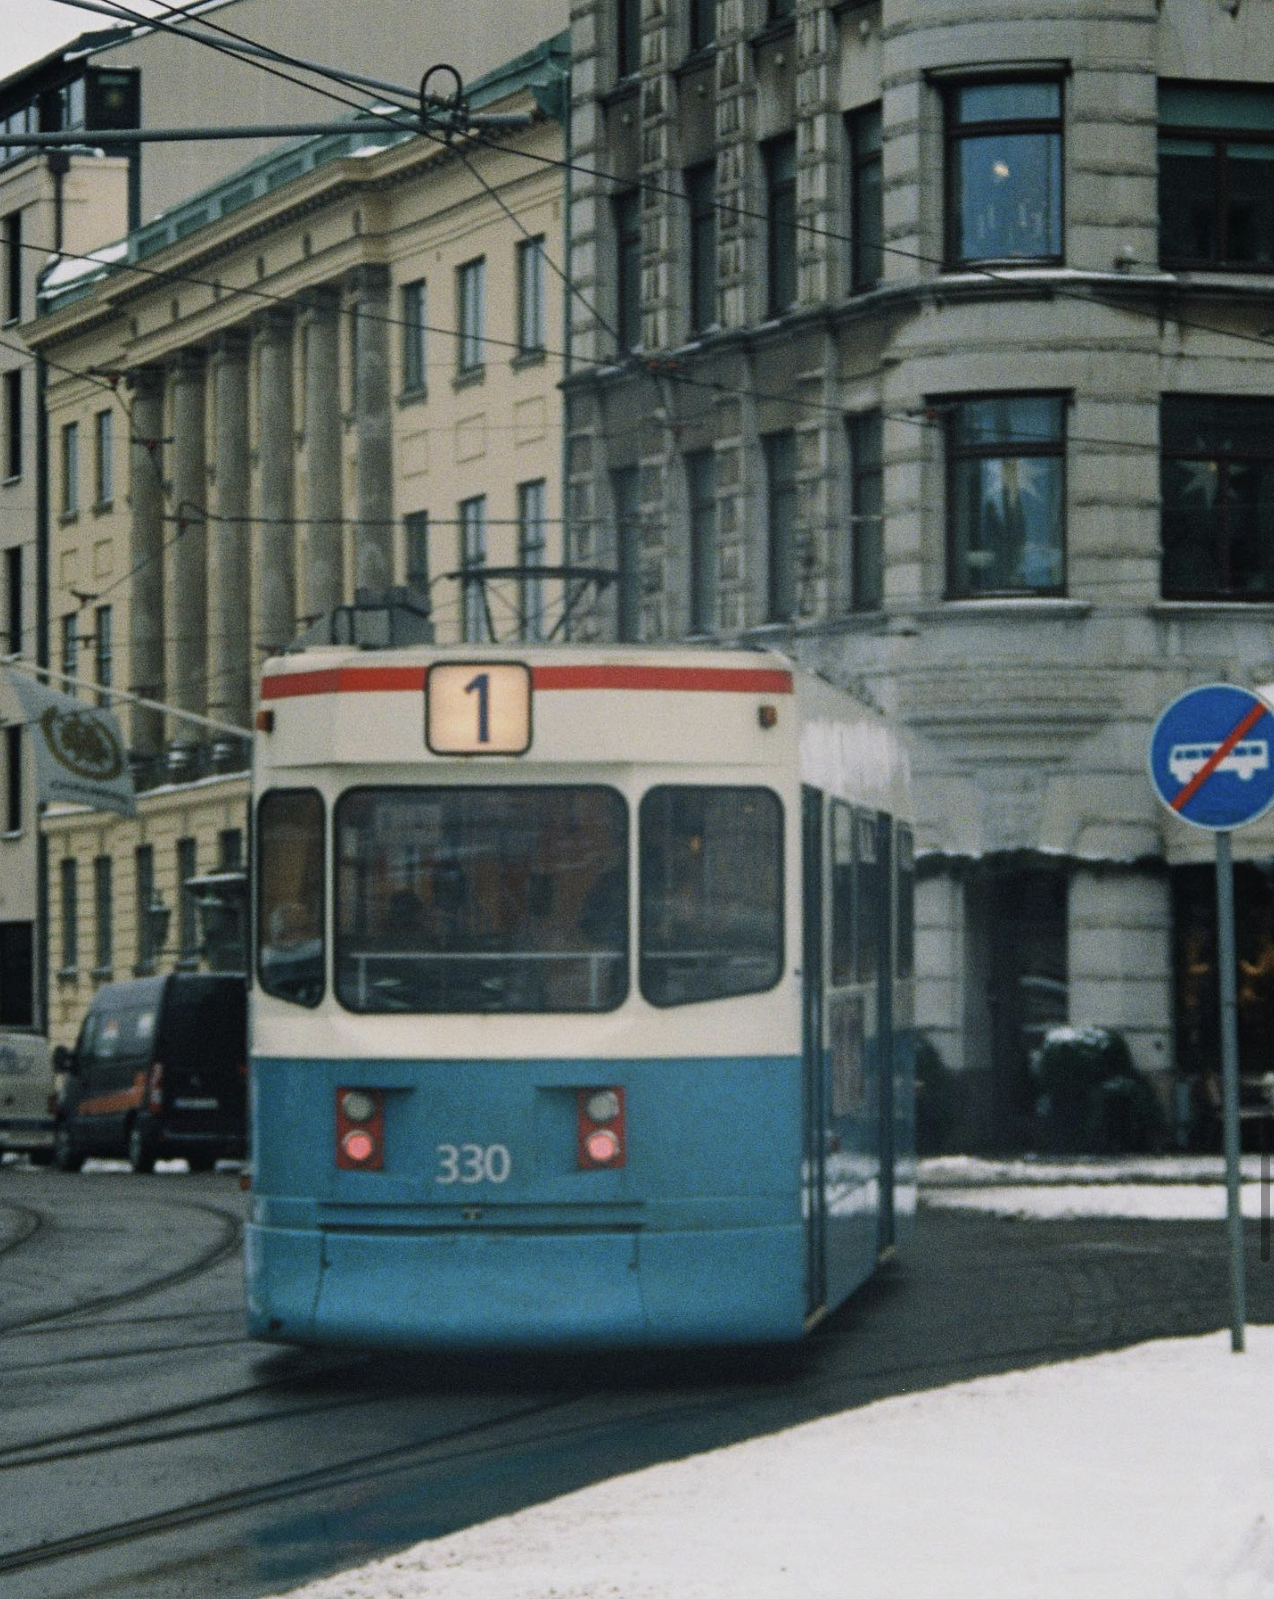
It’s a change that has caught everyone off-guard and nobody had the time to adjust gradually to this new way of living.
Here in Europe, I am in Sweden, it’s still a work in progress. Digitalization hasn’t come naturally to the creative industry but I see, very happily, that the ones who embraces this shift rather than resisting it have been thriving. One big change that Covid brought is expose different mediums/possibilities, look at NFTs for instance - perhaps if Covid hadn’t hit, it wouldn’t have had such positive reactions from both art and creative industry in general.
Who are some other creatives that inspire you?
I am always keeping an eye out on the fashion and art world. I am constantly inspired by Gabriela Hearst and Lucy Chadwick.
What kind of flower brings you the most joy?
Ah, this is a tough one because I love flowers. I feel like I have to say roses because I have a huge rose tattoo on my arm.
They are so underestimated and there’s so many beautiful variants that you’ll never have the same experience twice!
What do you hope to achieve in 2021?
Some renewed energy to step outside my boundaries - I’d love to try new paths!
You can find more of ilenia’s work here:


Corina Koch, Interior + Photographic Stylist, Sydney, NSW
Tell us a bit about yourself and what you're passionate about?
I’m an interior & photographic stylist who produces content for brands, homes and publications. I’m very much addicted to my job and enjoy daydreaming about working when I’m not working. I’m really passionate about the creative process - the best jobs have always the ones where you are given the opportunity to take the lead.
How did you get into interior design?
I’ve always had an interest in interiors but I actually began in fashion and chose to study visual merchandising, which covered fashion, interiors and props. So I grew more of an appreciation for interiors through that. When I started work experience at an interiors magazine, it was a very quick dive into the interiors world and I’ve been hooked since.

What's been a memorable project so far, and why?
My first magazine cover. I guess it was a milestone moment for me and it was a really big deal as I truly had started from rock bottom and put in years of hard work to get to that moment. And when I heard the news, it was just a wonderful surprise and acknowledgement of how far I’d come.
How would you describe your aesthetic?
Oooo, so tough. It’s forever evolving but I would say it’s a fusion of vintage finds paired with unique contemporary pieces and handmade artisanal objects. It’s feminine, can be a bit rouge and is heavily influenced by fashion and textiles.
What kind of shapes, texture, or colours are you drawn to?
I love my neutral colours and use them for all my bigger furniture items as a foundation of the room. I tend to go more gaga over unusual shapes and textures, things that wiggle and twist, velvets, thick knotted weaves, stripes and oriental prints.


Who are some other interior designers or creatives that inspire you?
There are a lot of people's style I admire, even if it’s not to my own taste. But it’s the risk takers that I really appreciate, the Kelly Wearstlers of the world. You can tell it’s authentic and she always pushes boundaries- which I find incredibly exciting.
What kind of flower brings you the most joy?
Anything that feels like I’m in a romantic garden, like Dogwood or miniature garden roses still on the branch. I love the mix of leaves and flowers.


What do you hope to achieve in 2021?
I really feel 2021 has been critical for me in my career journey. I’ve taken some risks and have really learned to understand who I am as a brand, to embrace my true aesthetic, which in turn has helped me undertake my next steps. I have a special project in the works - I’ve never been so excited about something in my life. But you’ll have to wait and find out.
A fun fact about yourself?
It’s not so much fun, but it’s probably important to be documented. I really hate coriander. I can smell it if it’s in my food and will not eat anything it touches. I can even taste it if someone has just “removed” it as a garnish. Super freaky!
You can find more of Corina’s Work here:
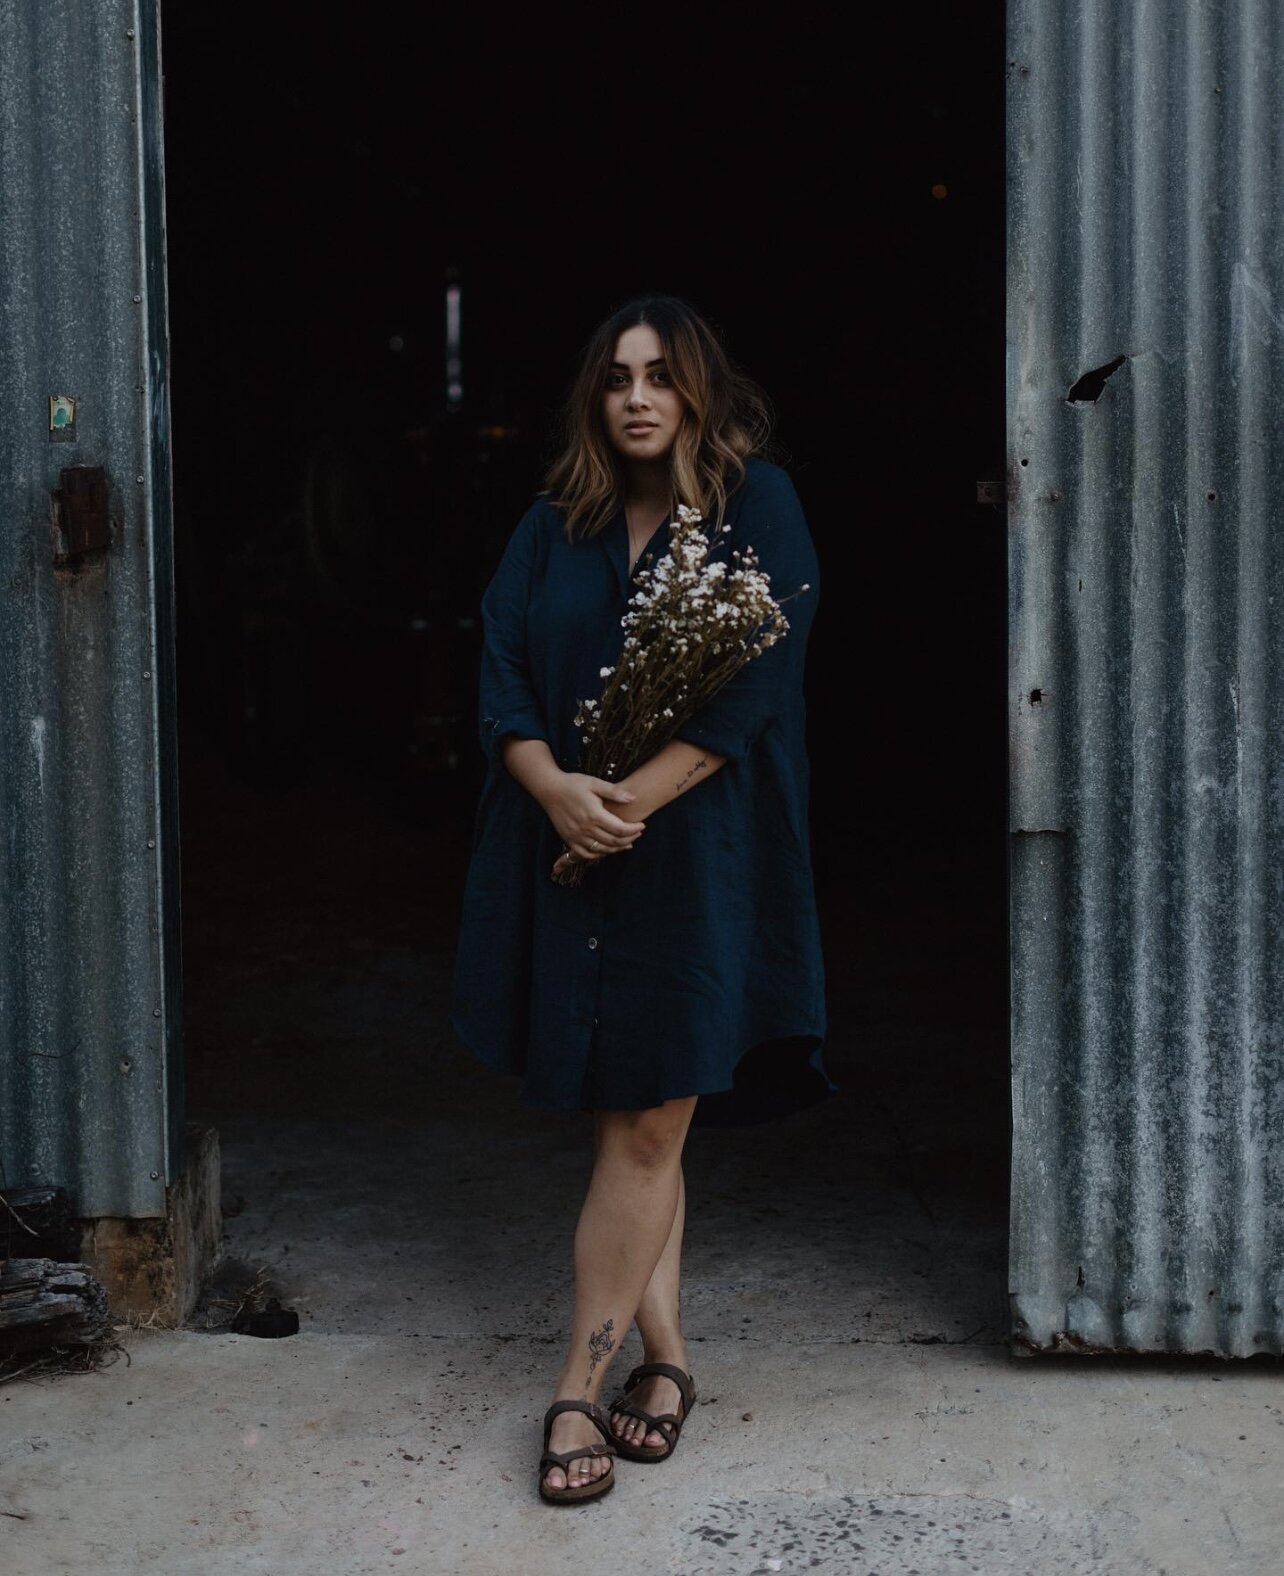
Nitty Valentin, Floral Designer, South Coast, NSW
Tell us about yourself and what you do?
Hey, I am Nitty. I own a wedding, events & workshop floral business on the South Coast of NSW, named “Follow Your Nose”. I am a studio-based florist and I am lucky enough to be able to create ‘Native Chic’ florals for the special moments in my clients lives, I also get the chance to surround myself with the most beautiful people when I organise and teach my floral workshops.
Why did you decide to begin floristry?
I have always been a lover of gift-giving and as time went on, I really enjoyed picking up a bunch of flowers to add to every gift I was giving, eventually I became interested in individually choosing the florals at the shop & putting them together myself (they weren’t good haha, but I liked the idea of it!) I then found myself at a flower-workshop and from there the desire turned into passion and after attending two more workshops, I was hooked. I signed up for the next available course and basically the rest was history. I became so infatuated with all things florals and knew this is what I wanted to do!

What’s your creative process?
That’s a tough one, for me creating becomes one big mess. Most people would probably walk into my studio and feel extremely overwhelmed. But, I promise there is a method to the madness. Basically, I like to write out what I will be making and annoyingly, I probably write out my lists 10 times before I am comfortable with what I am about to create. Once my lists are written, I must have at least one work table completely clean so I can lay everything out that I am going to use. Then I get to creating. Sometimes I start and everything falls into place naturally. Other times I have to make a bouquet, pop it in the fridge & come back to it in an hour later to make sure I like the way it is sitting. I am guilty for over thinking things and remaking them, but most of the time, if I don’t 100% love the way it is looking, I would rather start fresh so it looks the way I want it to. A lot of the time, as a florist there is a client-brief to follow, but over the years I feel like my style has really begun to shape the clients I attract. I am generally drawn to all Native flora, but I find ways to add softer flowers/foliage’s to give it more of a romantic look.
A fun fact about yourself?
I am a part time disability companionship worker & have the pleasure of assisting the most beautiful human in his day to day activities. It has been the greatest honour & biggest accomplishments of my life. I never knew the feeling of truly caring for someone with every ounce of my being until I was blessed to meet him and be there for him.

When or how do you feel most inspired to create?
I am most inspired to create once I have had the chance to organise myself and declutter my thought space, allowing me to be fully immersed in what I am doing. I love over cast days because I get all cosy & creative and don’t feel like I am missing out on the going to the beach. I also hate feeling hot when I am creating, so a nice cold day is perfect for the creative mind.
How would you describe your aesthetic?
I was introduced to the words “Native Chic” by a lovely gal-pal who came to do some work with me recently. She described my work as Native Chic and ever since I haven’t stopped using it. I think native florals often get quite a masculine point of view, so I love softening them by adding some more romantic florals to the overall look. I am also very attracted to warm, autumn colours and will always flock straight to them at the flower market.
A word of encouragement for Beginner Flower Designers?
YOU GOT THIS!!! Don’t be afraid to dive into your own personal style, avoid spending too much time comparing your work to other florists and just follow your own rules. There is no right or wrong, beauty is in the eye of the beholder and you will attract others who love your style and what you do. Ask your fave floral-babe to let you come and do some work experience so you can build that confidence that is burning inside you and never ever let anyone tell you you’re not good enough! Let your work speak for itself!
Who are some other florists who inspire you?
There’s actually alot, my local area has some of the most incredible florists in the world and if you are lucky enough to get flowers from them than I am sure you have held pure magic in your hands. Some of my faves are: Film and Foliage, Gypsy Carmen, Emily Nicole Florals, Lady Gnarbo, Fleurescent.

What kind of flower brings you the most joy?
I really love Flowering Gum, when it is in season I think I nearly cause car accidents when I slow down, admiring its beauty. They look like bright fireworks on trees and they are just the most beautiful texture. I am also very well known for throwing a King Protea in most of my bridal bouquets, they are definitely a show stopper!!!
What do you hope to achieve in 2021?
I hope to run frequent workshops once we move into our new house & build my new studio!!! (top secret - heard it here first, haha) I also hope to organise a mini retreat sometime this year for all my flower enthusiasts out there!!

You can find more of Nitty’s work here:

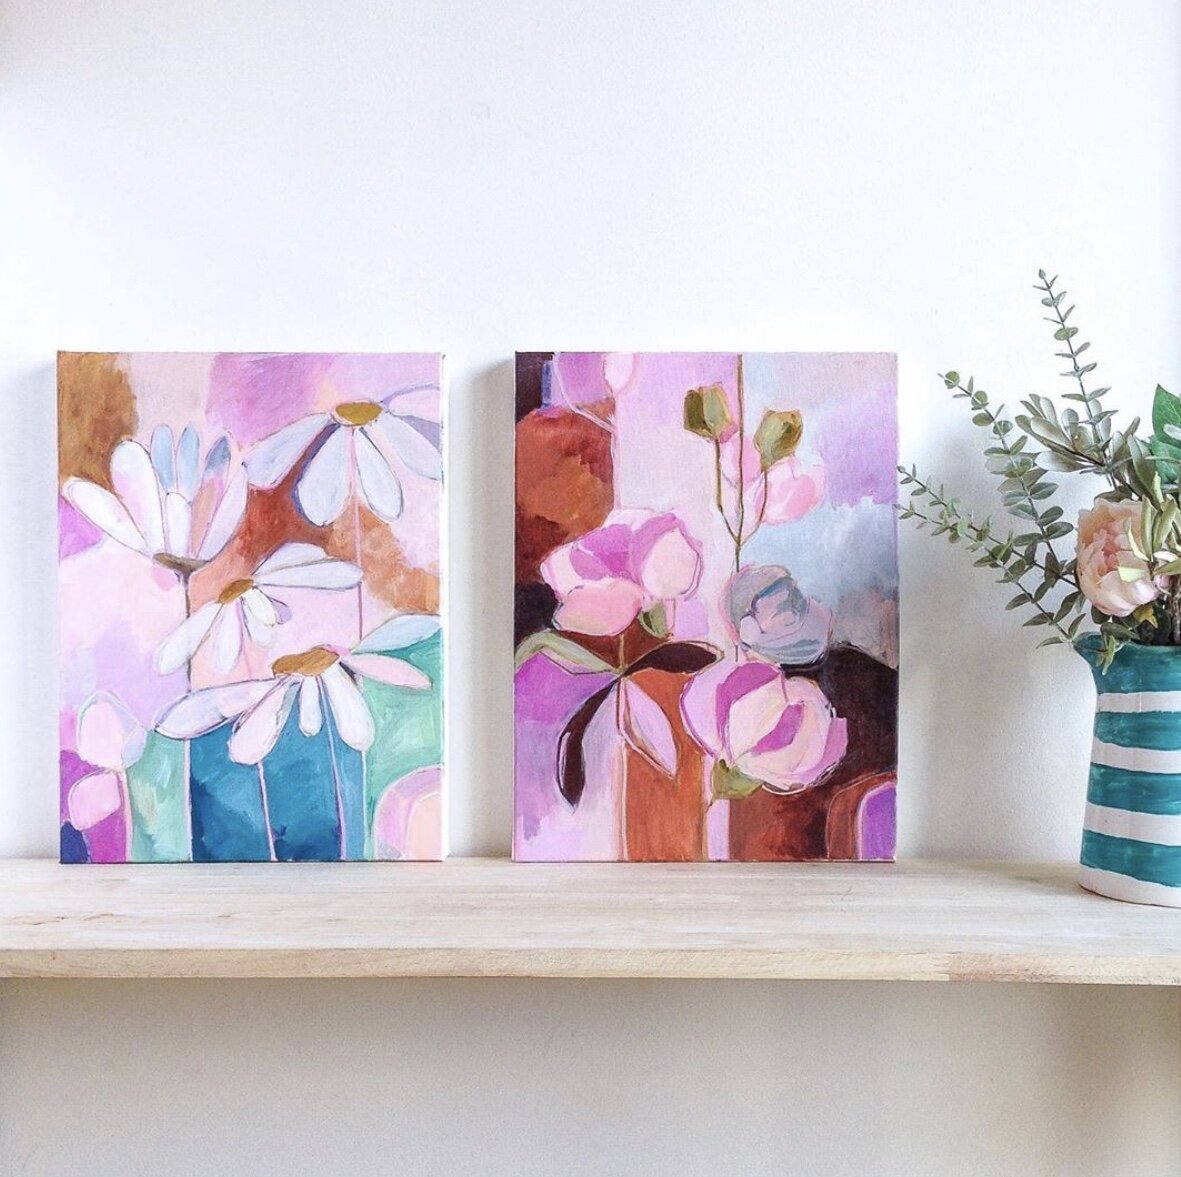
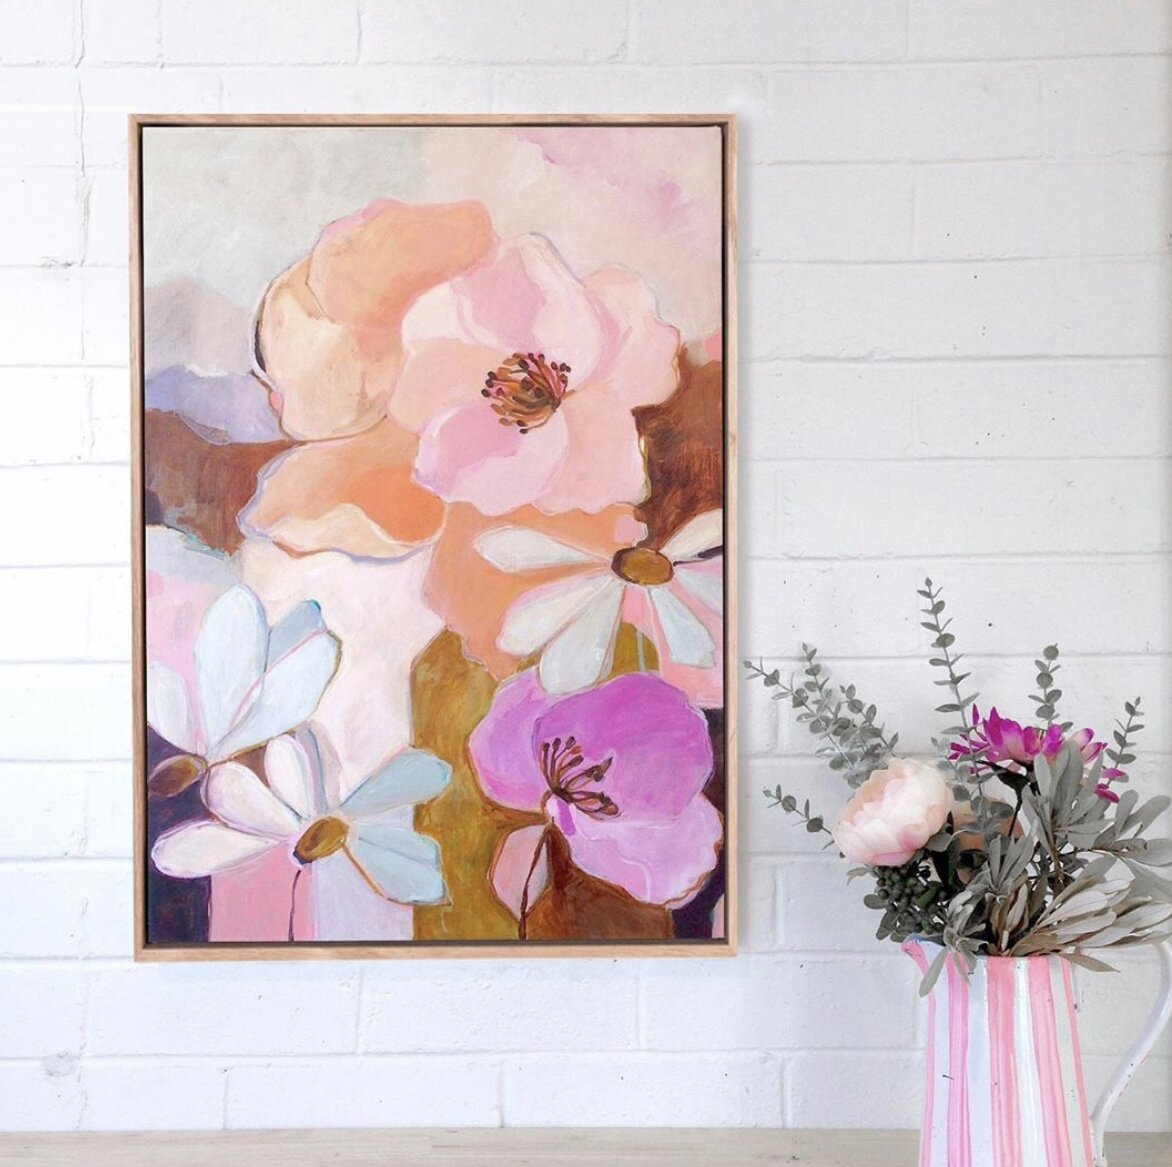
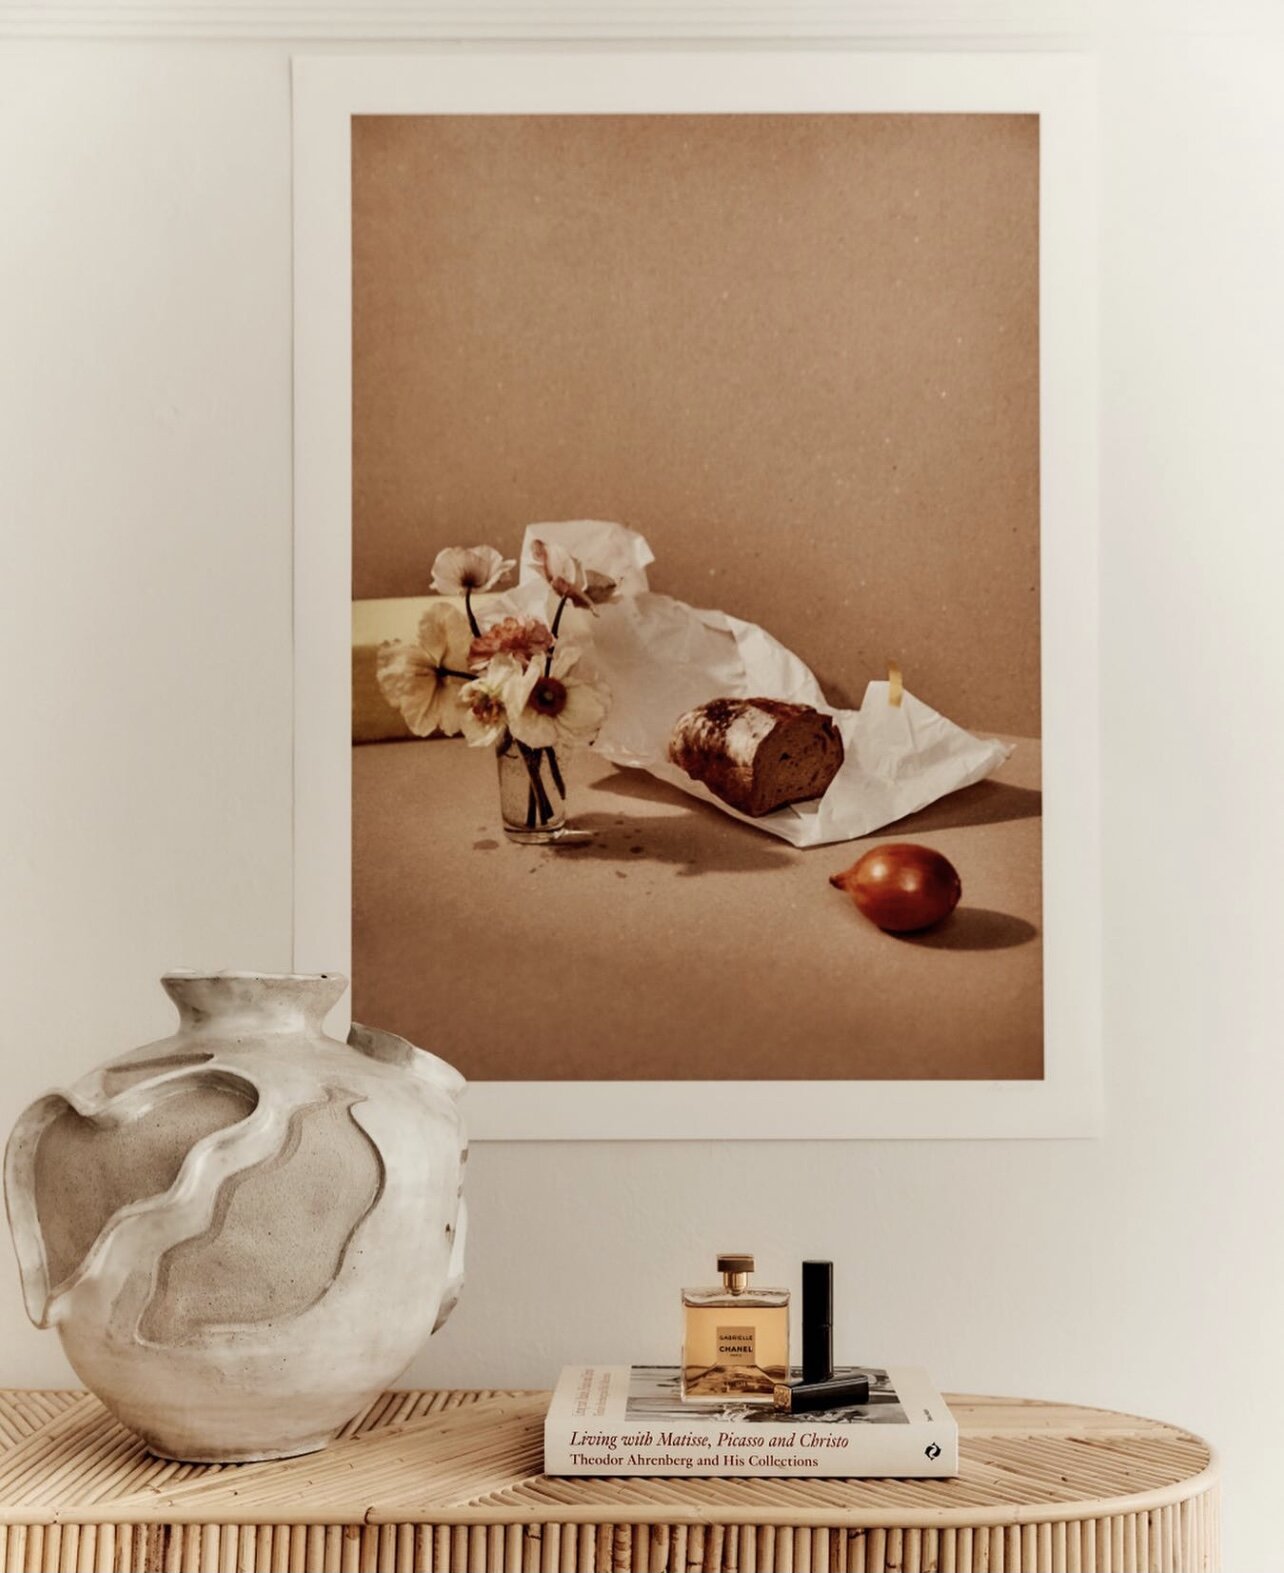
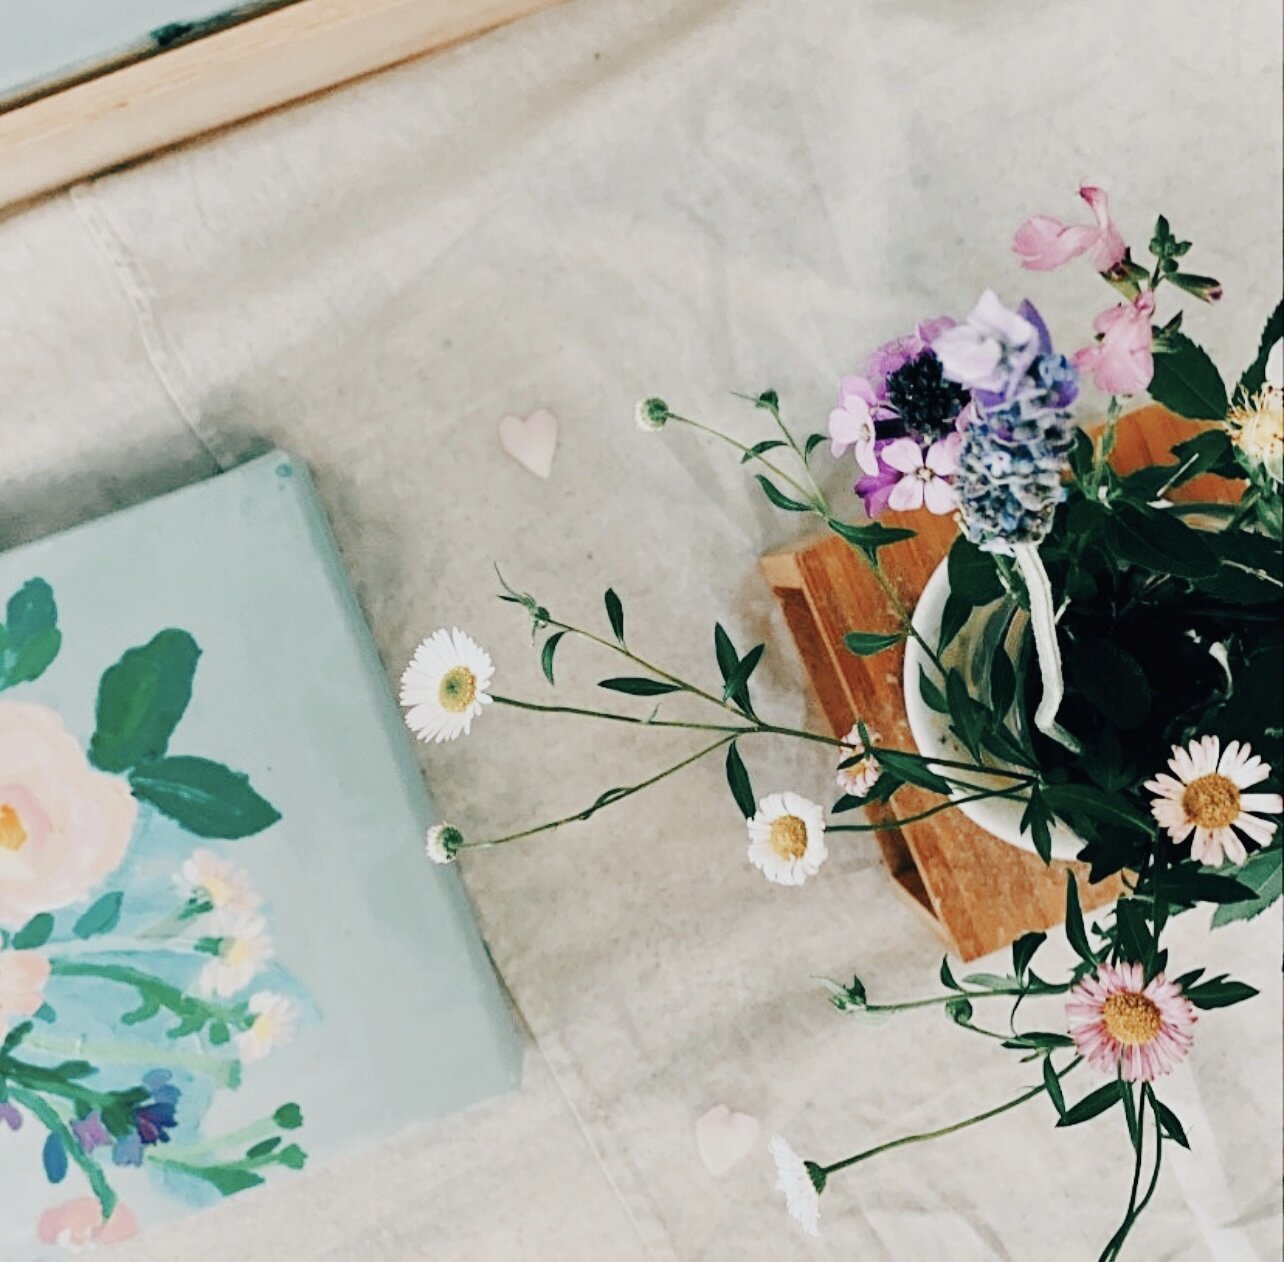
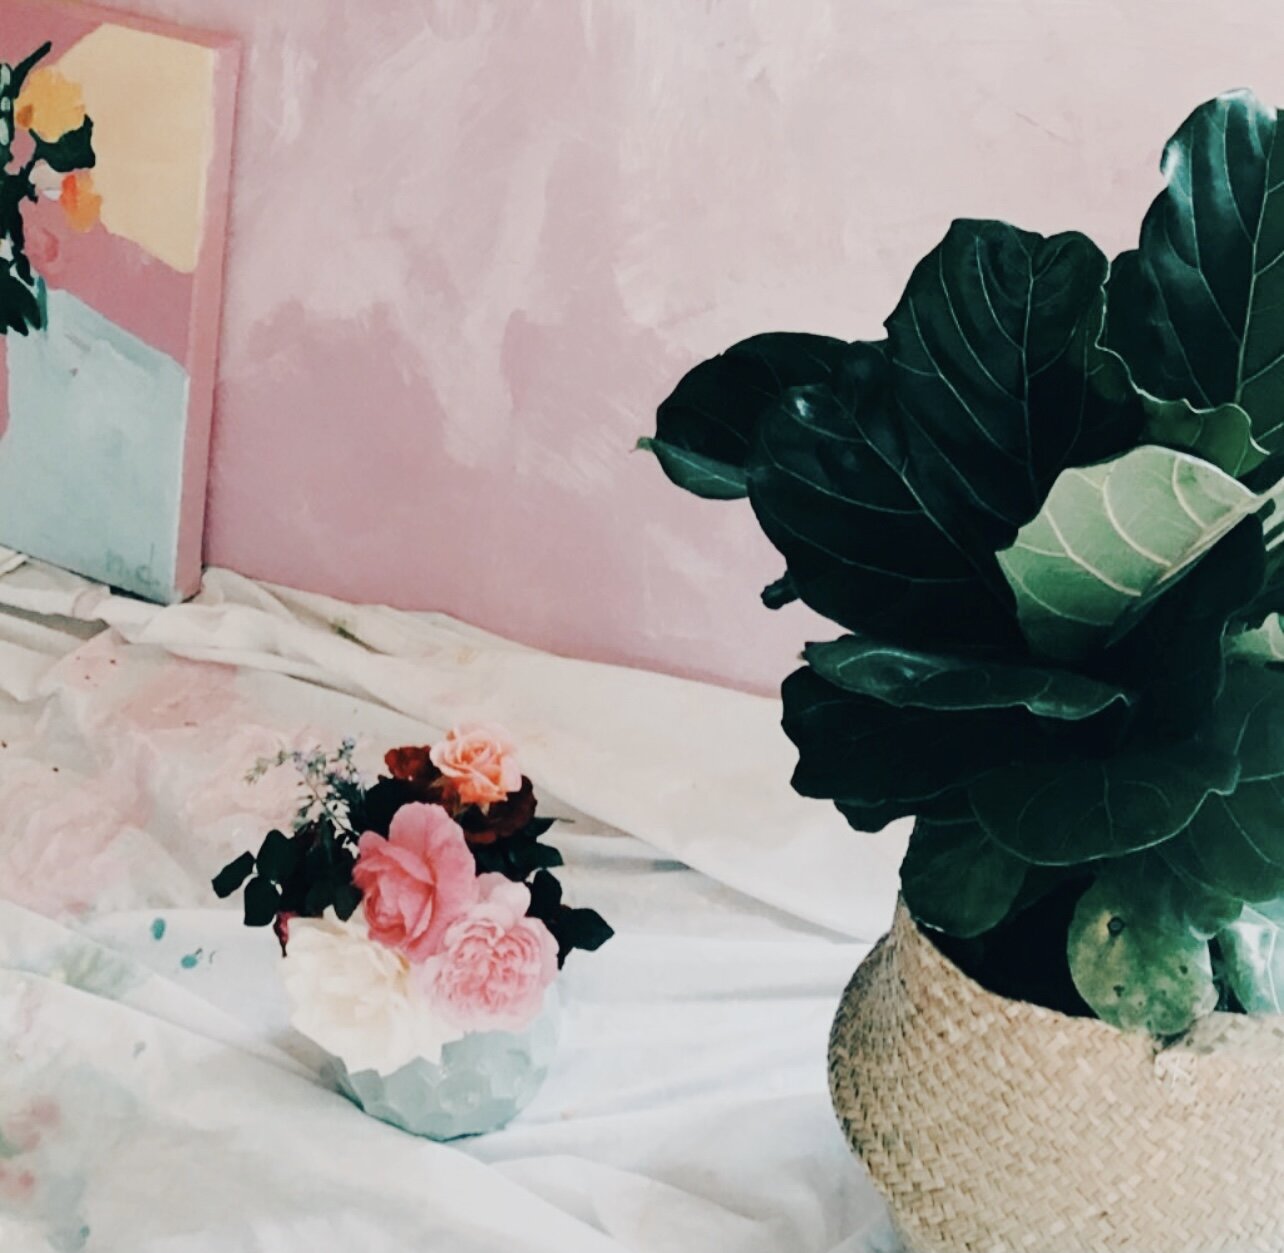
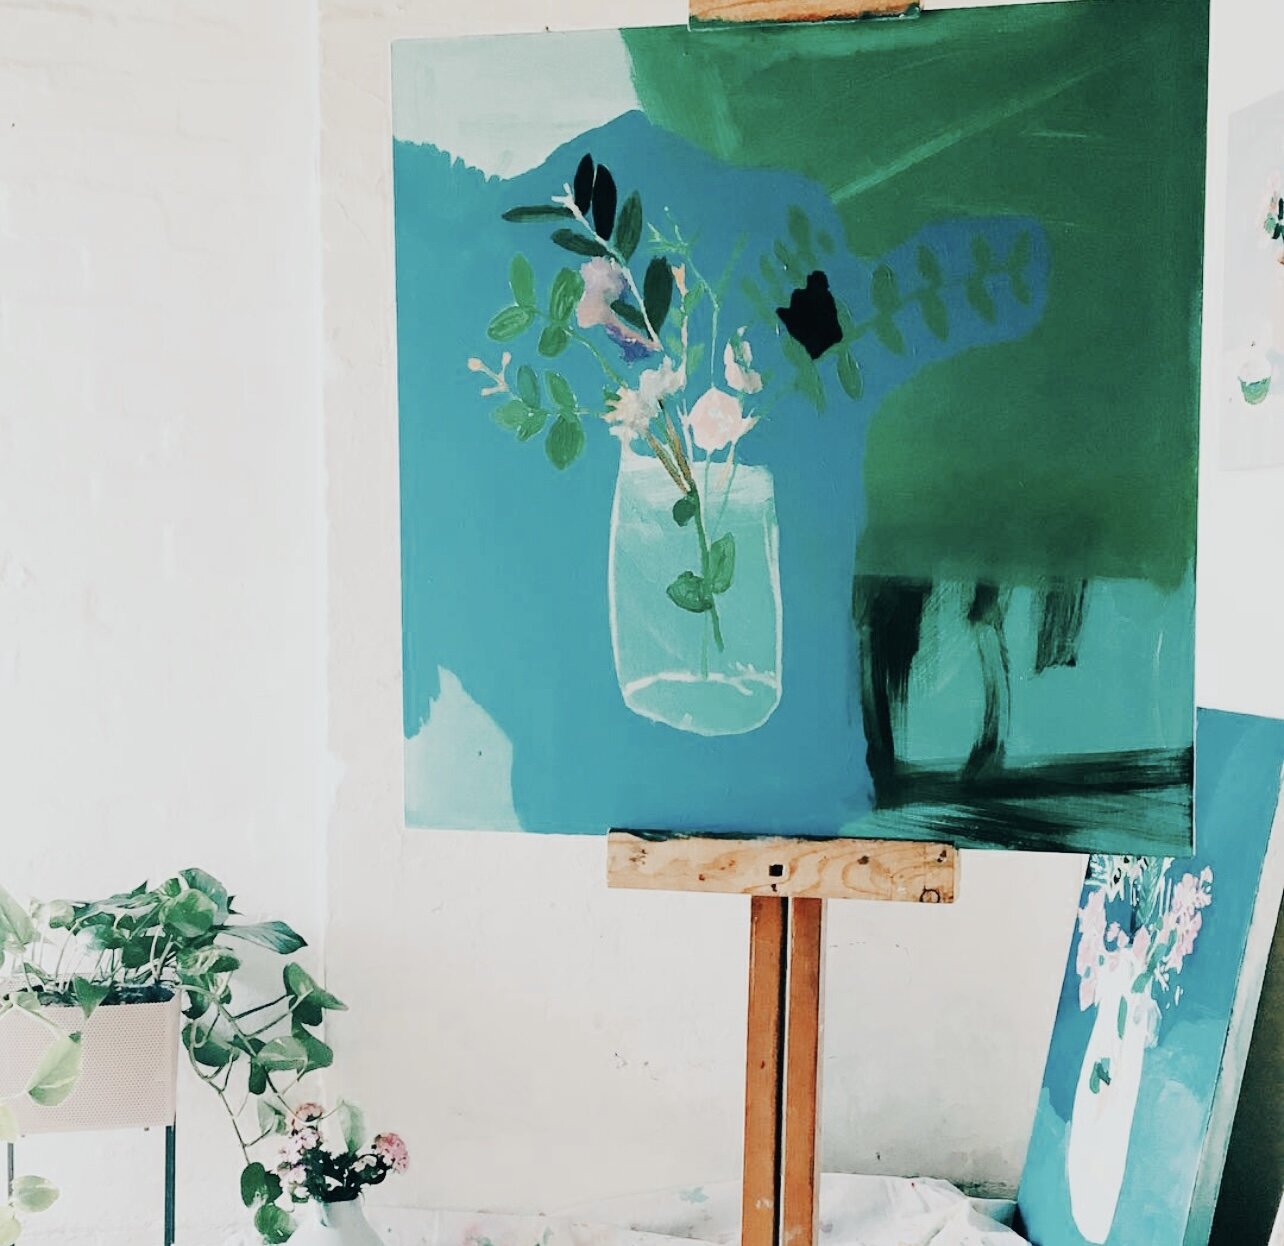
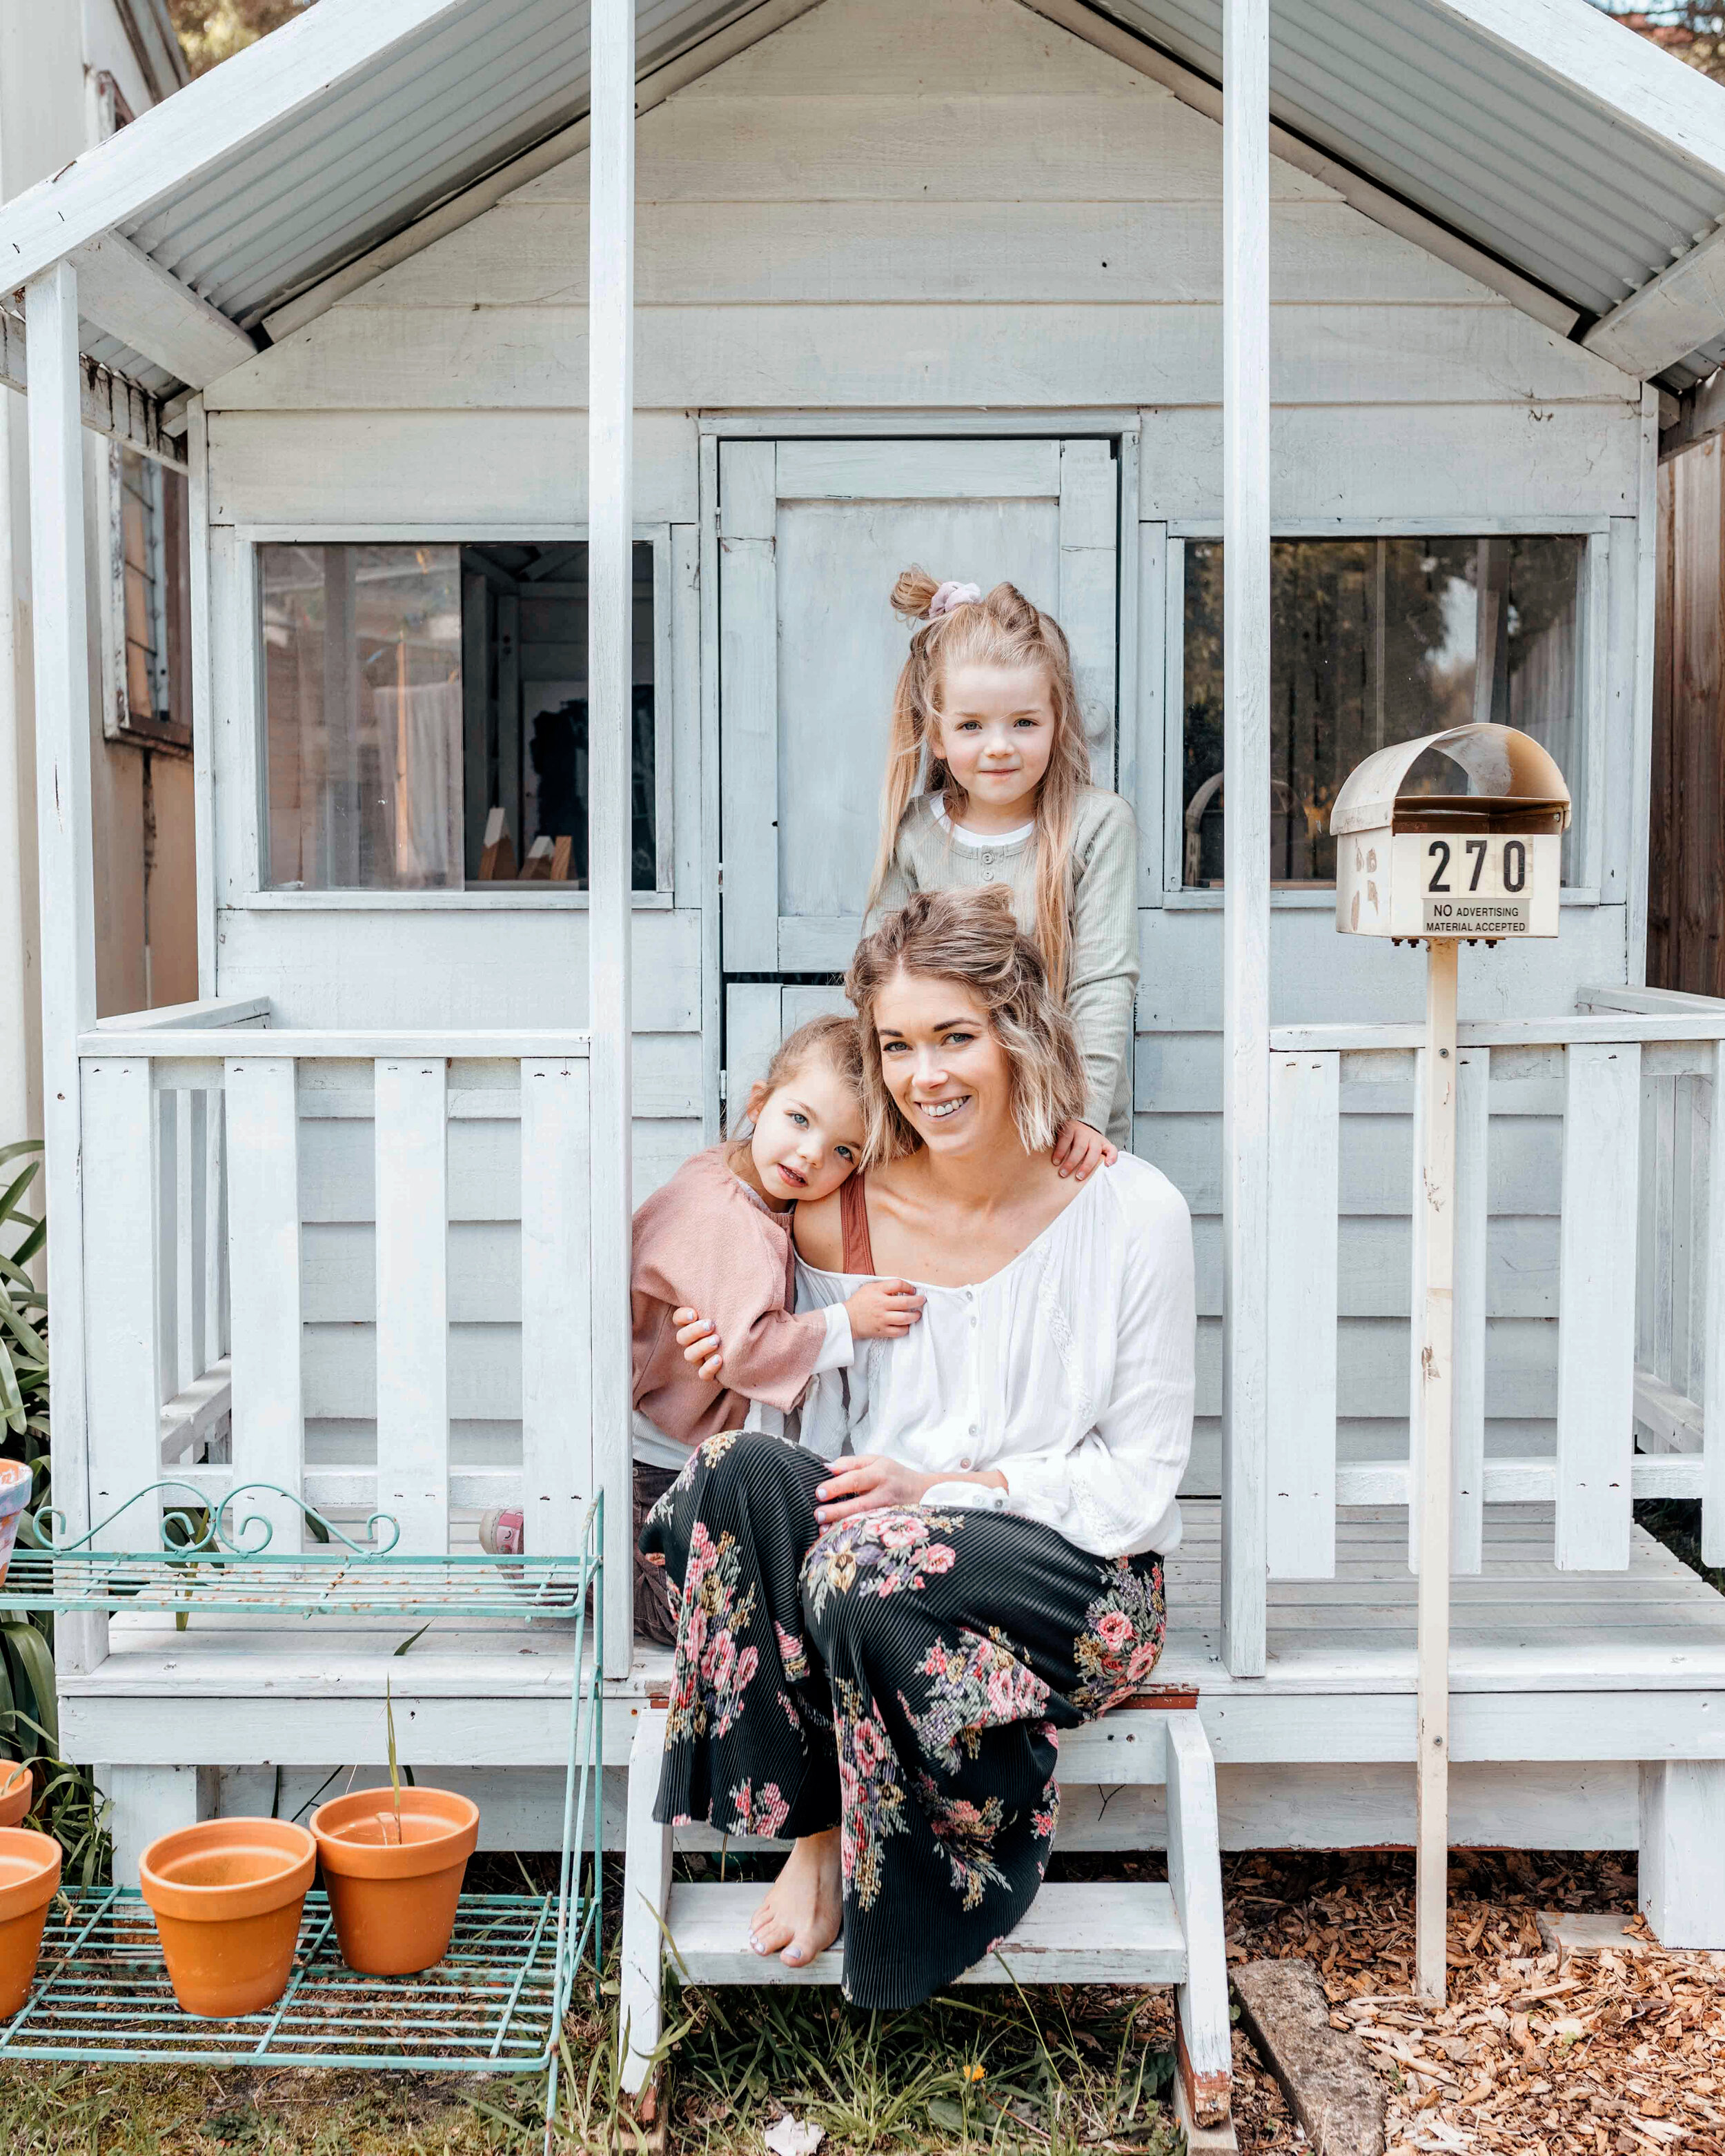
NICOLE DONEGAN, ARTIST, LIKE POETRY, YARRA VALLEY
Tell us about yourself and what you do?
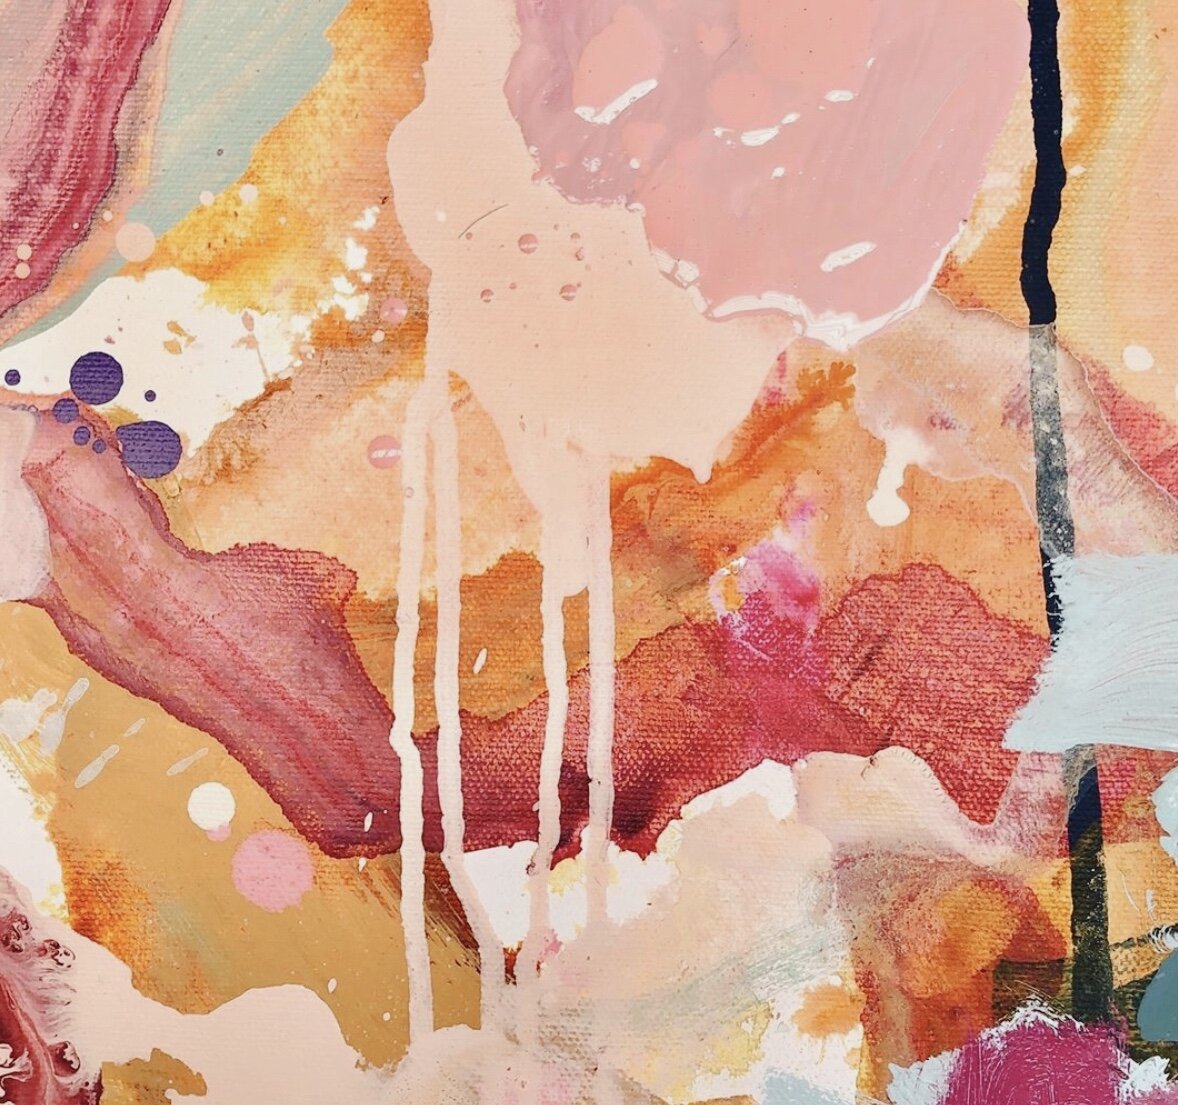
My name is Nicole and I am based in the Yarra Valley, Victoria. I am an artist who finds inspiration in nature, the Australian landscape, hand-picked floral arrangements, poetry, colour and story-telling. I paint still life paintings (flower studies), landscape and abstract paintings. In the past year my arts practice has also expanded into hand built ceramics, cushions, tote bags and greeting cards.
Past exhibitions have included solo shows; ‘Into Dreams’ 2017, sponsored by the Art Seed Pods and the Yarra Ranges Council, ‘Falling into you, Falling into me’ 2018, at Dot Space Gallery in Northcote, ‘Flower garden of your heart; 2019 at Corner Store Merchants Gallery Castlemaine. In 2020, I was thrilled my work was picked up by Jumbled Online. I also sell my work via Instagram. When I am not in the studio creating, I work at Deakin University in the Marketing Division.
Why did you decide to start painting?
I first discovered my passion for painting seven years ago, when I assisted to paint (by chance) an abstract mural. Soon after, I joined a painting group, found a painting mentor and never looked back.
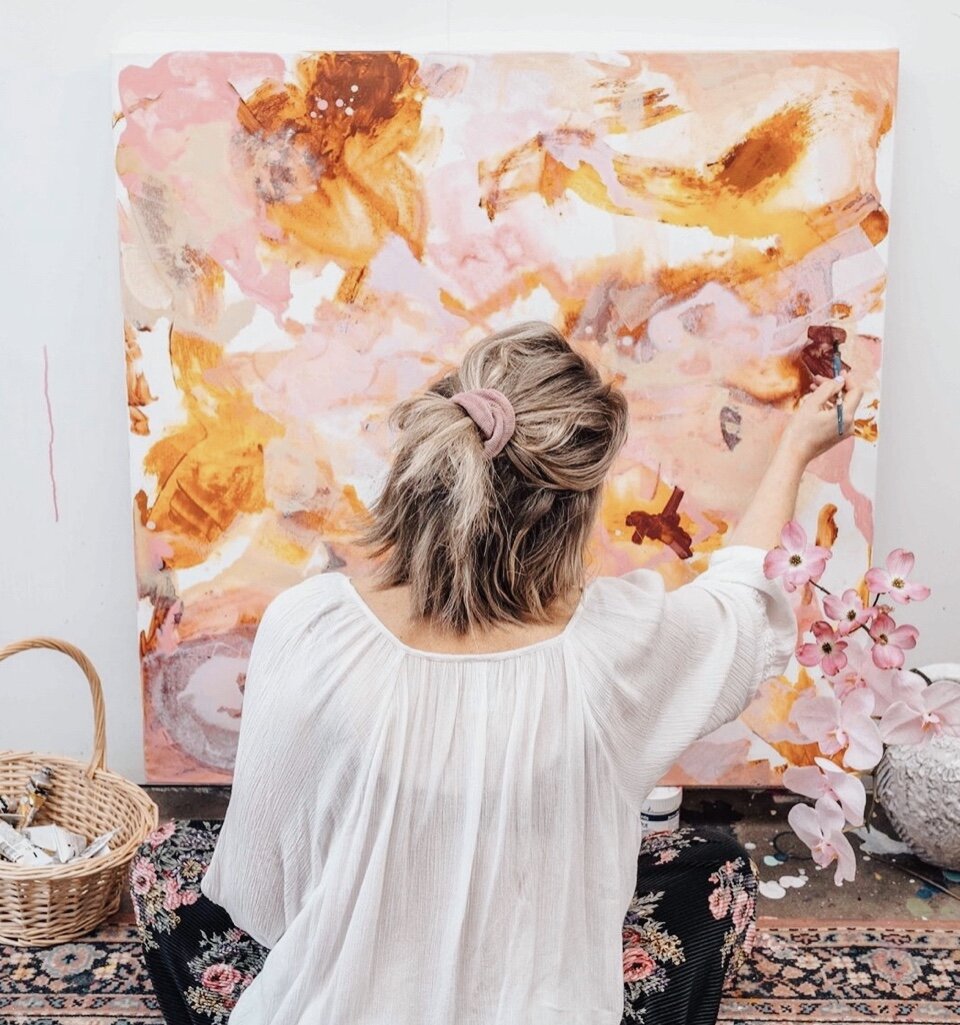
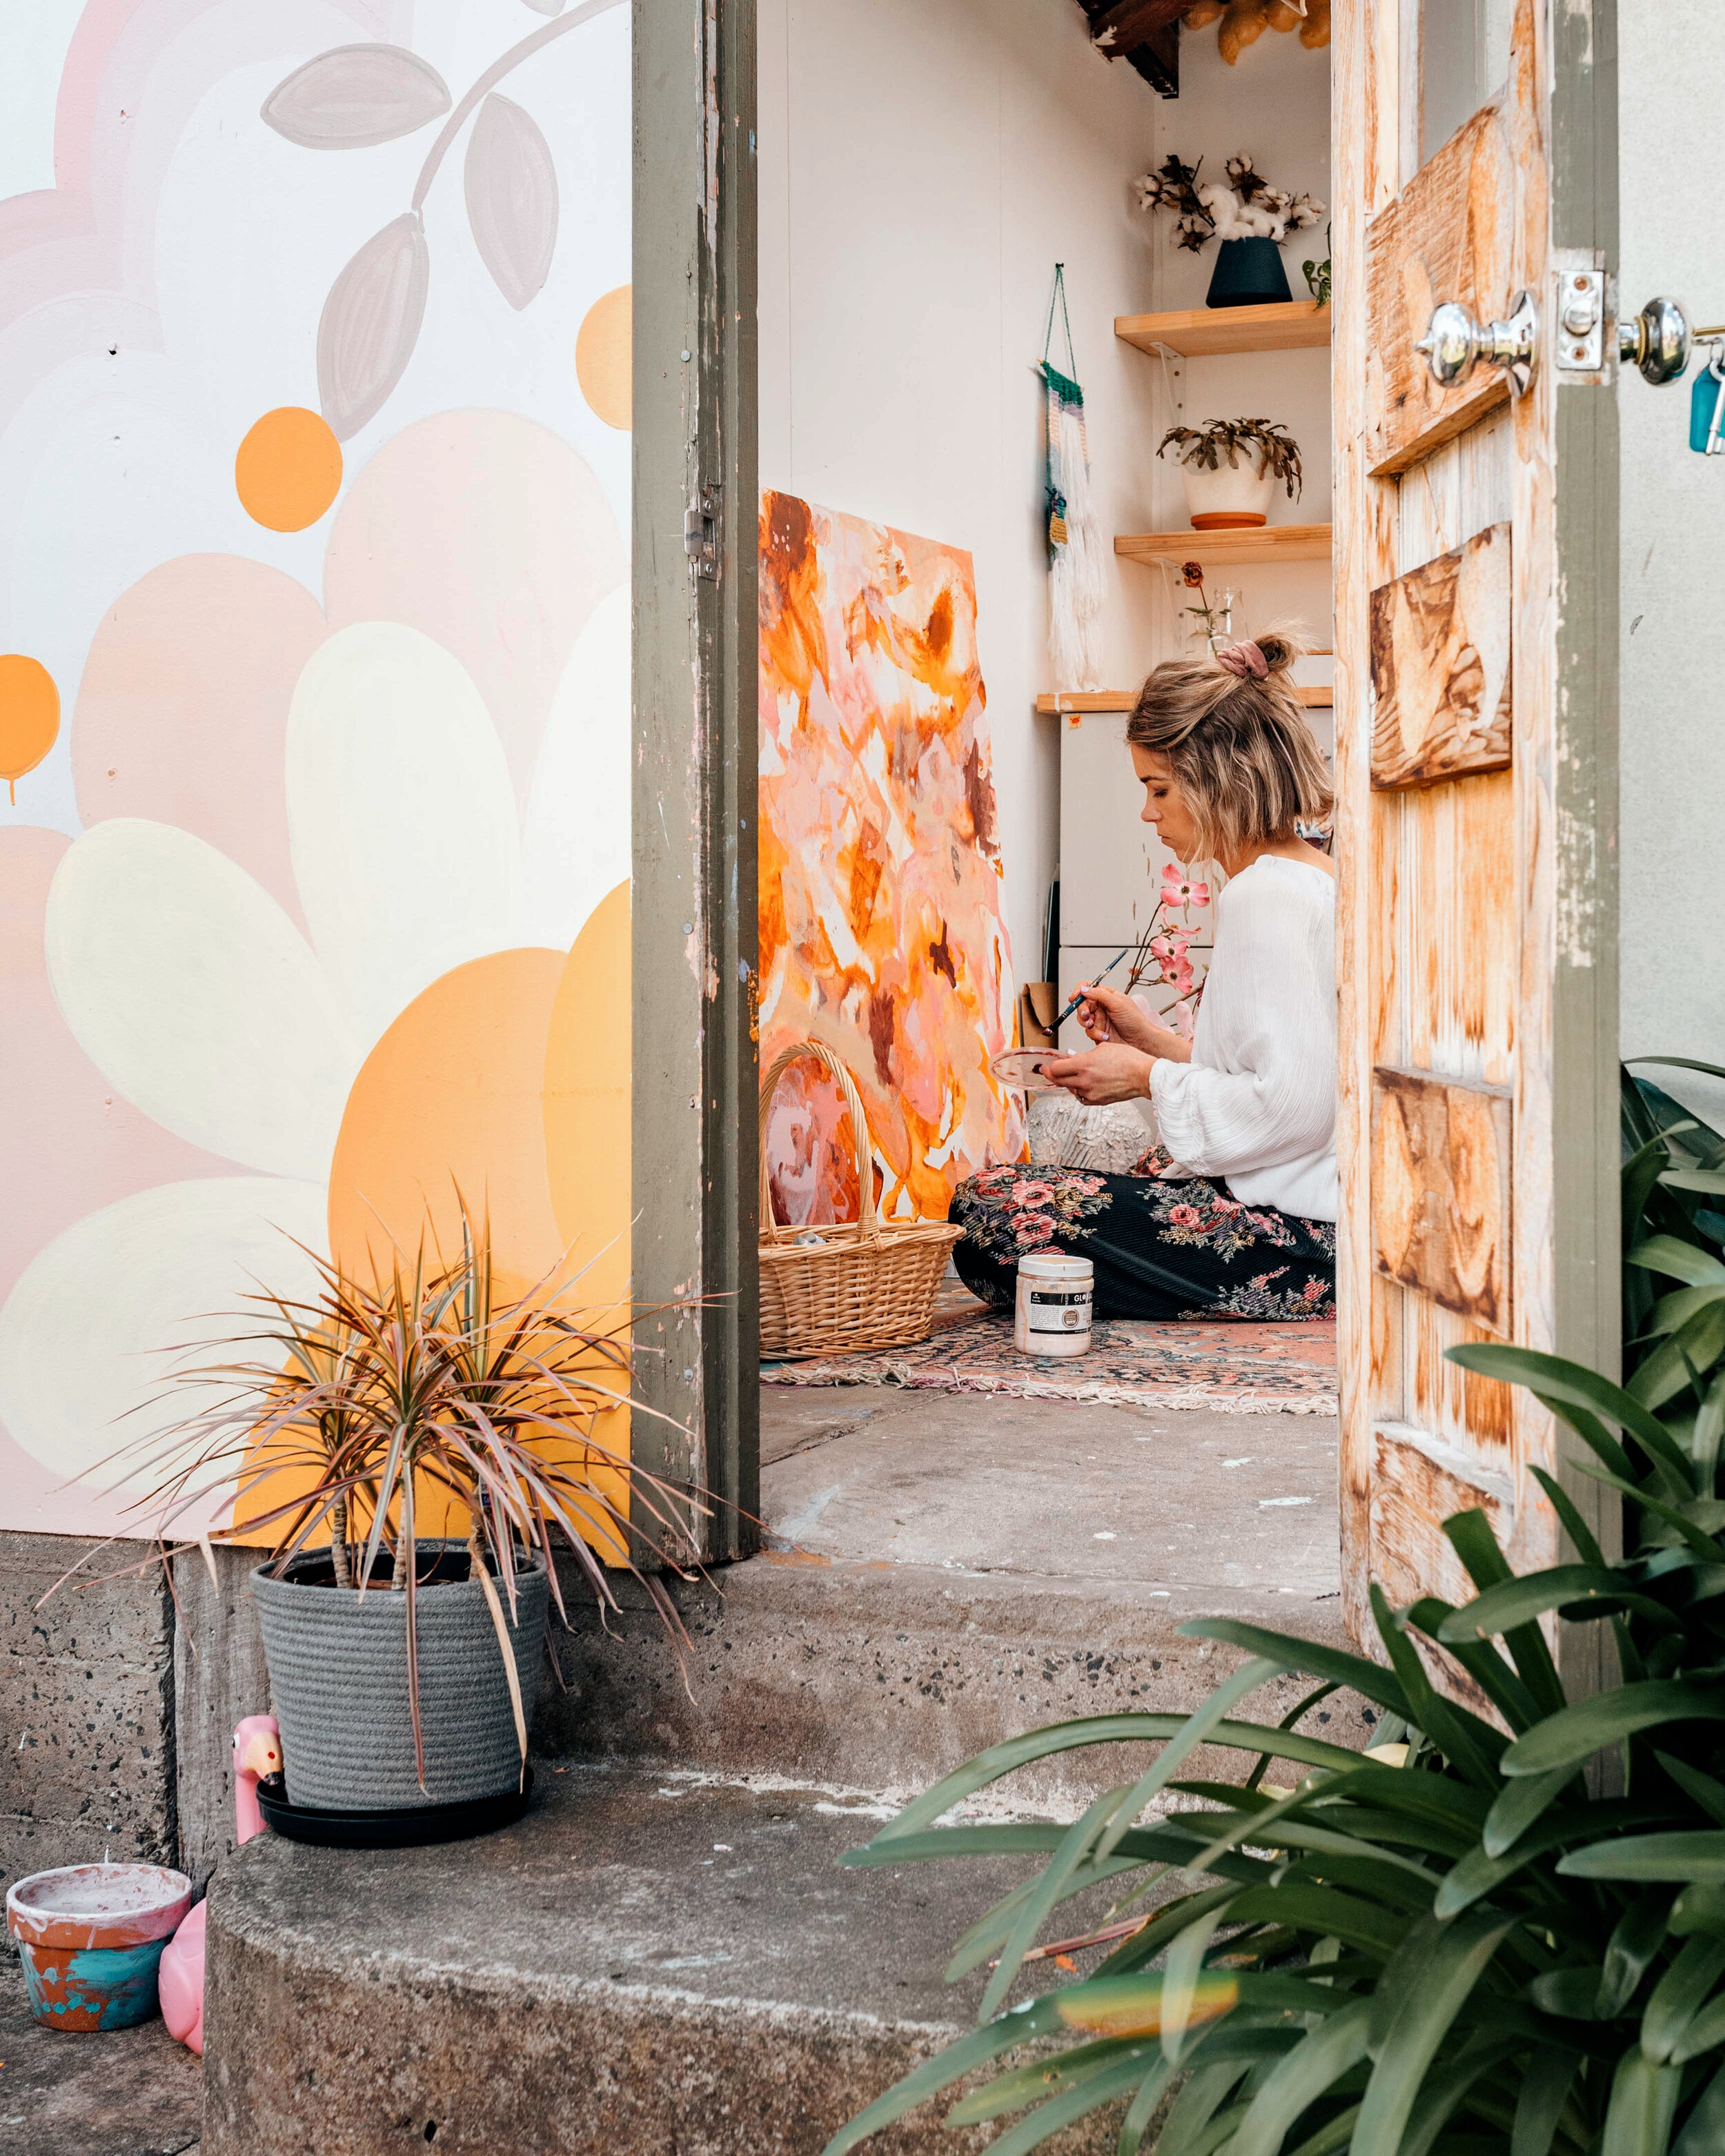
What’s your creative process?
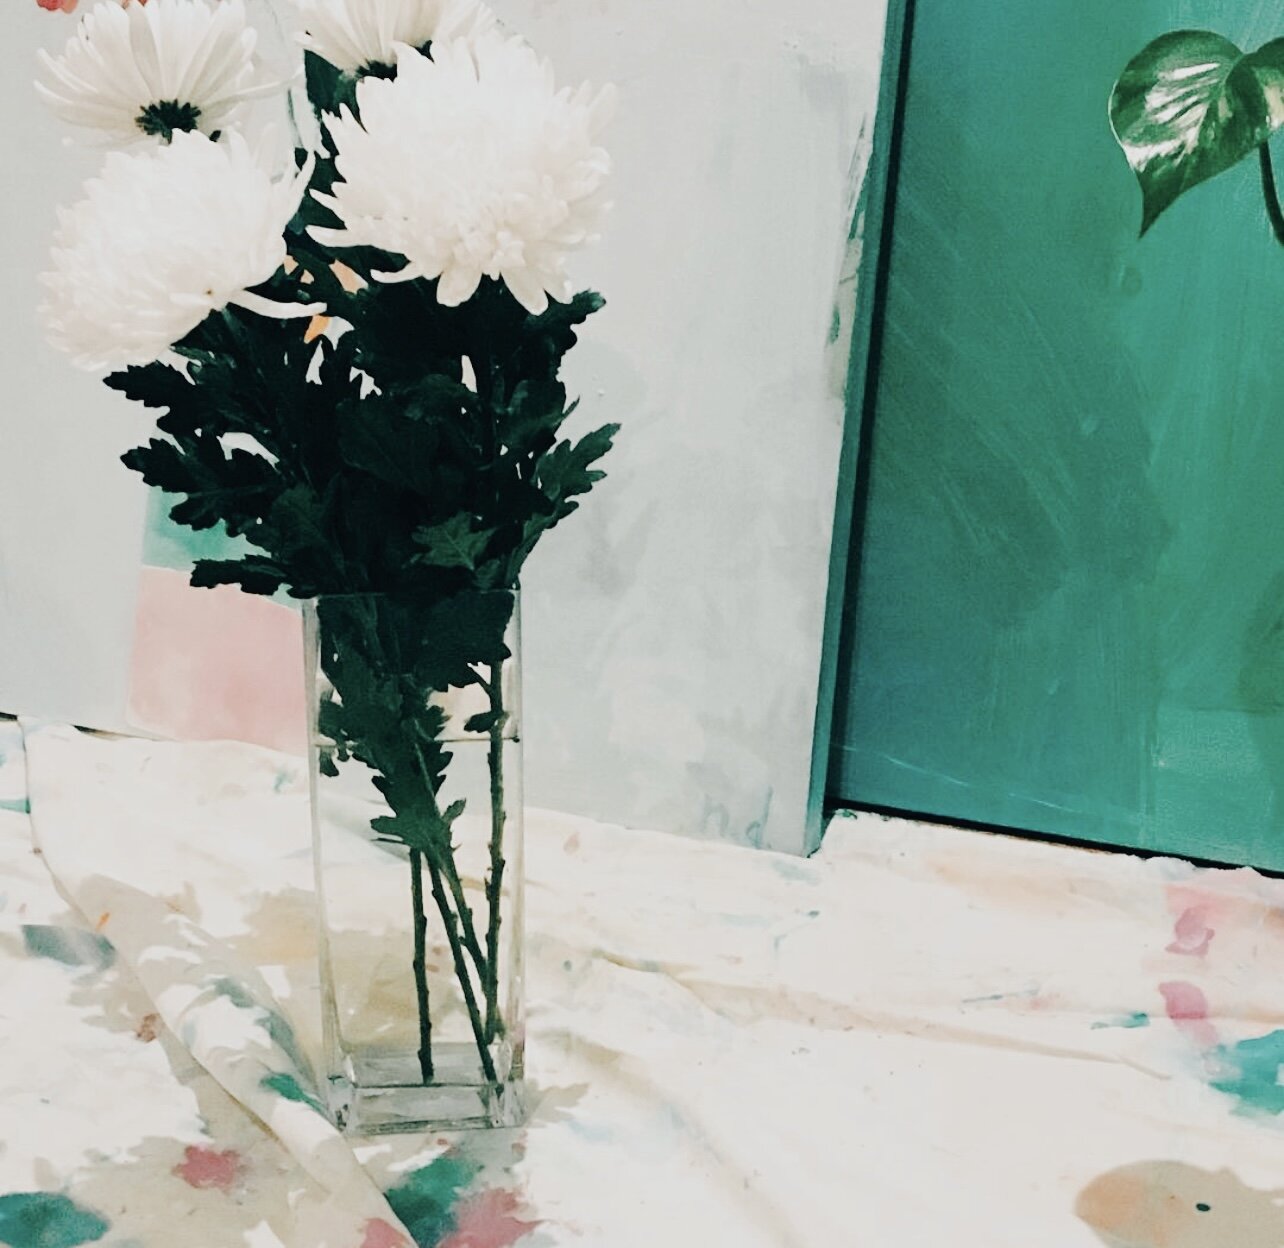
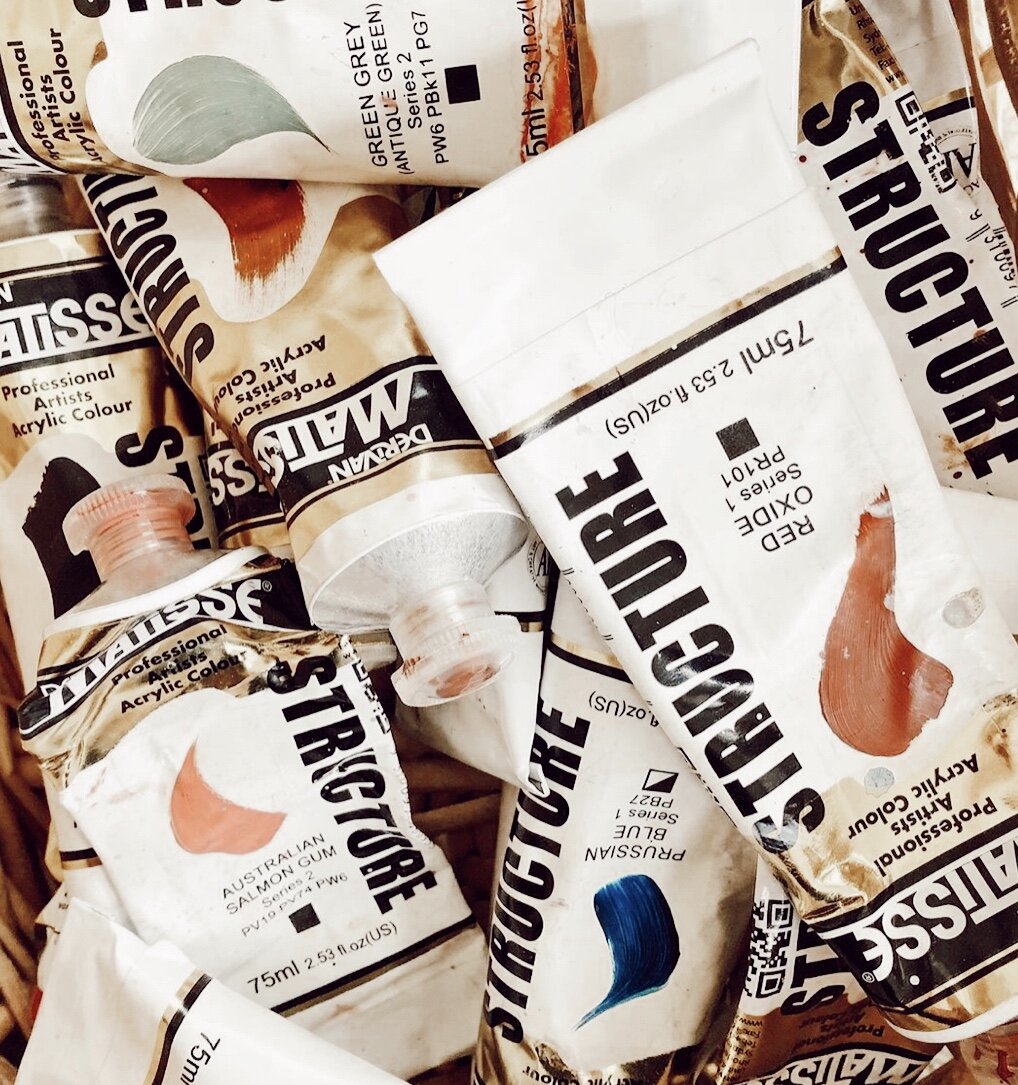
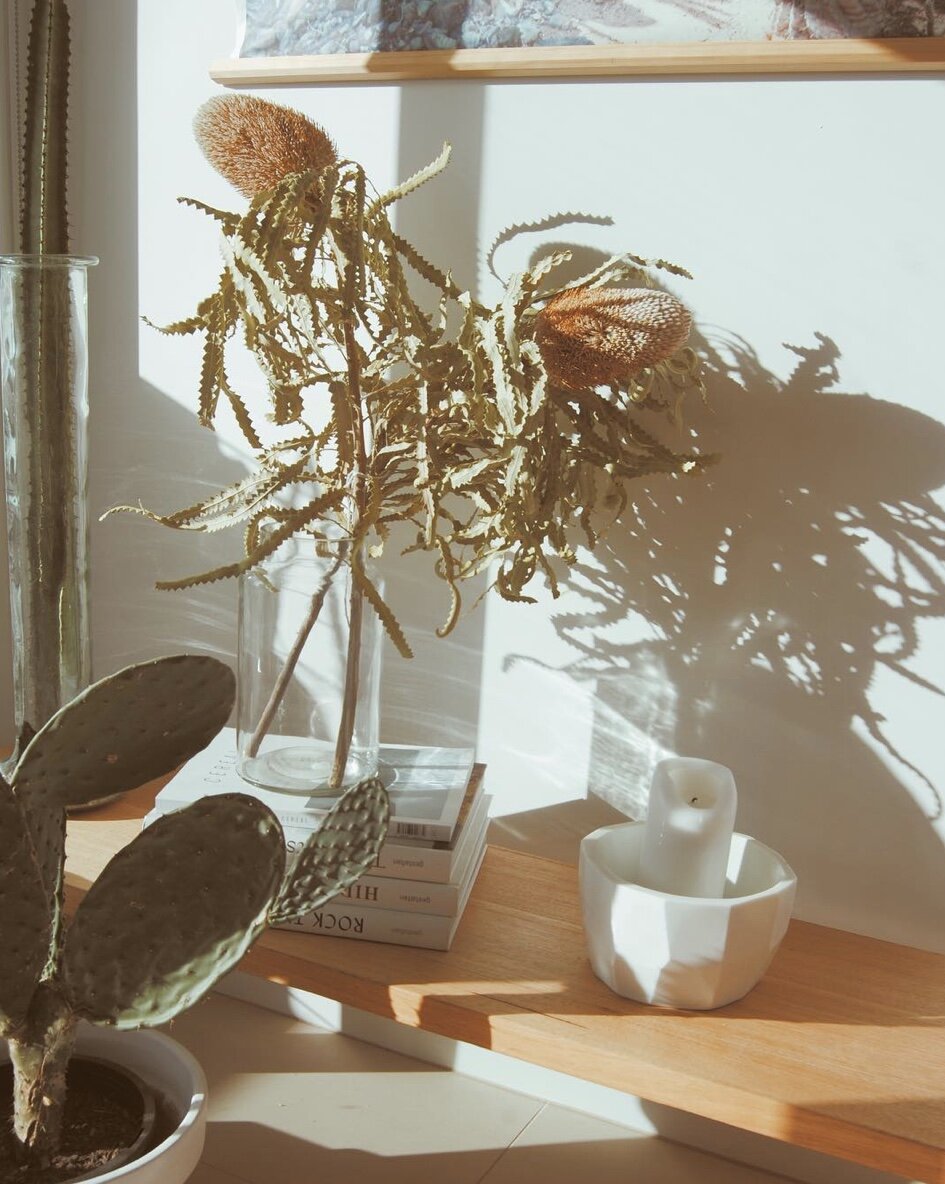
My creative process begins on Saturday morning, foraging the garden, bushland or local growers for foliage, flowers and colour inspiration. I then take the materials back to the studio (located in back shed) and arrange everything into vases. From there I then mix the acrylic paints; taking colour inspiration from the flowers I have in the studio or what I have seen on the land that day. Once I am set up, I am ready to start painting. I paint with the roller door up, so the light floods through the Shed. The studio view looks out onto a paddock.
The biggest advantage of painting in the shed is the brilliant natural light and the luxury of leaving my paints and materials scattered across my large studio table, ready to come back to, the very next day. Over the course of the week the flowers die. Sometimes I find more inspiration in the new colours and shapes that form during the drying/ dying process. If I’m not in the studio, I can be found painting en Plein Air in the Australian bush. The most precious gift as an artist is being able to translate the magic of the land and nature in paintings, cards, ceramics and homewares.

A fun fact about yourself?
I collect words, if I read or hear something interesting or moving, I will write it down in my phone. I am also a runner.
When do you feel most inspired to create?
I feel most inspired to paint when I come back from a trip somewhere. Lately these trips have been in regional Victoria. I often return with the desire to paint the feeling of the land and my experience of place. In these times, inspiration often flows easily into a series or paintings or a body of work. That said, what I have come to learn in my arts practice, is even when I don’t feel inspired to paint, it’s really important I push myself to paint anyway. A few years ago, I would only start a painting when I had a strong desire to create. But over time I have come to realise that the most important part of my painting process is having a consistent practice. I paint several hours a day and this allows those moments of inspiration (when they come) to flow more easily and regularly because I am painting more.
How would you describe your aesthetic?
My intuitive approach to painting allows the paint on the canvas to form a feeling or moment. The painting process often studies life’s truths; both joyful, melancholy and the everyday. I use colour to evoke emotion and meaning and to tell a story in a painting.
A word of encouragement for beginner artists?
To be an artist takes hard work and discipline, if you have a calling to create I would also encourage you to surround yourself with other creatives, and work on your practice every day. I would encourage you to find a painting mentor and join a local painting group. I was also once told -- everyone is born to ride their own horse. So, if you were born to ride a corporate horse; work hard and ride her. But if you were born to ride a creative, work hard and do everything you can to honour your horses own special talents and gifts. Because I believe if you honour your horse, they will take you on a great adventure. Also, follow your heart.

Who are some other artists that inspire you?
My favourite painter is Australian Artist, Jenny Watson. Jenny’s exhibition ‘the Fabric of Fantasy, at Heidi Museum of Modern Art in 2018 was one of the most inspiring exhibitions I have been to. Even today, years later, I am still moved by the work in that exhibition.
Artists: Elizabeth Cummings, ileigh Hellier, Idris Murphy, Justin Lee Williams, Rachael Castle, Kate Eliza, Katy Smail, and recently Johanna Dumet Poetry by Liana Flinck, Mary Oliver, Darby Hudson Floral Designers: XX floss, LLB Florals Ceramics: Jessilla Rogers, Hilary Green and Bridget Bodenham. Fashion Design: Molly Goddrard Photography: Jenna Faye White, Lilly Waters
What kind of flowers bring you the most Joy
Since I was a little girl, my favourite flowers have always been, forget-me-not flowers. A close second, would be a blue hydrangea. I feel both flowers have a special feminine quality to them.


What do you hope to achieve in 2021?
I’m in the process of completing a beautiful website on Shopify.
I have recently completed a photoshoot in a country cottage in Victoria with the amazing Jenna Faye White (who has had work published in Vogue and Harper’s Bazaar- so talented). It was a total thrill to collaborate and I can’t wait excited to get those photographs out into the world!
Paint everyday
I am collaborating with some amazing creatives this year – interior stylists and an online exhibition (but unfortunately, I can’t give too much away right now).
Spending more time away from tech – spending more time reading, writing and running. I am also knitting a scarf and jumper for the first time this year, which has been so enjoyable.
See more of Nicole’s beautiful artwork here

Instagram Tips & Tricks From Some of The Best
So if you follow me on Instagram, you’d known by now, I’ve been having a lot of fun hanging out on the new Clubhouse App, lately. What is Clubhouse, you ask? You can read Vogue’s take on it, here.
Anyway, so last night I hosted a room on styling tips for Instagram with a couple of other creatives: Khryxette Abarra (Lifestyle Photographer, Melbourne) and Kerri Carucci (Fashion Stylist, Brisbane). Not long after the discussion began, we had a diverse range of people, all with large followings, come up on stage and share some awesome tips with the audience.
The conversation took many twists and turns and I’ve collated the best of what was discussed below for you! Hopefully you can learn from these tips that have come from some successful influencers and brands who have figured out what works and how to use the algorithm to their benefit.
Here’s what we learnt:
BECOME AN AUTHORITY
Become an authority in what you’re selling, and your brand.
Know your purpose
Why do you want a greater following? Who do you want to follow you? This will help you determine the ‘how’.
have A strategy and objectives clearly understood
This one is self-explanatory! Know your WHY and stick to it.
Ask people to save your post
Instagram is constantly changing and evolving, and while it’s important that your brand values stay consistent, the way you present yourself on there shouldn’t as you’ll need to adapt and shift as the platform favours certain features. One of those features currently, is ‘saves’ of your post. So remember to make your content something someone would want to come back to later, and there’s no harm in directly asking your audience to save your posts!
Inspire, educate or entertain
A general rule-of-thumb for making interesting content for your viewers. This is known to cause a great spike in engagement and connection (check out the Reels or Explore section and to find inspiration on what others are creating in this way).
Authentically give
Be generous with your viewers, share tips and tricks that are relatable to them. Are you a florist in the wedding industry? Give behind-the-scenes sneak peeks at a wedding setup, tag other vendors in your posts (this also then makes your content shareable by them and more likely to spread), make how-to instructional on simple posie creation, or document how much work in involved in a wedding setup etc. The possibilities are endless and it depends on your field or industry as to what is relatable, so be creative!
Behind the scenes
Speaking of behind-the-scenes, your viewers love this stuff! It doesn’t have to be as curated and beautiful as the tiles on your feed. You would usually post these images on your Stories, or in a Carousel post on your feed, behind the prettiest picture, people want to see real-life and real people, so don’t be shy!
Ask questions
Engage your audience with questions. Put them at the start of your caption. Using stickers like polls and quizzes, on Stories works really well for engagement too!
Show up on your page
Show your face! People love to see the person behind the brand and very much relate to that. Once trust is built, it can become the very reason they choose to purchase your products. It was mentioned in the discussion on Clubhouse that we want to buy from people we have crushes on! You’re definitely going to trust that person who is relatable to you or who you aspire to be like, more so than a faceless brand. If this scares you, find a group of friends who are your cheer squad to encourage you and support you. Maybe don’t check how you went too many times the first time, just let it go and know we aren’t judging you as much as you probably feel and it’s scary even for the most confident of us the first time, and many times after that. (You’ll feel better about it after you do it a few times, I promise).
Know what you stand for
It’s super important to know your values, and stick to them. Don’t change with trends or peer pressure. Know what makes your brand unique, be consistent in what you offer your viewers, and know your point of difference, and your why!
Drill down on your niche
It was mentioned many times that knowing your niche and not being afraid to go deep into it, is a massive benefit on Instagram. People can sniff out fakes pretty easily, so own what makes you and your brand unique and authentically communicate that to your audience, they’ll love it!
be a teachers pet
As previously mentioned, Instagram is constantly adding new functions and ways of sharing and connecting with others on their platform, find out what the latest thing is and jump on early! Instagram Guides seems to be all the rage at the moment - check it out!
carousels create engagement
More time spent on a post flicking through a carousel post, creates a higher level of engagement - give it a try.
check your insights
Make sure you keep track of what is working or not working for you, it’s so important to read that data and adapt appropriately. Don’t be afraid to take risks, and trial and error to find out what works.
build trust
Remember to connect with your customers and be consistent, this will build the trust and relationship that encourages them engaging with your profile and brand.
stay away from overly curating your feed
There’s no such thing as perfect and often this can be off-putting for a viewer. We don’t want clinical but relatable. There’s nothing wrong with a beautiful feed, but don't fall into the trap of focusing so heavily on that, that the spark is lost in the attention to detail.
the amazing shop analogy
One contributor educated us with the most beautiful analogy for how to look at your Instagram feed. Imagine it’s a shop and you’re a store owner and you’ve spent all this time and energy setting up your store. Do you just sit in your store and wait the customers to come in and appreciate it? Or would you go out, network, chat to people and leave your business cards around town? The latter, I hope. And the same applies for Instagram, be active in engaging with your existing customers, and future customers, just like you would in a brick-and-mortar store. Collaborate with other brands! Have FUN!
use hashtags with under forty thousand uses
This is such a simple way of getting your content seen easier, and was recommended highly by one of the speakers who has over fifty thousand followers on her page.
add value
Your customers, supporters, and potentially even your friends and family are on your page because it adds value to their life. This can be translated into so many different expressions. But ask yourself, how am I adding value to someone’s life today?
If you’re on Clubhouse I’d love to connect with you there! My handle is @melbourneartist and thanks to all the incredible contributors from last night’s discussion. If you’ve implemented these tips and they’re working for you, I’d love to hear from you too and keep the conversation going! I’m all about community, connection, and collaboration.
Have a beautiful day.
Love, Ash x
How to create an engaging Instagram reel in three simple steps
STEP ONE - MAP OUT A ROUGH PLAN

There are many ways in which you can create fun, exciting and attractive content for your reel. But before you start creating, it’s important to think about how you want your reel to come across to the viewer. You can ask yourself “What feel do I want my reel to have?”. Do you want it to feel joyful, fun, adventurous, colourful, muted, dark or dreamy? You can then choose your filters and format accordingly. Try and stick to a maximum of two to three similar looking filters or feels within the one project or it will lack cohesion, continuity and flow.
Secondly, ask yourself, ‘what message do I want to send to the viewer?’ Will its purpose be to educate, or entertain, will it be just for fun, to market a product, tell a story, will it be just for beauty’s sake, or will it be funny? A purpose and direction will help you edit your content to fit the vibe you’re going for. If you’re a brand, make sure you consider that the feel, styling and content fits within the ethos and identity of your brand.
Considerations: Purpose, mood, message, and brand identity
STEP TWO - CREATE YOUR CONTENT

Where you record your app is up to you. I often use Instagram Stories to film things or a combination of a few different apps to create the content I’m after. Reels of course is great, but it’s important to remember to save along the way or else you can easily lose your work.
In order to keep the reel interesting and engaging, I record dynamic content that varies from section-to-section. What I mean by that is taking footage from altering angles, panning, speeding up or slowing down the recording, and using simple techniques such as stop motion or time-lapse to diversify the content. Often, but not always I record larger times than what I need and trim down in the editing stage. I do multiple takes of shots (excluding things like stop motion and time-lapse) and choose the most fitting one for my reel when it comes time to put it together.
Considerations: App choice, diverse, dynamic content
step three - putting your reel together
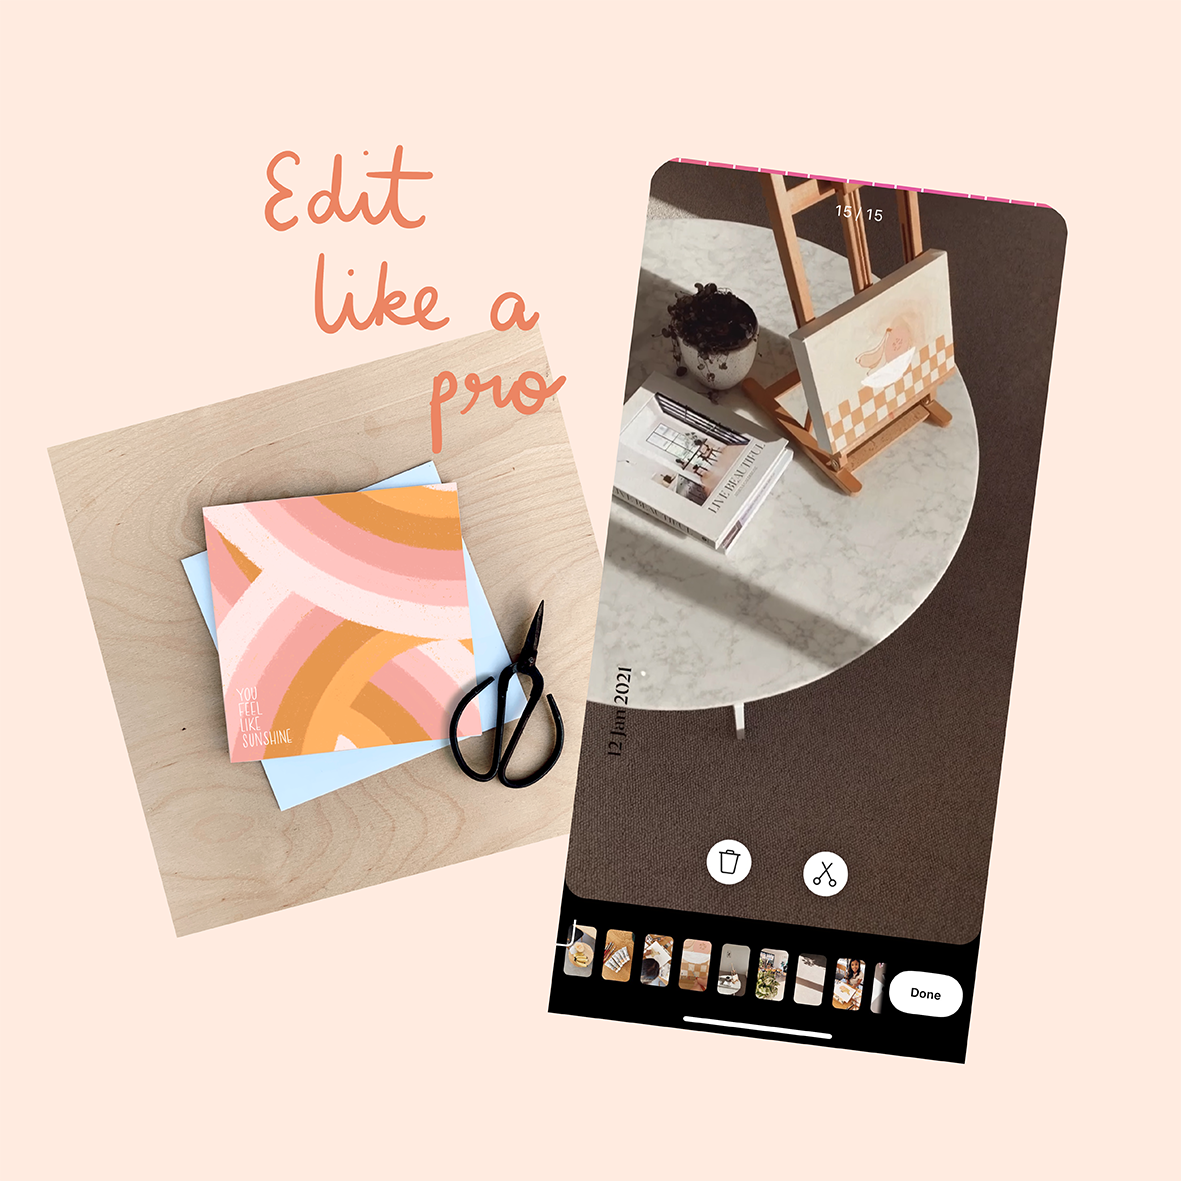
Now to the best part, putting it all together. I choose thirty second reels every time as I can always make it shorter. I like to remind myself during the process that more is not always better and to keep it succinct by only including footage that is interesting, beautiful, and relevant to the goals I set out in Step One. Quality over quantity, always.
The musical element is one of my favourite ways to add another dimension to my reels. It can evoke a sense of adventure, change the mood, be fun or silly. I love the process of searching for songs that enhance the reel I want to build and trial and error until one fits perfectly! I edit footage to coincide with the beat or flow of the song. The way the editing section is designed in the app, makes this very easy to achieve once you’ve practiced a little bit.
I like to keep my individual reel sections short and sweet - one to three seconds max. I do this in order to keep the flow of the reel moving and to tell the story in a fun and interesting way. I find matching well with the beat of the music easy when the reel frames change at this pace.
Considerations: quality over quantity, matching your visual story to the music, relevance, frame length (short and sweet)
And that‘s it really. I Can’t wait to see what you create with your reels. Feel free to tag me and I’ll be sure to give your reel a like and a comment!
Instagram: @ashwhite.co

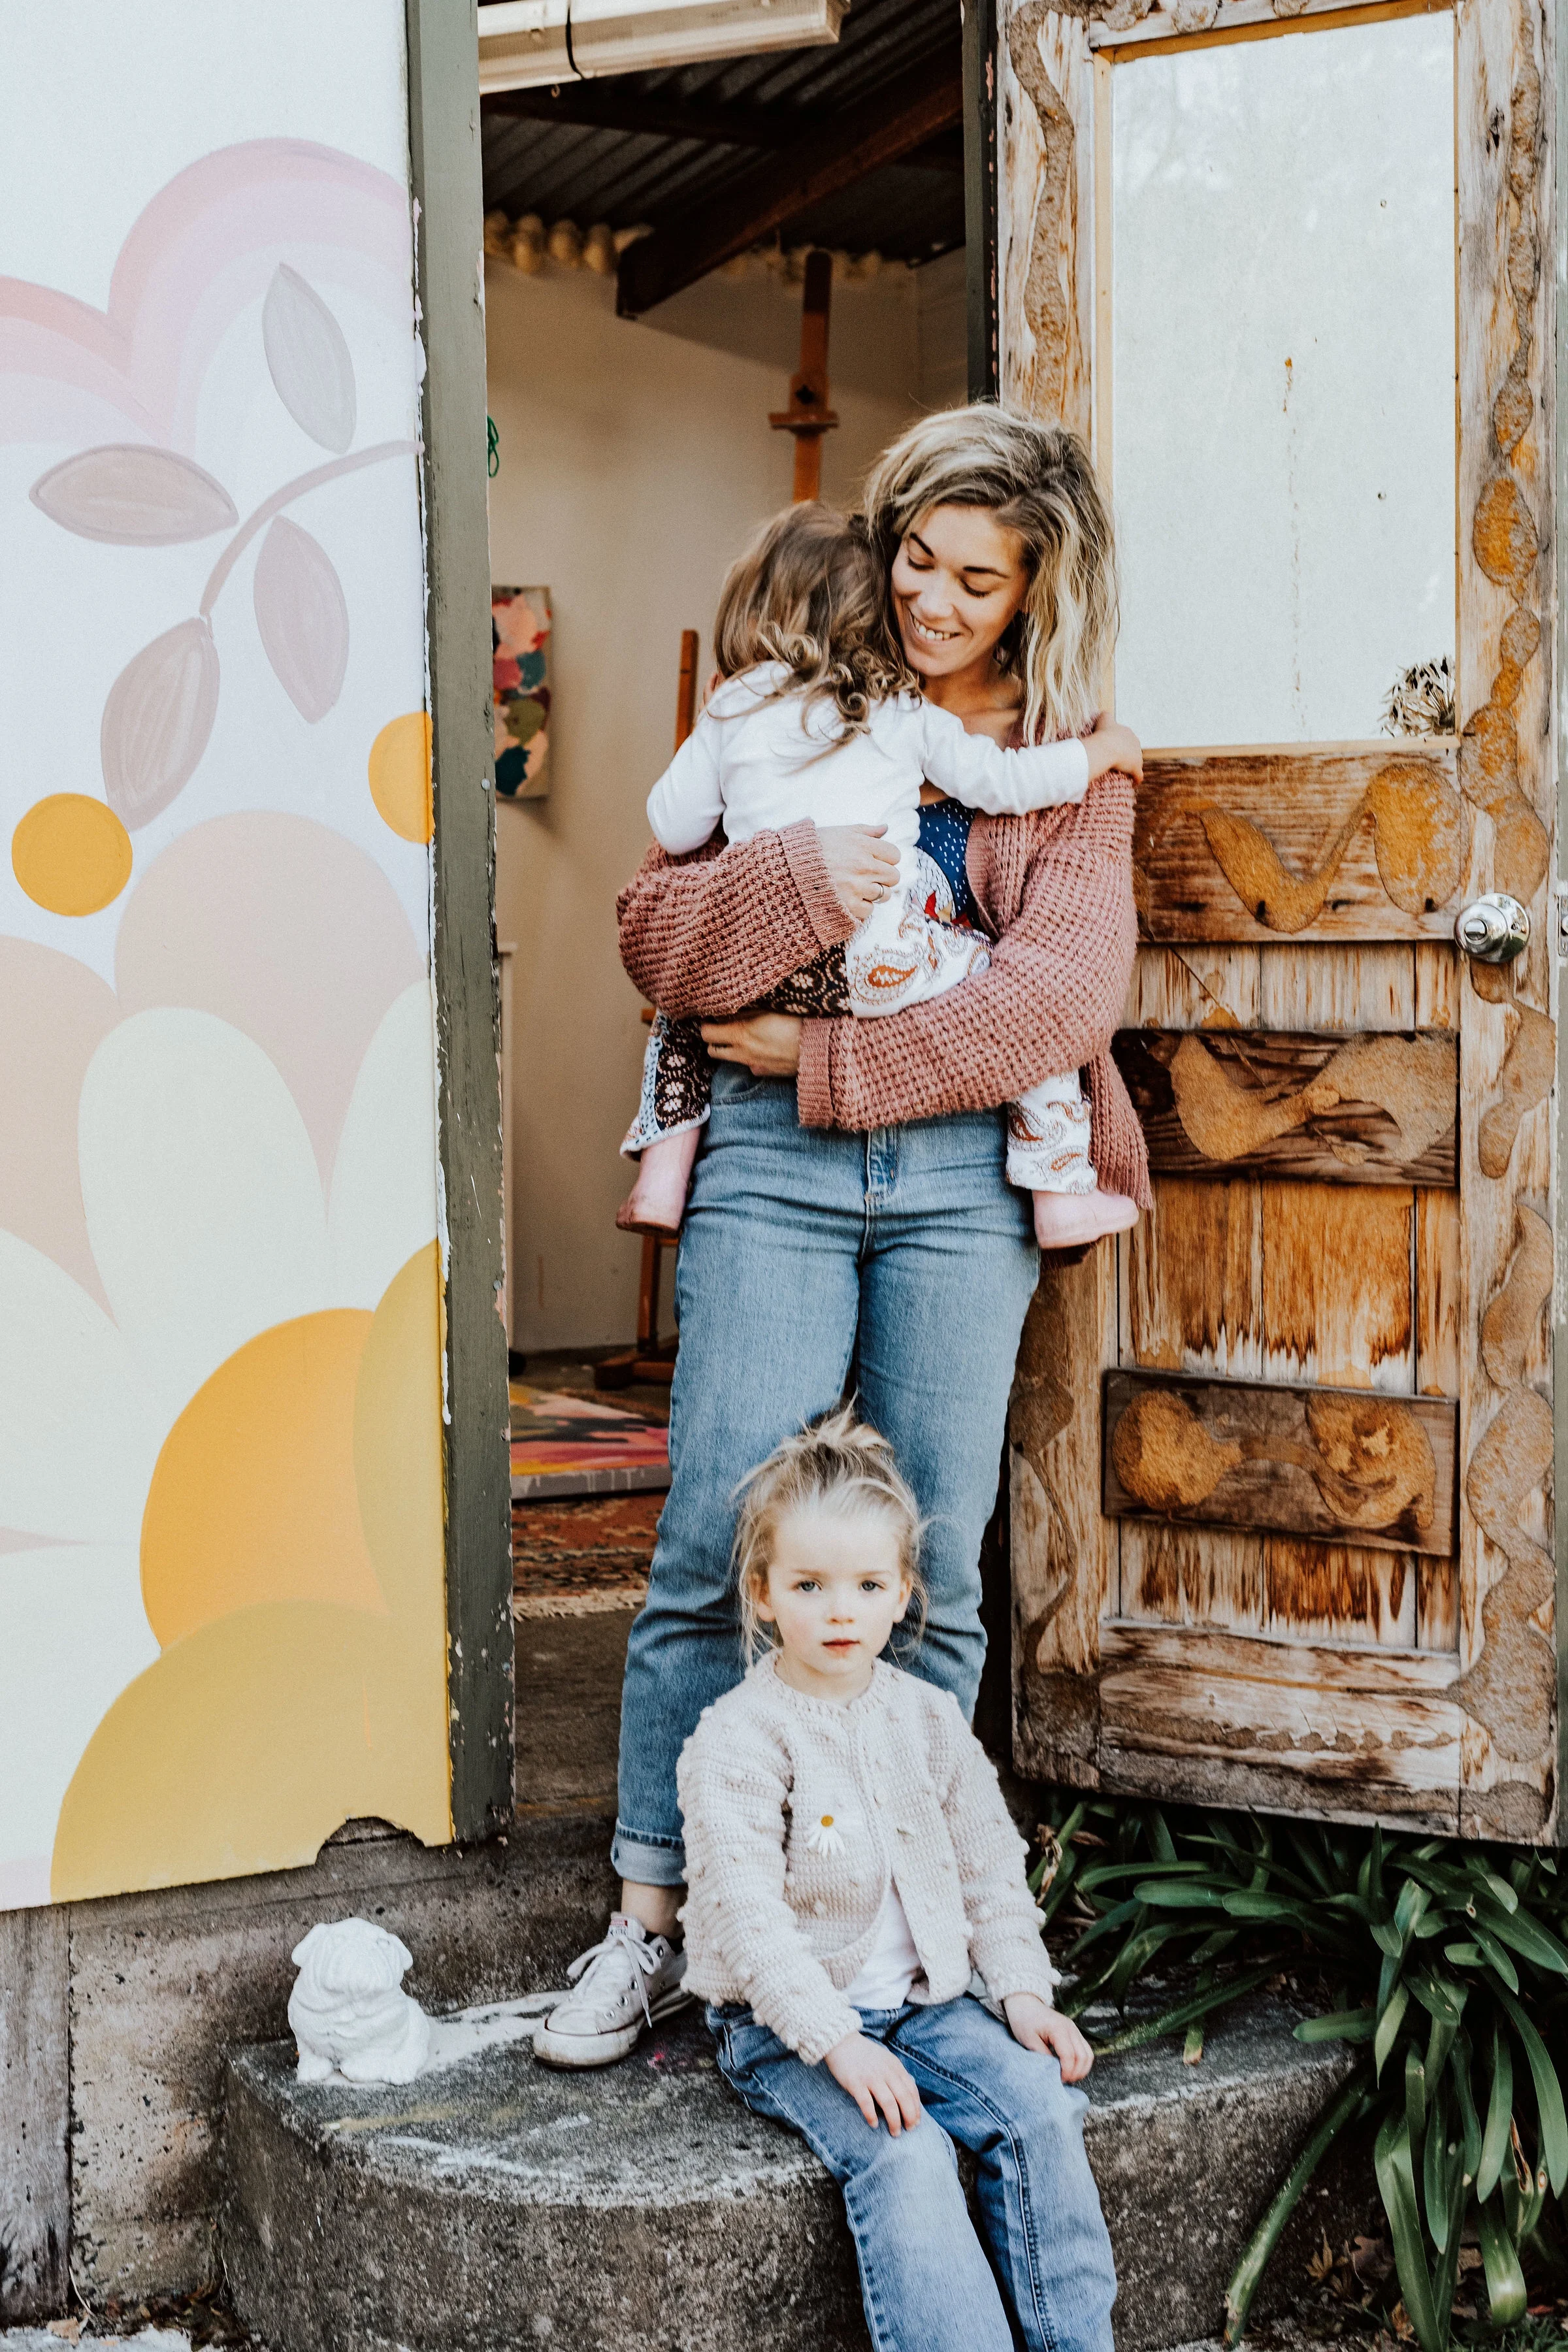
Youki, Creative Director, MIDNIGHT Flowers & Sharps, Yarra Valley
Tell us about yourself and what you do?
My name is Youki, and I’m a florist based in the Yarra Valley. I’m a single mum to two wonderful children, and a mum of three businesses - Sugar Bee Flowers (wedding flowers), MIDNIGHT flowers and sharps (cute little retail store on main street Healesville) and Hamono Studios (Japanese knife wholesaler). I have been running my own businesses since 2009, which is when I was pregnant with my second baby.
Have you always had an interest in flowers?
Yes and no. Ever since when I was little, I always knew I loved colours. I would gather wild flowers and foliage, autumn leaves and different soils, and line them up on the ground in different combinations. I got into floristry when I got married and the flowers that arrived on the day were nothing like what I had asked for. It was actually a blessing in disguise, as it led me to the path of flower life.
What inspired you to open Midnight Flowers & Sharps?
When I took over MIDNIGHT flowers and sharps in April 2019, I was already into my tenth year of my wedding flower career and was looking for another creative outlet. At that time I had met a knife maker based in Japan, and he was looking for a way to distribute the knives all over Australia and New Zealand, and I thought what a wonderful way to incorporate the two (flowers and knives) while supporting other local artists and creatives who produce amazing, inspiring products!

What kind of flower brings you the most joy?
All seasonal flowers bring me so much joy and happiness. When I go into the market and see a new flower that has come into season, it makes my heart feel like it’s squeezed so hard that it might explode. Spring flowers especially gets me so excited - like Sweet Peas, Ranunculus, Andromeda, and Daphne.. oh my!
What’s your creative process?
All of my floral creative energy comes from seasonal flowers and colours. I often work to people’s preferences, so I make sure I listen to what people want and create that in the best way I can. Otherwise, if I have the creative freedom, then I will pick up my favourite flower (often a rose) and start building from there, taking inspiration from the shades of colours and seasonal textures.

Are there any other florists that inspire you?
Sarah Ryhanen from SAIPUA has always inspired me. Her combinations of colours and textures are just breathtaking, she uses seasonal flowers always, and has always been an advocate for sustainable floristry. I attended Sarah & Nicolette’s flower course in Sydney years ago and it was an absolute dream come true!
Tell us about the most memorable event you can think of in your career?
There are so many, from the gorgeous wedding styling that we have created, to the day that I took over the shop in Healesville, to the all-nighter at work I’d done with my staff to get ready for a wedding. But I think opening the workshop in Coldstream for Sugar Bee Flowers, and taking over the shop in Healesville are both fond moments for me. There were so much emotions - combination of excitement, joy, accomplishment, fear, anxiety, exhaustion... and everything in between!

Any music, artists, books, that you’re loving right now?
I have been immersing myself in a book called Gene Keys. It’s highly spiritual, and has given me so much wisdom. I think everyone should read it!
Favourite weekend activity?
At the moment we can’t really do much so I’ve been walking my dog A LOT. He’s never been this happy I don’t think. When we weren’t in lockdown, I would go out for dinners and try to spend time with friends, who inspire and motivate me to become a better person.

How did COVID affect the floral industry, I’d love to hear your thoughts on this?
Because there are no weddings and events, the wholesalers, growers and florist have though that we would be doomed.. but how we were wrong! Although we are not using as much flowers as we would in weddings or events, many florists have become extremely busy with bouquet deliveries. People were sending flowers to their family, friends and loved ones to cheer each other up, and I feel like I have been immersed in people’s kindness throughout COVID.
When COVID hit, there was a time import flowers weren’t coming in, which then made us florist rely on the local growers. I cant speak for growers who always work very hard, but I think it would’ve been a fantastic thing to happen, for buyers and some wholesalers to realise the value of locally grown flowers. We really couldn’t do without the local cut flower growers and I hope all florists continue choosing local flowers over imported flowers.
you can find more of Youki’s work here:

Ravi Kaur, Textile Designer, Melbourne

Tell us about yourself and what you do?
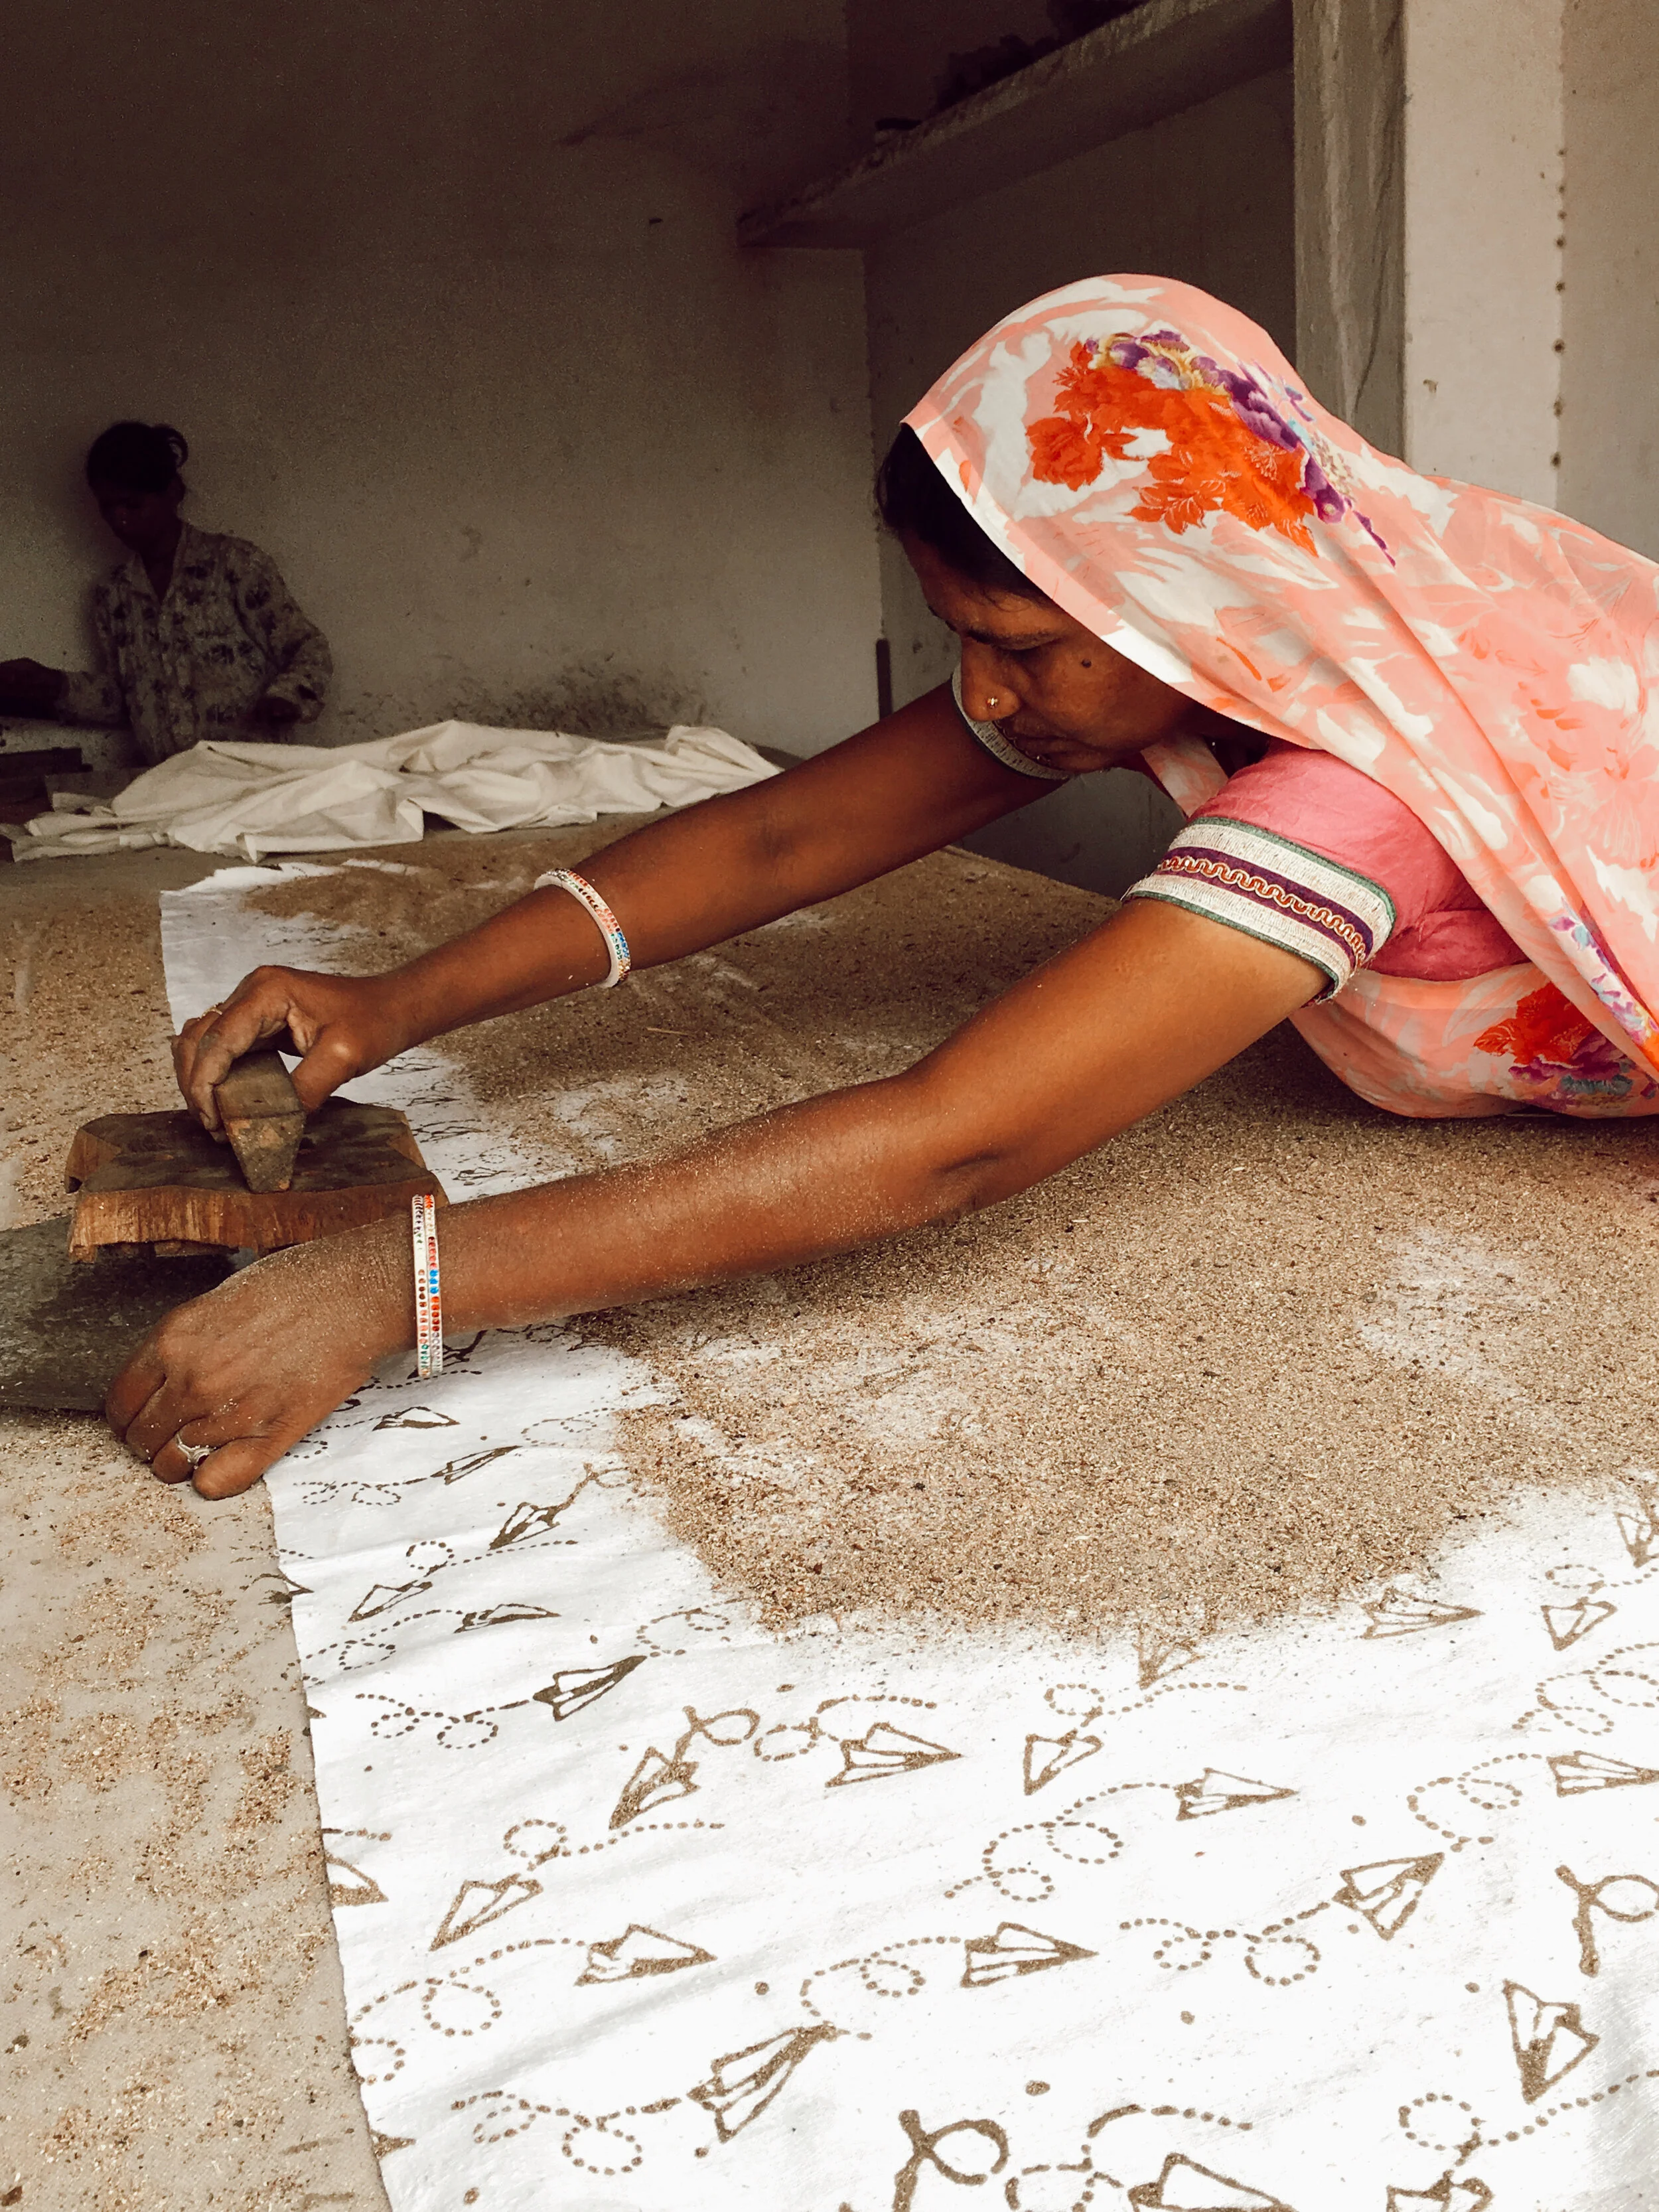
Hi, I’m Ravi, a textile designer. While I’m based in Melbourne, Australia, I also spend extended periods in India, working closely with village communities. I am driven by justice; my heart beats for people struggling with poverty, inequality, addiction, abuse and discrimination. In collaboration with the local community, we provide education for children living in slums, upskilling for women and medical camps in remote villages where there are no medical facilities. I launched Ravi in September 2018. Our clothing is handcrafted by artisans in India using traditional methods and skills that have been in families for generations. We use natural, biodegradable fabrics that are handwoven and block printed with plant or low impact dyes. These age old processes are inherently sustainable and better for our planet. Our clothes focus on simplicity and clean silhouettes that are timeless.

Have you always had an interest in textile design?
As a child, I was obsessed with colour and form. I have always loved art, interiors and photography and by age 12 had decided that I was going to be an artist with a purpose or an interior designer. When I arrived in India, my birthplace, at the age of 18, the colours and multitude of styles of cloth just captured my heart. Textiles have consumed my life since then.
What inspired you to begin Ravi Threads?
I have to laugh because I had no intentions of doing clothing! I love interiors, so I have almost always designed accessories for the home. I had designed a range of block printed fabrics. My daughter Hannah, who was living with us at the time, loved the fabric and design so much, she asked me to make her a dress. On the very first day she wore it to work, she received 24 compliments! She told me I had to switch to make clothing and I said No! Clothing design is challenging because we are all different shapes and sizes. But I couldn’t shake the thought. I like to try new things and so I went with the risk!

What’s your creative process?
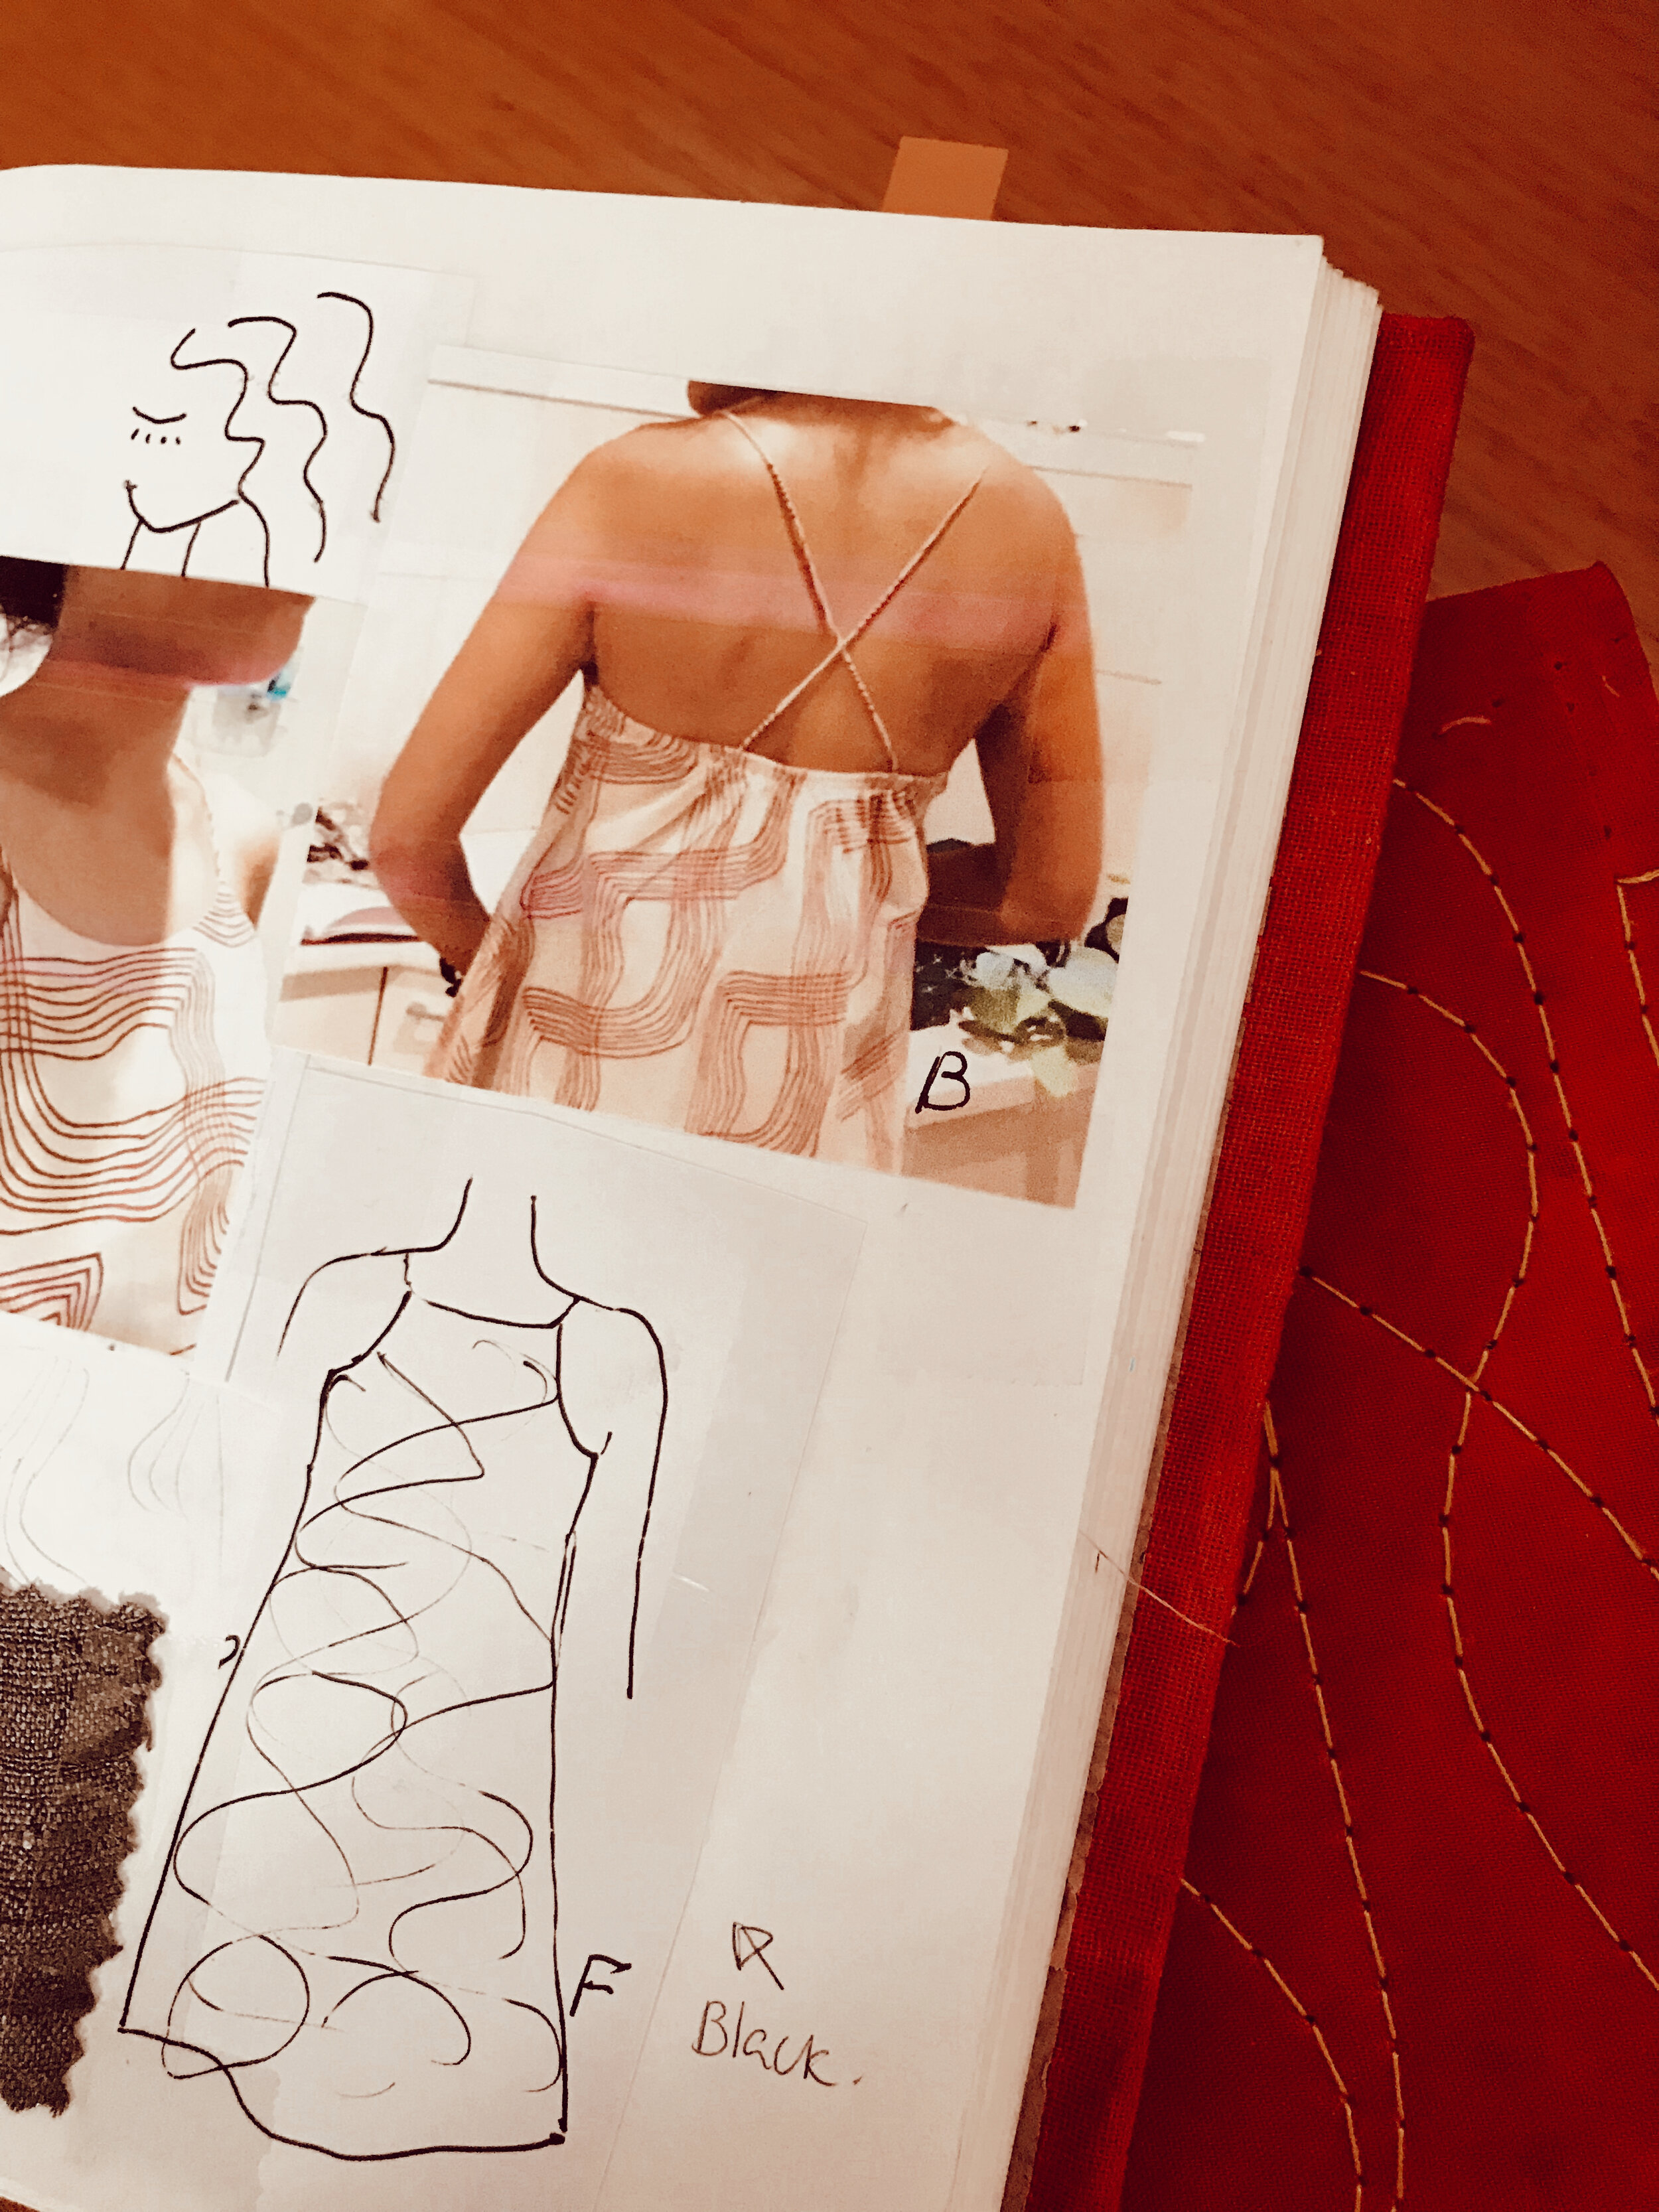
I am inspired by patterns and textures in my surroundings - buildings, ordinary objects and nature. A cloud, an aeroplane, the moon, a plant. When I get into a creative space, I dream designs and sketch for days. I work on putting all my ideas and drawings on paper without filtering any. Then I pick my favourites and work away on the lines and strokes until I arrive at a version that is its simplest, truest essence. I like designs that have a simple, raw, not quite perfect quality. With clothing styles, I research trends and check out shops and streets to see what’s new and what people are wearing. I may take elements of current trends but ultimately I design with the aim of making a garment that is simple, flattering for most body shapes and will endure a few seasons. I draw little sketches and run them by family and friends before making a sample.

Your pieces are made using traditional methods of textile printing, tell us about the challenges and benefits of this?
We are passionate about promoting and preserving the livelihood of artisans and the traditional techniques they practice. The Indian textile industry is unrivalled in its capacity to make a diverse range of fabrics, using a variety of methods and styles. These traditional techniques use local resources and manual processes without electricity or fossil fuel and leave a zero carbon footprint. These living traditions are threatened by mass production and the availability of cheap substitutes. Power looms can mass produce cloth faster, cheaper than handlooms can. India has 95 per cent of the world’s handmade textiles. In 2020, there are 3.5 million handloom workers left, a decline of almost 50 percent in the last 24 years. Handcrafted traditions are expensive because it takes time, labour and skilled workmanship. The benefits are that it provides work, preserves traditional intergenerational skills, helps women be employed in their own homes and stops the migration from villages to cities due to lack of work. It is also not harmful to the environment. There is a chain of silk cultivators, cotton growers, spinners, weavers, printers, dyers and tailors who are linked to each handcrafted garment. When we buy one, we are supporting all of them and the environment.
Tell us about a funny incident or memory from one of your trips to India?
On the morning I arrived in a town where I knew no one, the Indian government declared demonetisation. There was panic with the sudden shortage of cash, with long queues at every bank. ATMs in India are usually enclosed in a small cubicle with a security guard outside. After lining up in a queue for an hour, I found myself in one of these cubicles with about twenty of us wrapped around the ATM in an area about two by three meters. The woman in front of me didn’t know how to use the ATM, so I helped her. With bodies pressed into mine, arms and legs everywhere, everyone shouting instructions, I put her card in and she told me her pin number. Then it was my turn and given our unique circumstances, it was not the time or place to be concerned about security! It was simply hilarious! This is what I love about Indians – they have an amazing capacity to accept and adapt to major setbacks and upheavals. Everyone comes together, like family and help each other along. We suddenly had a shared bond. Strangers went out of their way to help others. And they paid it back to someone else and on and on. By the end of three weeks there, I owed money and my gratitude to a lot of strangers and friends of friends and it was okay because we were connected now.
Any music, artists, books, or Instagram accounts that you’re loving right now?
Lately, I have been listening to music non-stop. Mostly Jazz (Dave Brubeck Quartet, Gene Harris) and spiritual songs that help me stay grounded and hopeful. I like non-fiction and am about to start reading Dark Emu by Bruce Pascoe. I simply love @andrea_ucini whose illustrations conveys a strong visual message on social issues. I love @warrenkeelan who takes the most stunning photos of the ocean. Artist @princegyesi His art is a visual feast of vibrant colour and feeling. @Johnzbawa for his simplicity and use of colours and shapes. @anka_zhuravleva_arts Her photography is like fine art. @Clementevb His photographs of buildings. Great use of shapes, patterns and colour. Favourite weekend activity? My husband Chris and I enjoy drives to the country or the beach, finding little out of the way places to eat and get lost in. Until the lockdown, I enjoyed having people over for a relaxed meal.
What kind of flower brings you the most joy?
All flowers make me smile, especially brightly coloured ones! I love a tangerine or magenta cockscomb with its crazy brain like formation and smooth velvety texture.

Top tips for surviving COVID?
For most of us, the pandemic is a chance to reconsider how we live. It has made us realize that life is short and uncontrollable; that relationships are important and we need to invest in them; to savour ordinary moments; become better people who care about our local communities and the world. I have been taking it one day at a time. Listening to music, gardening, doing stuff that makes me happy. As well as allowing myself to have “nothing happened today” kind of days. Which is hard for me! And actively focusing on staying optimistic and hopeful, in an honest, real way, even when it’s hard to do. Gratitude helps me when I’m feeling low and I try not to let other’s negativity affect me.
YOU CAN FIND MORE OF ravi’S WORK HERE:

Catherine Jensen, Photographer, Melbourne
Tell us about yourself and what you do?
I’m a 31 year old human who’s obsessed with flowers and in perpetual awe of nature in general. I have a few different balls in the air at the moment, spending my days creating photographic floral works for my little print business, making music and now I’m just about to head back to uni (yikes) to do finish my masters.
How did Catherine Jensen Design start?
I started creating my floral prints a few years ago after being diagnosed with a movement disorder known as Dystonia 6, a genetic condition where your muscles start to work against the motions you're most practised at. I’d started having symptoms when I was 18 but because it’s quite rare, it took 8 years for doctors to figure out what was going on. I had many things to be joyful for during that period but it was also a really tricky time. I’d always been very active and loved working with my hands, and I could feel myself slowly becoming less capable of engaging in the things I love most. At the time of my diagnosis, I was in complete no man's land about what I wanted to do career wise, grieving for the life I thought I’d have and struggling to find purpose in my days. The prints where born during this time. I’d become a Christian a few years earlier and despite my confusion over what the future held, I truly believed (still do) that God loved me and and would work all these hard things together for blessing.
Spurred on by this faith, I started getting up every morning and praying that God would give me inspiration for the day ahead and he really met me in that. I kicked off drawing and then when my hand began stiffening up, I moved on to taking photos. I chose flowers as my subject because I was spending my days surrounded by the most beautiful blooms as I worked away in my parents back garden. I became utterly entranced by the abundance of different colours, shapes, textures and seasons that made each flower unique in its beauty, and decided to create a series of works that reflected these characteristics. I wanted to try and share with people what I was seeing when I looked at each individual flower. However strangely, it's through this creative process that I became more able to trust the way God’s made me and rest peacefully in the knowledge that just because my disorder has changed my shapes and colours, it doesn’t make them any less beautiful or void them of purpose. They've just changed the way I bloom. Corny but oh so true. My hope for these prints is that they would uplifting, bringing a little bit of peace and a simple dose of beauty to the lives of those who acquire them.
What kind of flower brings you the most joy?
It’s so hard to choose just one! But if I had to it would be the Wisteria in all its colours. I love the way they climb and entangle themselves around an arbor or pergola, and how the flowers fall from the branches. It looks straight out of a fairytale.
What’s your creative process?
It usually starts with me having an idea and developing a clear picture of what I want to create in my head. This is followed by a series of photographic iterations and digital editing that goes on until I’m happy with the result. Sometimes it takes a couple of hours and sometimes a couple of days.

A fun fact about yourself?
I still love climbing trees. I don’t understand why people stop doing this post childhood. It’s pretty darn fun!
When or how do you feel most inspired to create?
Hard to say, because it’s something that ebbs and flows so much for me. I do think though that the times where I’m most inspired to create are born of moments where I’m stirred emotionally to joy, sorrow or anything in between, by various personal or collective circumstances.

How would you describe your aesthetic?
Minimal and colourful.
If you could choose any vocation in the world which would you choose?
A film composer or some kind of writer.
Who are some other artists that inspire you?
From musicians to filmmakers, writers, visual artists and performers, I'm inspired by so many different kinds of art and artists. At the moment I'm obsessing over a brass quartet called The Westerlies. I've been playing 'Robert Henry' on repeat. In visual arts, the melodramatic old hollywood creations of photographer and film maker, Alex Prager are current favourites of mine.

How has COVID affected The Arts Industry, I’d love to hear your thoughts on this?
With a lot of arts workers in freelance, contract and casual roles the industry's been hit pretty hard across the board. It's a tough time for us, as with so many other sectors. It's not all doom and gloom though, I do have a few illustrator friends who actually say they're busier than ever. I guess one of the results of people having more free time is that they're finally getting around to starting projects they've been putting off. I think it's encouraging that amidst the job losses there are still little pockets of growth. I'm really interested to see how the industry continues to adapt and rebuild throughout and post pandemic. There's an old english proverb that says "Necessity is the mother of invention" which basically means that the greatest innovations are often rooted in need. Creative's are nothing if not innovators, so while the industry and our roles along with it may be changing, I'm confident that we'll be able to evolve with it. And who knows, maybe this pressure cooker we're all sitting in will bear some of the greatest art and innovation the 21st century has seen.

Rebecca Kate, Abstract Botanical Artist, Geelong

Tell us about yourself and what you do?
I'm Beck or otherwise known as rebecca kate (my artist brand name) and I love to create! I'm primarily an abstract botanical artist but have recently started (and loving) delving into collage and mixed media art. I'm also a mum of two girls Esme (6) and Willow (4) who love creating with me.
Have you always had an interest in creating art?
Yep! ha ha... I used to remember drawing all the time when I was a kid.

What inspired you to begin painting?
I completed my Bachelor of Fine Arts way back in 2004 but didn't pursue my painting until Esme was born.... I felt a little bored as a stay-at-home-mum so picked up the paint brush as a creative outlet and haven't looked back.
What kind of flower brings you the most joy?
Roses are my all time fave... they are so elegant and pretty and smell divine!! But I also love how their thorns give them an edge and make them tough haha.
What’s your creative process?
My process for my abstract botanicals starts with deciding on the colour palette, then the first layers are very very free and loose.... I use a lot of fluid flow-y paint and am not afraid to make a mess. The background has a lot of layers so I need to wait for them to dry in between each layer and I am mainly just building up the colours with different techniques like using a spatula and thick messy brush strokes. The top layers are made up of the floral shapes and refined lines in different colours.


Are there any other artists that inspire you?
So many... I absolutely love Annie Everingham and her work, my art bestie Casey Burrill is a constant inspiration, Heather Day and Blacklist to name just a few,
what’s the most memorable event of your career?
I think my most memorable event and one that I was most proud of is at the end of my Bachelor Degree we had a graduation exhibition and I created three mixed media self portraits. When we arrived at opening night I was super surprised to find out that all three sold before the exhibition had even opened.
any music, artists, books, that you’re loving right now?
I've just started to read Glennon Doyle's Untamed and absolutely loving it.
Favourite weekend activity?
Lighting the chiminea out in the backyard with a glass of red and book while the girls are playing.
How has COVID affected the art industry, I’d love to hear your thoughts on this?
Personally I don't think it has been affected in a negative way, if anything I feel because we are home all the time we are drawn to things that bring joy, so more art is being purchased and I feel so grateful that local artists are being so supported during this time.
Top tip for surviving lockdown?
Take one day at a time.


Chloe Lashay, Floral Designer, The Patch
Tell us about yourself and what you do?
Oh man, that's a hard question.
I'm a bit of strange one, personally. Most days I look like a heavily tattooed Courtney Love after a big weekend, I brush my hair for special occasions though. I've seen some things, been through some things. None of which I'm ashamed of, it’s all made me who I am today, someone I'm proud of. I'm a fur mum to Chuck, Primrose and Ruby and I talk to them, my flowers and my plants more than humans. I live in my version of a big tree house in the beautiful Mount Dandenongs where I also have my beautiful studio.
Professionally, I'm a self proclaimed Floral Alchemist, alchemy being a seemingly magical process of transformation, creation, or combination. I think flowers are magic and when I'm designing and creating I always feel as though I'm making floral potions.
I specialise in weddings, events and milestone made to order these days and also freelance for some pretty amazing floral rockstars. I'm also currently managing The Little Flower Shoppe in Montrose with a heavy focus on embracing local makers and up and coming floral designers.

Have you always had an interest in flowers?
Always, always, ALWAYS! Flowers deeply resonate with me and I find them and their life process applicable to so many facets of life and being. My belief system is in Mother Nature, I've always practised earthing, consciously or not, and I have always envisaged myself as a metaphorical flower, whether I'm blooming, wilting, growing, self seeding, struggling in an environment or at my most vibrant self.
What inspired you to begin Chloe Lashay Flowers?
Alan Watts. An incredible writer and speaker. I listened to one of his lectures called 'What if Money was No Object' at a time where I was really unhappy in a corporate role and a bit lost in my career orientation. Everyone should listen to it. I thought to myself, what do I really love? What really makes me happy? Nature, beauty, flowers, giving, bringing others joy. I realised that's a job! I can be a florist! A week later I quit my corporate job and enrolled in a floristry course. Eight years later and I've never ever looked back. Even during the toughest of times.

What kind of flower brings you the most joy?
Local field grown Ranunculus. I LOVE them. They're all so unique and beautiful, the colour range is stunning but not overpowering. They're heavily textured and kind of odd, some even look like a flower inside a flower. I love them, just on their own too.
What’s your creative process?
My space has to be a certain way. I need beautiful scents, candles, oils, music, my art, my treasures and privacy. I like to have a reference point to begin with and then just go with the flow. Creative control is my favourite. I prefer to work at night too. There’s something calming about the moonlit hills at night. So quiet and peaceful. Just me and my flowers.

Are there any other floral designers that inspire you?
Oh mannnn, SO MANY! Naomi Rose, Eleventh Flower, The Flower Drum, Debbie O'Neil, Francis Floristry, Ponderosa and Thyme, Sassafras Wedding, Foxy Evergreen, Boutierre Girls, Clementine Posy, Elsa & Gray... I could go on forever.
Tell us about the most memorable event you can think of in your career?
Attending and flowering the wedding of two of the most amazing women I've ever known. Michelle and Rhonda. Michelle is a powerhouse and loud voice for women's rights. She has and always will be a mentor and friend to me. After same sex marriage was legalised (THAT was massively memorable too, I was engaged to my partner of the same sex at the time) they got to legally marry each other after 17 years together. It was an absolute honour to be there and to contribute and I've never ugly cried so hard in my life. Also my first hard copy publication in Dancing With Her of my dear friends Leah and Erica's wedding. Very close to my heart and a real milestone for me professionally.
Any music, artists, books, that you’re loving right now?
Music is HUGE for me in every facet of life. My play lists are ridiculous, one minute its Black Sabbath, the next it's The Velvet Underground, the next its Two Feet, the next its Bishop Briggs. Lately I've really been feeling Halou, Sol Seppy and Aurora. Soothes the soul. Dromsjel is my ultimate all time favorite artist. I just finished The Subtle Art of Not Giving a F@$k, loved it. Next is The Celestine Prophecy. Ive tried to start it about 5 times. Fingers crossed for number 6.
Favourite weekend activity?
Well my weekends when its not a Global Pandemic are usual Monday and Tuesday because of events and now that I'm running the shop its really only Monday. But Facetiming my sister and baby angel niece and friends who I'm missing, spending time with my fur children, wandering around the fresh spring I'm blessed to have across the road and my guilty pleasure, watching true crime documentaries. Actually any documentary.

How has COVID affected the floral industry, I’d love to hear your thoughts on this?
It's been horrible to be honest. For the whole floriculture industry. We've been lucky enough to be able to operate at some capacity with made to order and contactless delivery and for the small increment of time in Melbourne when limited gatherings were allowed, its been good for florists doing dried arrangements which have become a trend again, but for those in fresh florals, events and weddings it's been devastating. Most of us lost a year of annual projected income and work in a week. Not to mention how heartbreaking it is for our couples and clients who have been planning celebrations for so long. Some are having to postpone for the second time for us in Melbourne. Some have cancelled altogether. Its incredibly sad. For the florists, venues, designers, beauty industry, hospitality, the entire wedding and events industry. Funerals have been really hard too. Its difficult to express the deep sadness of delivering bereavement flowers to ten people and a live stream camera.
The only positive I have found is that it has created somewhat of a 'community over competition' mentality. We're all in the same boat. We're all equally effected. We're all in the same space for once. A bunch of us all had to go on Centrelink benefits for the first time since trade school. It's very surreal. Its so important to be supporting each other at the moment.
Top tips for surviving lockdown?
Don't take self isolation literally. Don't shut off from the world because you're confined to a space or area. Don't isolate your mind.
Stay connected to your loved ones, be kind to yourself and others, keep your space nice, calming and comfortable, stay local, buy local, send care packs if your in a position to do so, do things you've never had time for, use your time on your devices looking for positive and inspiring content, promote local businesses, be honest about how you're feeling, cry if you need to, scream it if you have to, reach out if you're not coping, help others if you are. Remember, its NOT forever.
Every flower must grow through dirt.
You can find more of Chloe’s work here:
Chloe Lashay Floristry Instagram

Somala Jacobs, Photographer, Melbourne
Tell us about yourself and what you do?
Hi, I’m Somala. I’ve been living in Melbourne for the last 7 years with my husband but was born and raised in Noosa (Gubbi Gubbi country), QLD.
Growing up in a small beach town, I was always curious about other places and left home at 18 with my best friend to go live and travel overseas. I spent that time much of my 20’s experiencing lots of different things and worked hard to facilitate that exploration, as I really got to know myself better as an adult. I experienced living in London, spent six months in an off-grid community on a beach in Turkey working at a scuba hut, did a stint of marine conservation in Fiji, a snow season with my now, husband, spent a winter in the Scottish Highlands, a summer living in a caravan in Cornwall, and studied, amongst some other things along the way.

I now work in wellness as a chiropractor, calming my clients nervous systems, so that they can express their unique gifts in this life with more ease.
Following the things that light me up, creativity has been a huge part of my own wellness journey. Pursuing my love of photography guides me to want to spend time taking in and appreciating details. I love spending time in thoughtfully curated spaces, nature and exploring cities and streets of old, sunny suburbs. I am always on the lookout for cute elements of nostalgia – the perfectly imperfect things. I also love styling the different nooks of our home so that it is a calm but inspiring sanctuary to come home to and spend time in. I love taking photos of all of these things and find the philosophy of Wabi-Sabi guides my creativity the most.

Have you always had an interest in photography?
Yes. My mum has a background in photography and she had a small darkroom set up in our home when I was little. Mum bought me an old, second hand Pentax and lenses for my 13th birthday and my bestie and I joined the school photography club “Shutterbugs”. It was pre-digital photography so it was great to learn with film but we both had digital cameras by the time we set off on our overseas adventures. Our first couple of years of travel was pre-social media so none of our photos were edited and we were just learning how to use basic photographic principals of composition.
As the years went on and social media became a thing, I experimented and had fun with different editing tools, finding and honing my aesthetic and composition. Photography is definitely my favourite creative outlet, it just really fills my cup to capture & edit details in nature, cites and old suburbs. Colours, textures, architectural shapes and lettering of the mid-century era are my favourite things to document. With so many kit homes and mass produced everything, I love capturing things that remain from older eras while they still stand – things get knocked down and replaced so quickly!
What inspired you to begin the project, palmbreeze house?
Palmbreeze House account was originally Riverbreeze House, which I created to help promote my parents Airbnb. They had recently finished a second renovation of our family home (my dad is a builder and my mum a ceramicist) and were heading off on their own adventure, so put the house on Airbnb for the better part of 2019 while they were away. I started the page to help get the house out there for Airbnb but also because it gave me an excuse to post my captures of Noosa in context and also interior shots of the house, which I loved taking whenever I was home.
The house hosted lots of guests and was hired for some beautiful brand shoots, before they sold it at the start of this year to move on to their next project, “Palmbreeze House”. So now I’m using the account to document the design and build of the next house which is another home that focuses on clean lines, open, welcoming, breezy spaces and nostalgic, mid-century elements.

What kind of flower brings you the most joy?
Everlasting/paper daisies (the white ones with the pink and yellow centres) & peonies (fresh or dried). I also adore the well-loved rose bushes that bloom in the front gardens of our neighbourhood in Spring – and the perfume of jasmine vines!
What’s your creative process?
I love exploring streets in neighbourhoods and cities and just looking out for little details to snap with my camera. I’m always looking for things that catch my eye when I’m out and about. I might go back to a spot a few times to get the right sunlight or blue sky. I love editing photos in my down time, in my favourite spaces in our home, with some music, natural light or low light with some candles or incense burning in ceramics made by my mum around me. Smell, sound and warm light help get me in a creative zone.


Are there any other photographers or stylists that inspire you?
Photographers: Justin Chung, Ali Mitton, Jamie Green, Boguang Sun.
Stylists: Serena Mitnik-Miller (General Store), Alison Carroll (Wonder Valley)
what about music, art, books, that you’re loving right now?
Wabi-Sabi Welcome by Julie Pointer Adams, The New Mediterranean by Gestalten, Abode by Serena Mitnik-Miller & love artwork by Daren Thomas Magee, John Zabawa and Bonnie Gray.
How has COVID affected your way of life, any top tips on surviving lockdown?
My husband and I have been very fortunate in that our work situations have not been affected, so our days are just to and from work to home. The extra time around the home has really opened up a lot of conversation about or values and just re-evaluating where we are with those at this stage of our life and what we want to change moving forward after all of this.
I think the best thing I have done to survive the extra time at home is just move and change things up around the house to give it some fresh feels! Changing plants around, photography on the walls, furniture rearranging – it’s definitely helped having some changes to what our eyes are seeing every day!
Favourite weekend activity?
In Melbourne, a drive out to the forest to go for a hike with our dog, coffee in one of our favourite spots on our local High Street, or taking some street snaps and doing some editing at home amongst the plants.
You can find more of somala’s work here:

Lacie RZ Porta, Flower Preservation Artist, Framed Florals, New York
Tell us about yourself and what you do?
Hi! I'm Lacie, I'm a flower preservation artist based in Brooklyn, New York! Being a flower preservation artist means I press flowers the old school way in a flower press, and frame them in handcrafted wooden frames! I love being able to save memorable flowers and preserve sweet and significant moments in time through flower pressing and framing!
Have you always had an interest in art and pressing flowers?
I definitely have! Ever since I was little I remember wanting to be an artist, author, or a book illustrator. All through elementary, middle, and high school I was always very creative and loved drawing, painting, ceramics, and anything art focused! I didn't think flower pressing would become my medium of choice, but when cleaning out some boxes from my childhood bedroom I recently found an old notebook that had pressed flowers and petals in it! So whether I knew it or not then, it would be the artistic medium that has had the biggest impact on my life!

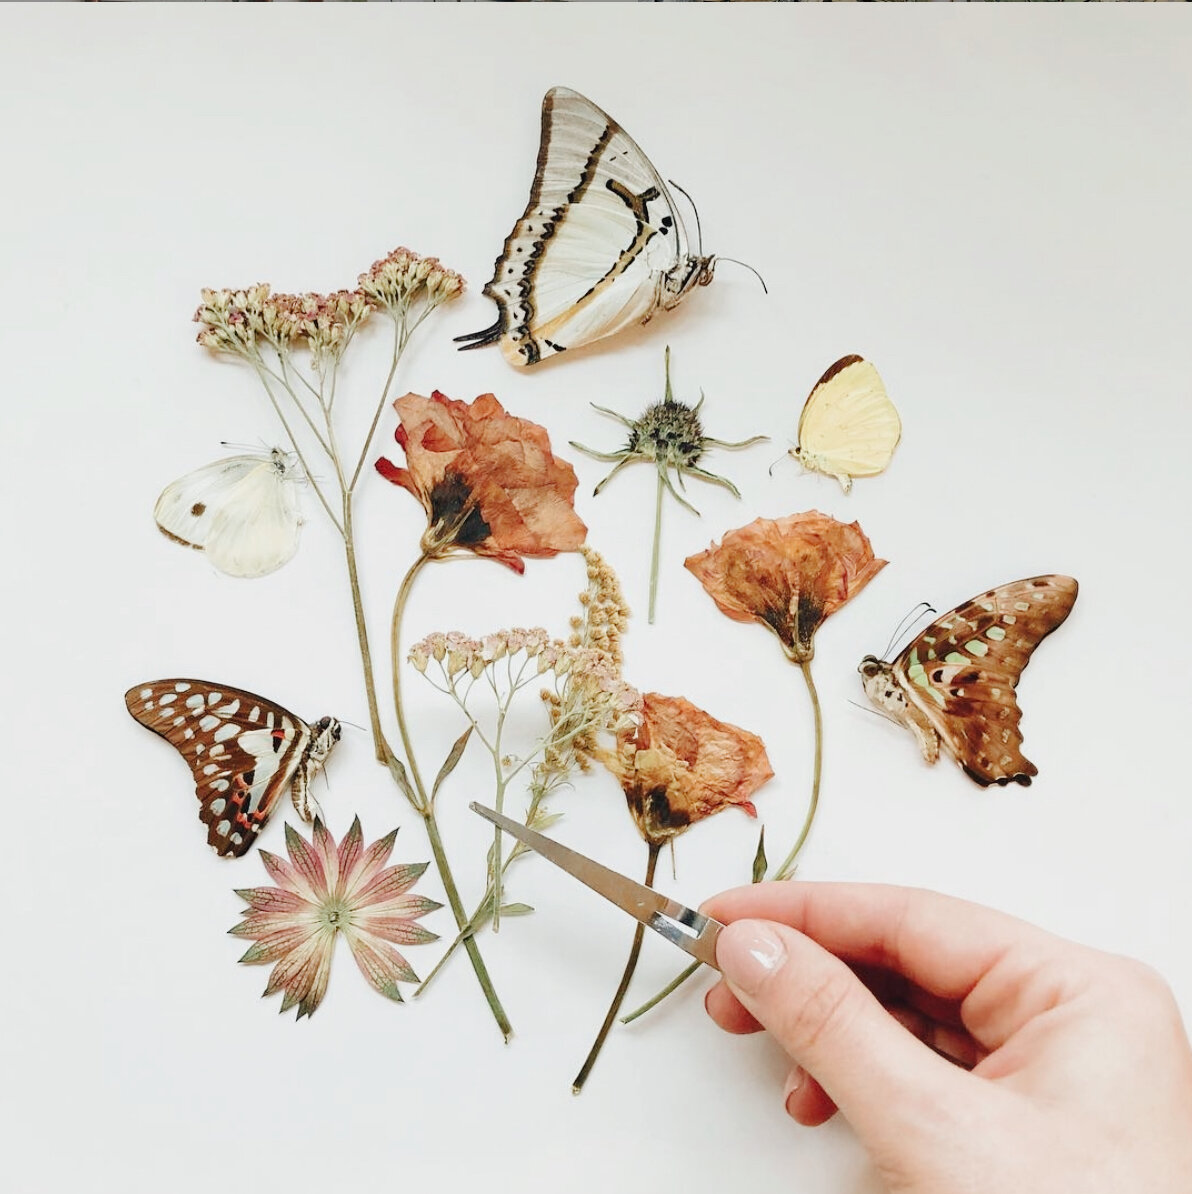
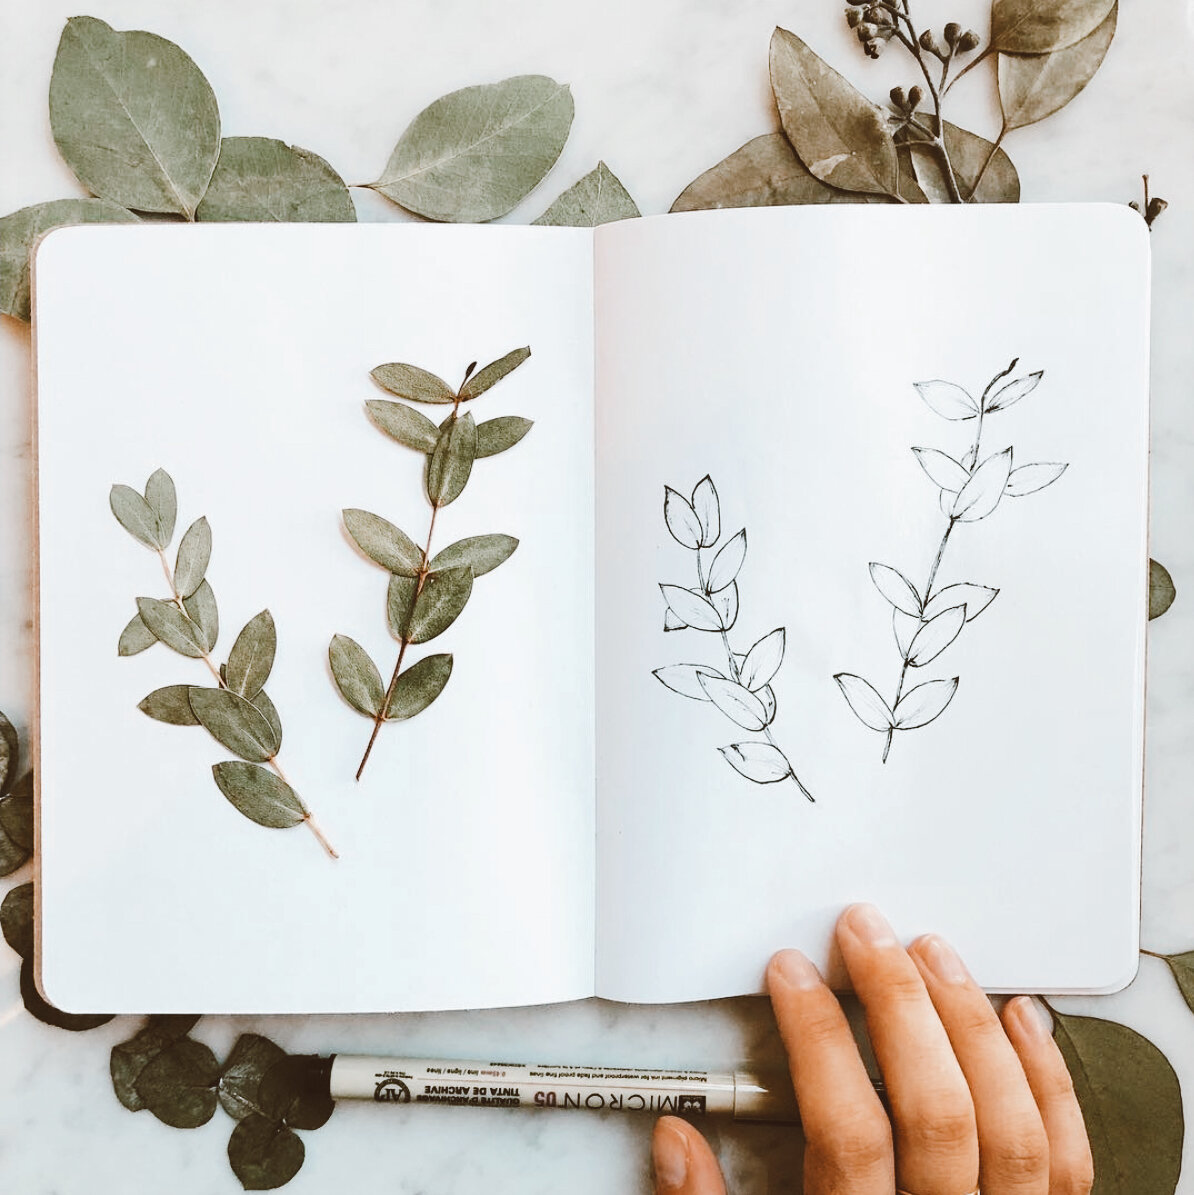
What inspired you to begin Framed Florals?
It wasn't until a year after my wedding that I really felt super inspired to start Framed Florals. I did have the initial spark after my wedding, when my husband and I were taking our flowers home and we weren't sure what to do with them. I felt inspired to press them, and frame them, and I loved the way it turned out. A year later, I came back to my original frame and knew that there was just something there. I wasn't able to find an artist working in a minimal way with pressed flowers so I had the idea to launch Framed Florals! If I was searching for something that didn't exist, I was sure there were other people who would love it too!
What kind of flower brings you the most joy?
SO many! I think the flowers that bring me the most joy are the ones I have my own special memories associated with. Dogwood flowers are a personal fave because they remind me of spring days in Brooklyn, Coral charm peonies make me so happy because they are just so bright and happy, and Astrantia flowers make me SO happy because they remind me of the first big project I got hired to do with Framed Florals!
What’s your creative process?
My creative process starts from the pressing process. Taking the arrangements, centerpieces, and flowers apart and separating into like elements and colors helps me envision how the final frame will come together. When dried and pressed I love setting everything out and picking the stems that initially stand out to me based on color, shape, and size. From there, tweezers in hand I'm moving flowers around, changing layouts, and envisioning the original flowers and their vibe, and trying to capture that in the composition.

Are there any other artists that you're loving right now?
My favorite flower artist is my friend Ron Nicole! Her work is so ethereal and such a beautiful take on flower preservation. We both launched our businesses around the same time and bonded over our shared love of florals and preservation! Her flower fossils and molds are so inspiring and a joy to see pop up on my Instagram!
Tell us about the most memorable event you can think of in your career?
The most memorable event that instantly pops into my head was recording a video for Buzzfeed! I brought my collection of pressed flowers to the Buzzfeed studio and on camera shared my story, inspiration for starting, and a lot of behind the scenes for flower preservation! It was such a cool experience to be able to chat flowers and arrange pressed flowers on camera and see the video come together in real life!
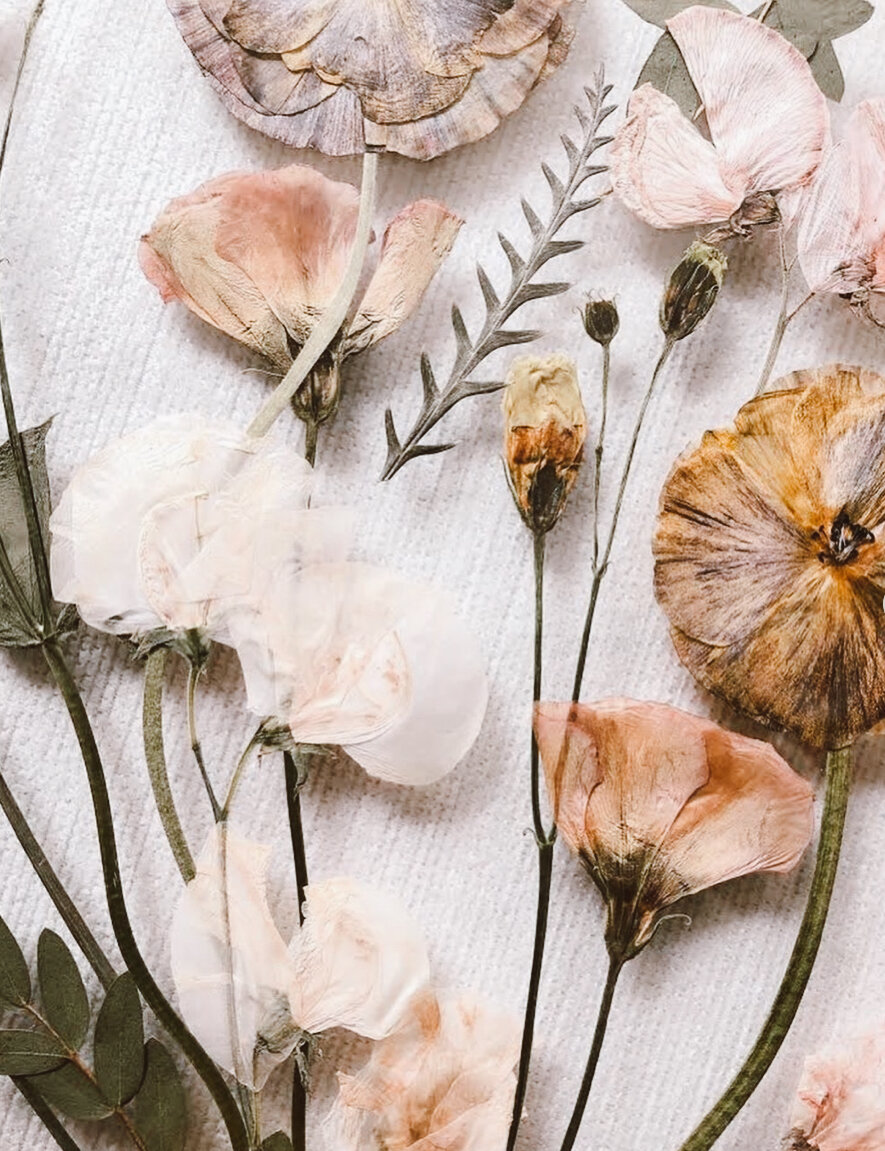
Any music, art, books, that you’re just generally enjoying or drawing inspiration from?
I love it ALL! I find the most inspiration from artists who work in mediums other than flowers. I love compiling a playlist of songs in a playlist every season that I'm really info, and I play that on loop all month long. The songs are always random and vary from Built to Spill, Leon Bridges, Talking Heads, to Queen, Cautious Clay, and Blood Orange. I've been reading a ton and my favorite book I read this month was "The Poet X" by Elizabeth Acevedo. It's written in verse which is so beautiful to read, and I couldn't put it down once I picked it up!
Favourite weekend activity?
Visiting an art museum followed by a drink at a favorite brewery!

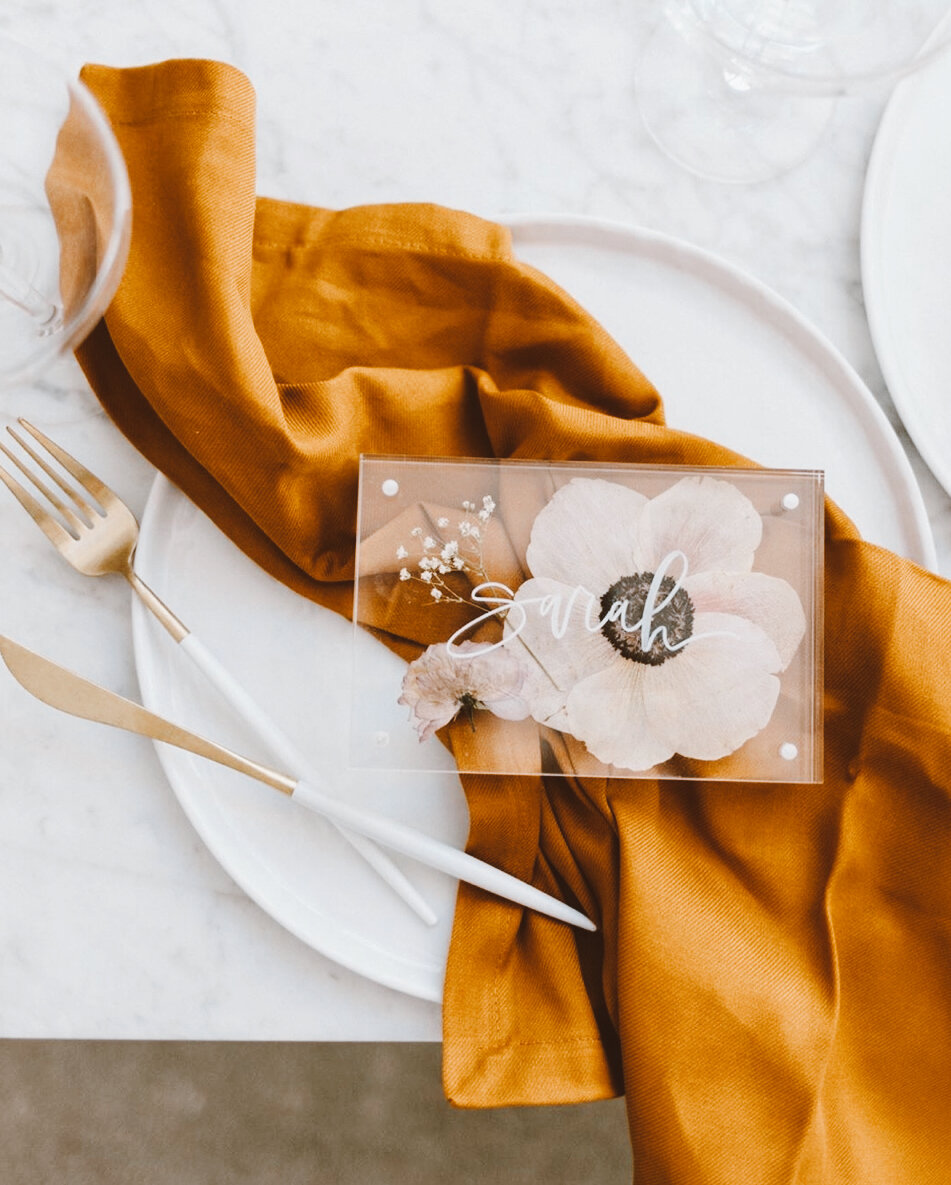
How has COVID affected the art industry, I’d love to hear your thoughts on this?
COVID has hit every industry hard, and the art industry is no different. I think for a while things came to a complete halt, I know personally I felt icky promoting my work knowing there was so much pain and hurt going on in the world. Also any artists who work in the events world, with in person events stopping that hurt them a lot. It was really hard all around. But I think things are slowly switching and the arts industry is picking back up in a way because with everyone spending more time at home, they're realizing the art they display and what hangs on their walls is so important. Supporting small makers is more important than ever and I hope that slow switch is something that continues. We need art, creativity, and more beauty in the world now more than ever!
Top tips for surviving lockdown?
Lean into the way you're feeling that day! At first I was getting so down on myself for having really hard and sad days when I accomplished little to nothing. The kinder I am to myself and lean into those hard days, the better I feel in the end. Life outside of work has been really fulfilling, I've been doing community cleanups in my neighborhood, organizing with a new "free food fridge" in my community, and mentoring high school students. And those things really do bring me SO much joy, and so if I'm having a hard day and don't accomplish much I remember all the other things that make me happy and lean into that!
You can find more of lacie’s work here:
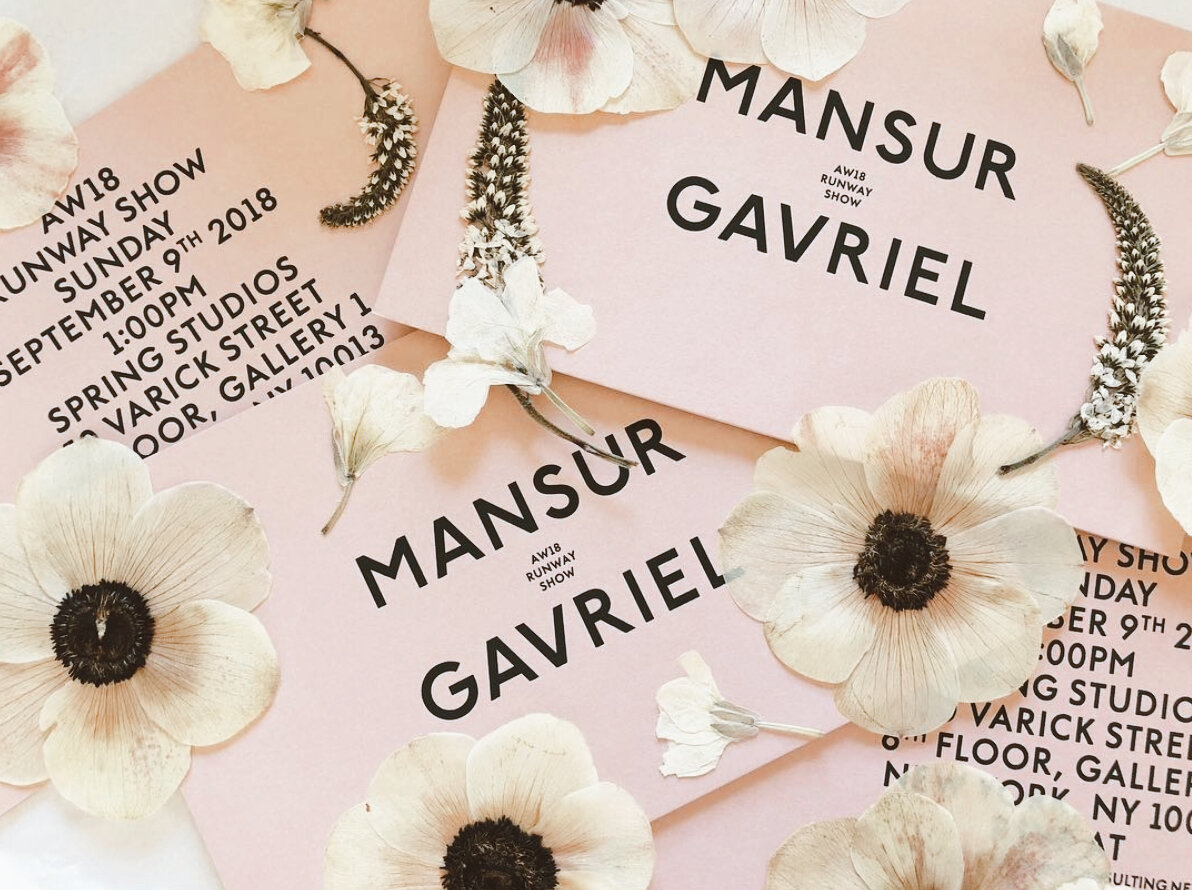
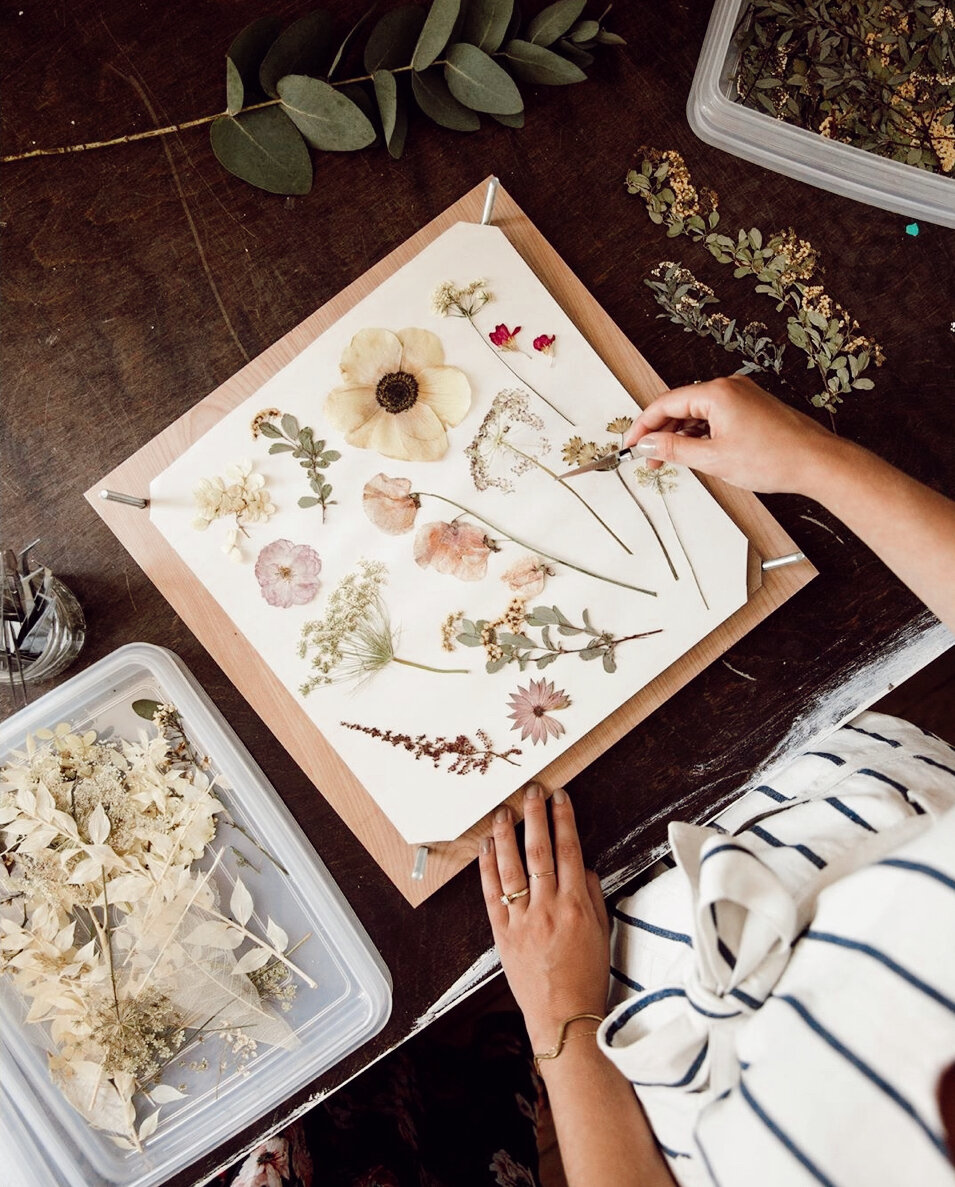
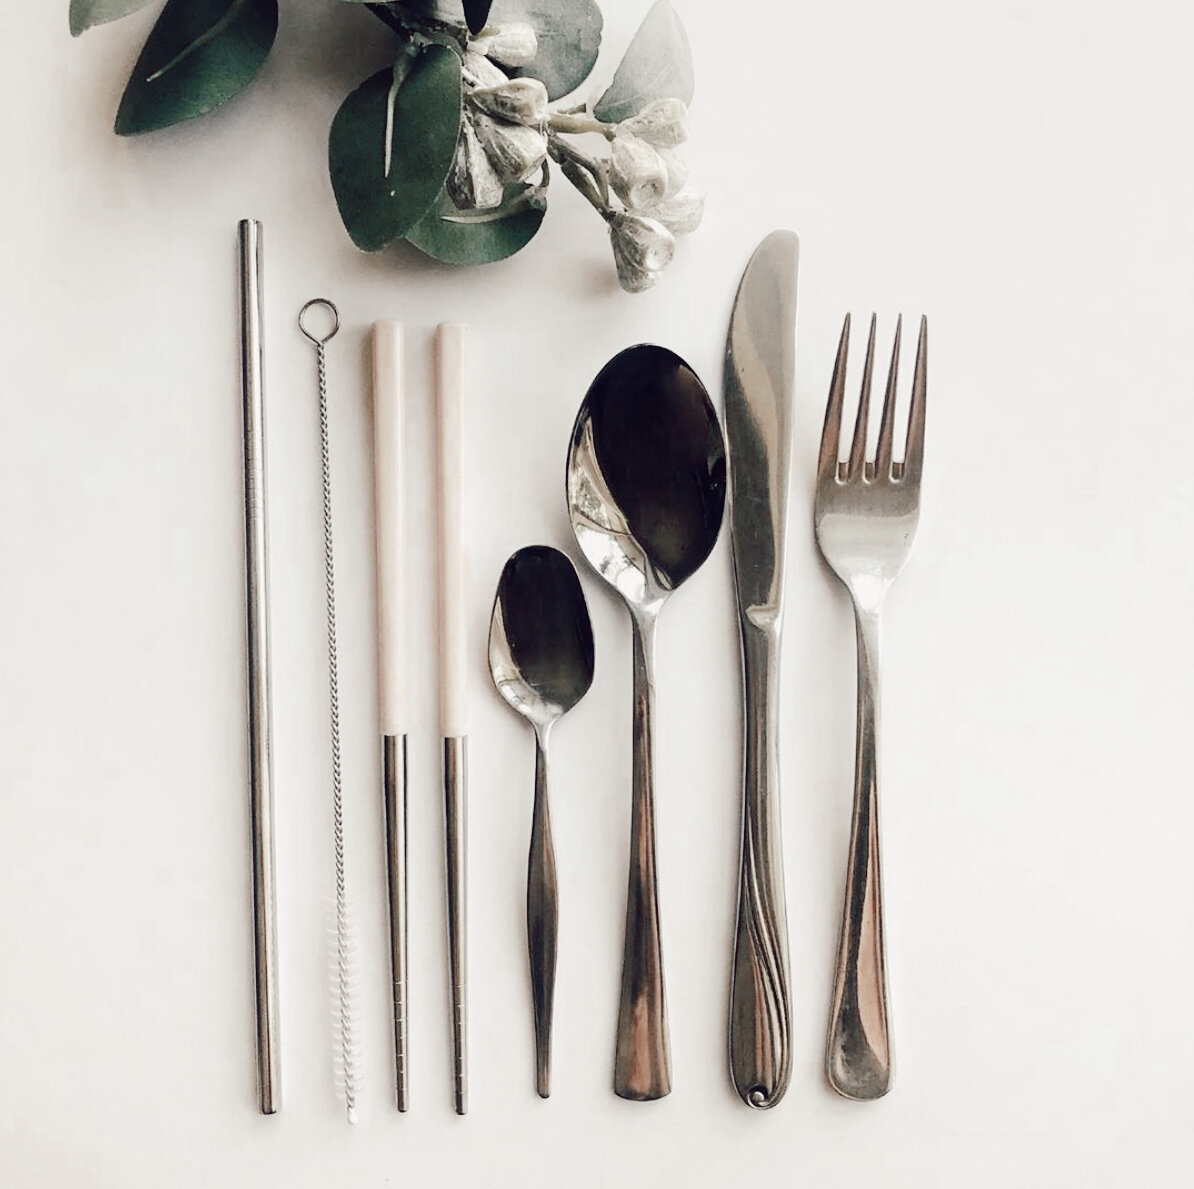
Renae McLean, Eco On The Go, Melbourne
Tell us about yourself and what inspired you to begin eco on the go?
My name’s Renae, I live in Melbourne and I’m currently studying a Diploma of Visual Merchandising. On my lunch breaks at work I didn’t want to use the communal cutlery because my co-workers so rarely washed them properly. Out of temptation I would use the disposable cutlery my friends had in their locker. I then decided to step up my game and bring my own knife and fork. After I made a cute bag for them to travel with, my other co-workers wanted their own and so did my friends going to uni. I then started making and selling the kits.
Have you always had an interest in sustainability?
Not always. I started to realise its importance only a few years ago. I had that one thought of ‘when you throw something away, there is no ‘away’. So much of what we use will always be on this earth so we should choose more carefully what we purchase and how we use it.

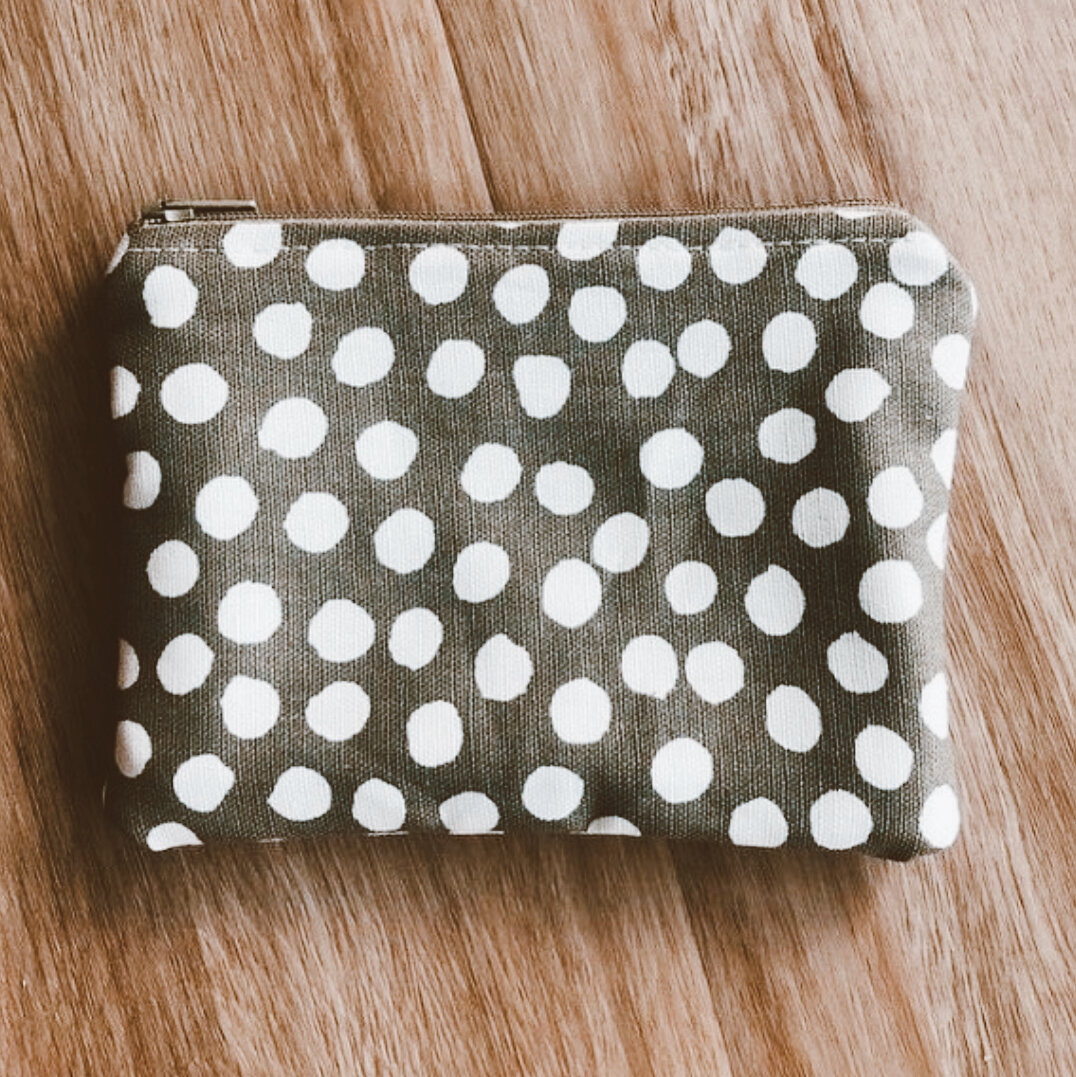
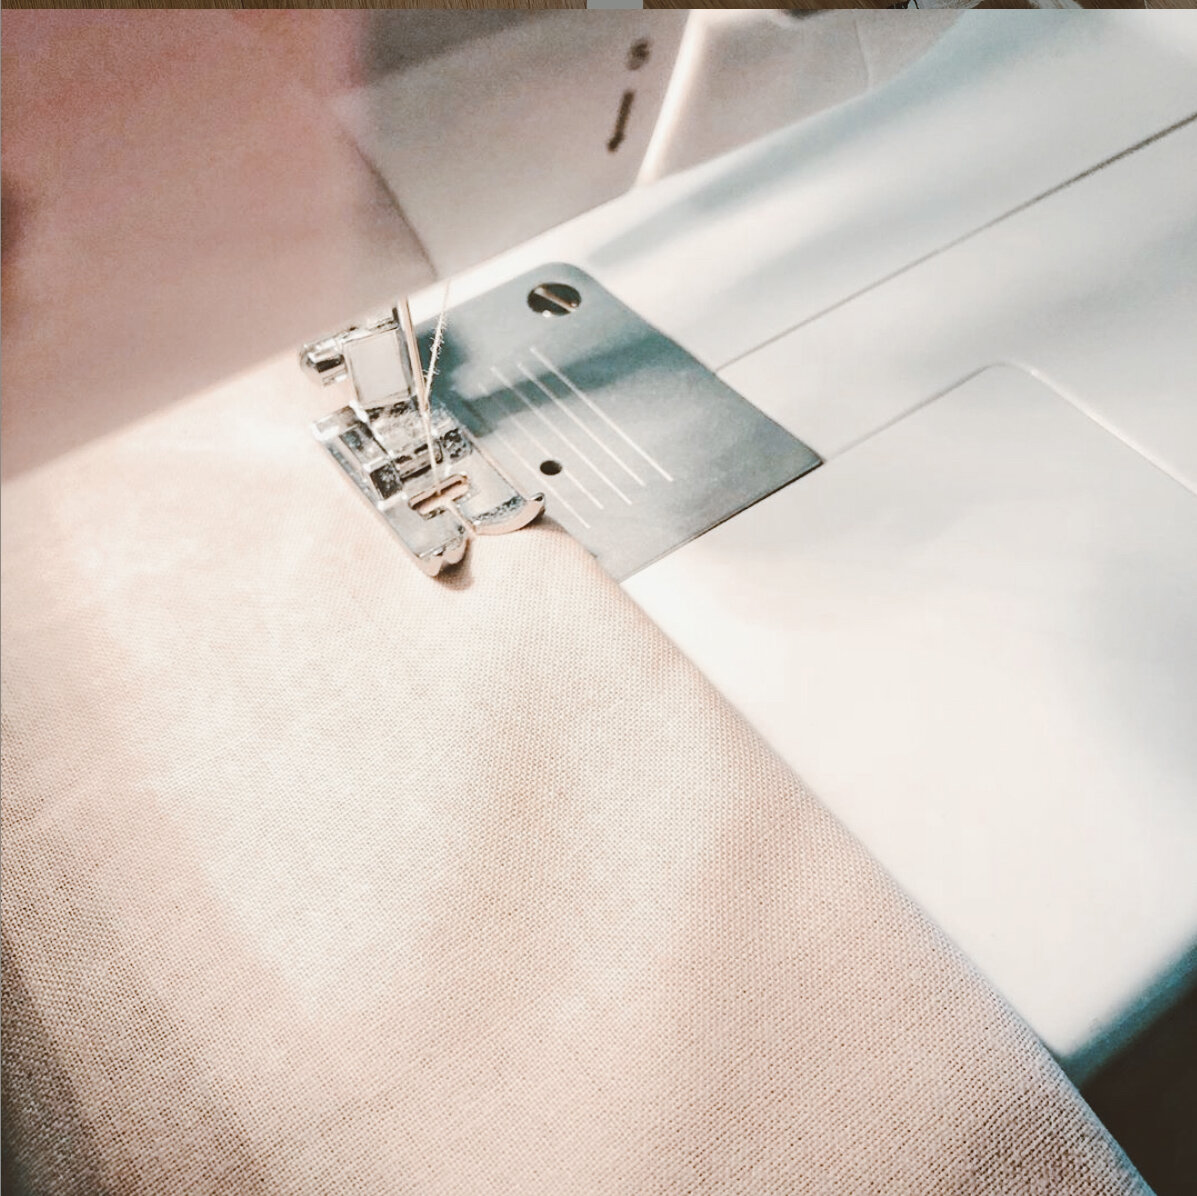
WhAt have you enjoyed the most about studying visual merchandising?
Sadly I really enjoyed doing the hands on tasks at uni but we’re now doing the course online! I really liked having the challenge of being provided a product and some props and finding a way to make an appealing display.
Your pieces are made using second-hand-fabrics, any tips for those who love to thrift shop that might be reading this?
Yes, I love using second hand fabrics when I can find them! A tip is to always check out the craft section! That’s where I find all my cool textures like velvet and corduroy. I’ve also noticed that some op shops seem to have a larger and better selection of fabrics, so if your regular shop doesn’t have much try some other ones nearby!
How would you describe your aesthetic?
It took me a while to find an aesthetic but if you look at my insta feed you’ll see its mostly soft green, pink and white. I like to keep it light and fresh.

Any music, artists, books, instagram accounts that you’re loving right now?
At the moment I’m loving the band ‘Wallows’. They don’t have a song I don’t like! Some Instagram accounts I love are Eden and Sage, The Essentials Club, Common Stitch, and Quotes By Christie.
Favourite weekend activity?
Ooh I always go to the Lunar Drive ins. What’s better than bringing your own snacks and snuggling up in the car to watch a movie or two!

What kind of flower brings you the most joy?
I love a white Magnolia. I just think they’re so pretty and classic.
Top tips for surviving COVID?
Make sure to stay connected with your friends and family! (safely of course) And honestly if your mental or physical health is being impacted because of Covid just remind yourself that you (and the whole world) are going through something major and give yourself a little leeway.
You can find more of renae’s work here:
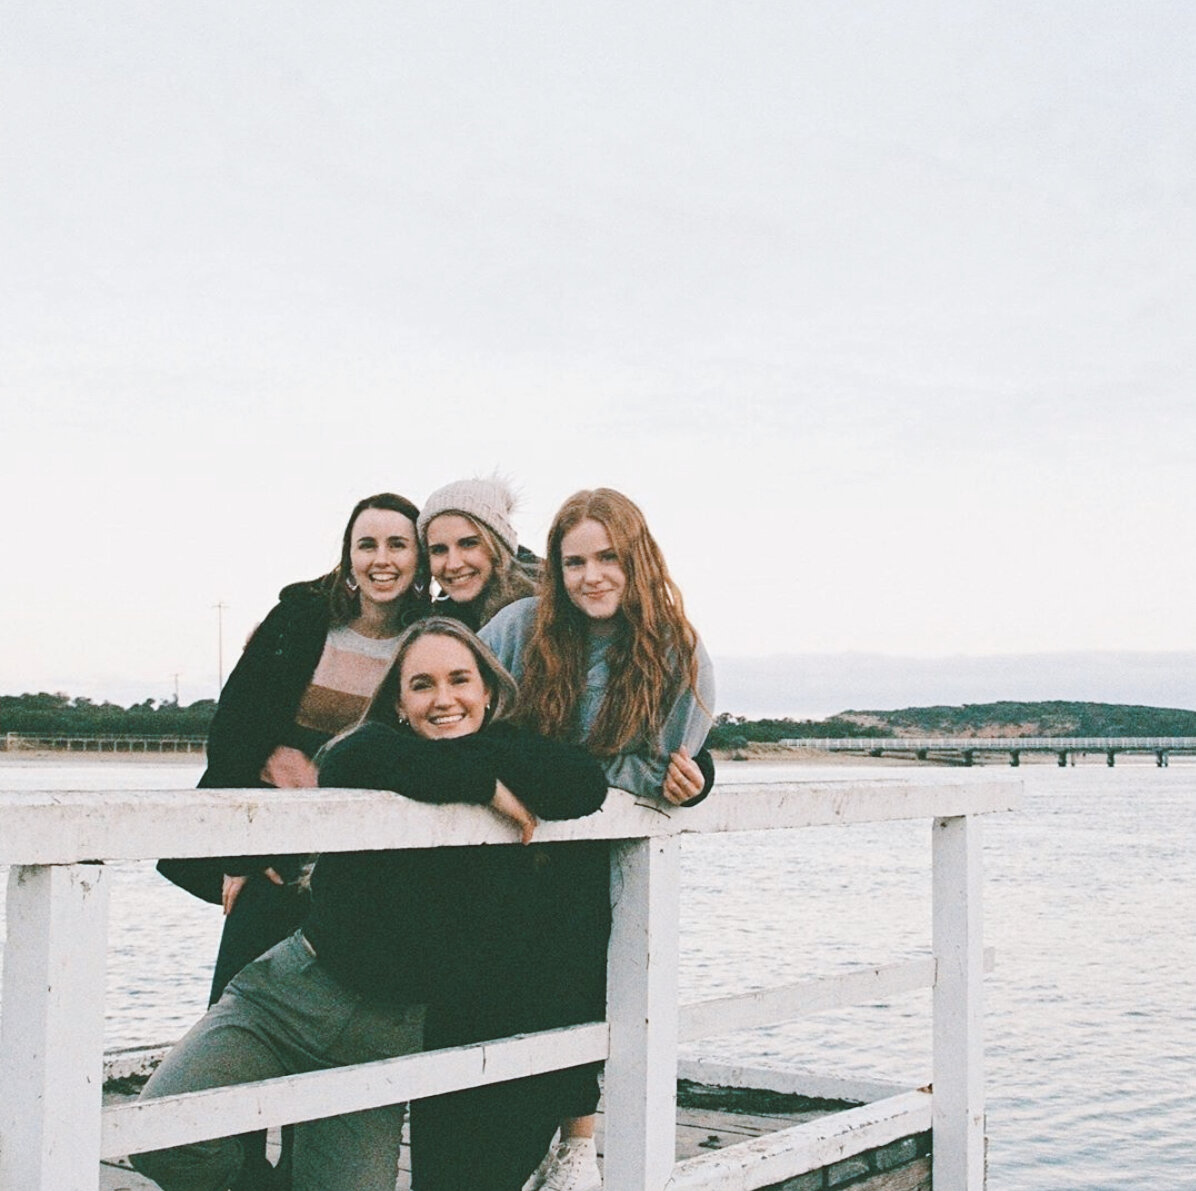

Shannon Cullen, Posie Project, Melbourne
Tell us about yourself and what you do?
We create all sorts of special blooms to help spread happy. We will be opening a store In September. It will be homewares, pamper/self care goods, blooms both fresh and dry, with a DIY flower bar. We will also offer take away coffee, because caffeine right!!??
Have you always had an interest in flowers?
Yes, I have loved flowers foreverrrrrr, but never thought I would be doing them for myself, pinch me!!!
What inspired you to begin Posie Project?
My Hubby and I got married in December, I chose to create and style our celebration myself. This really got my love for dry flowers bursting! I loved every minute of creating the magic! I am actually a hairdresser by trade, and chose to close my home salon doors with lockdown part one in the three weeks we were closed, I created blooms to spread to others, the idea was so well received. This is how Posie was born.
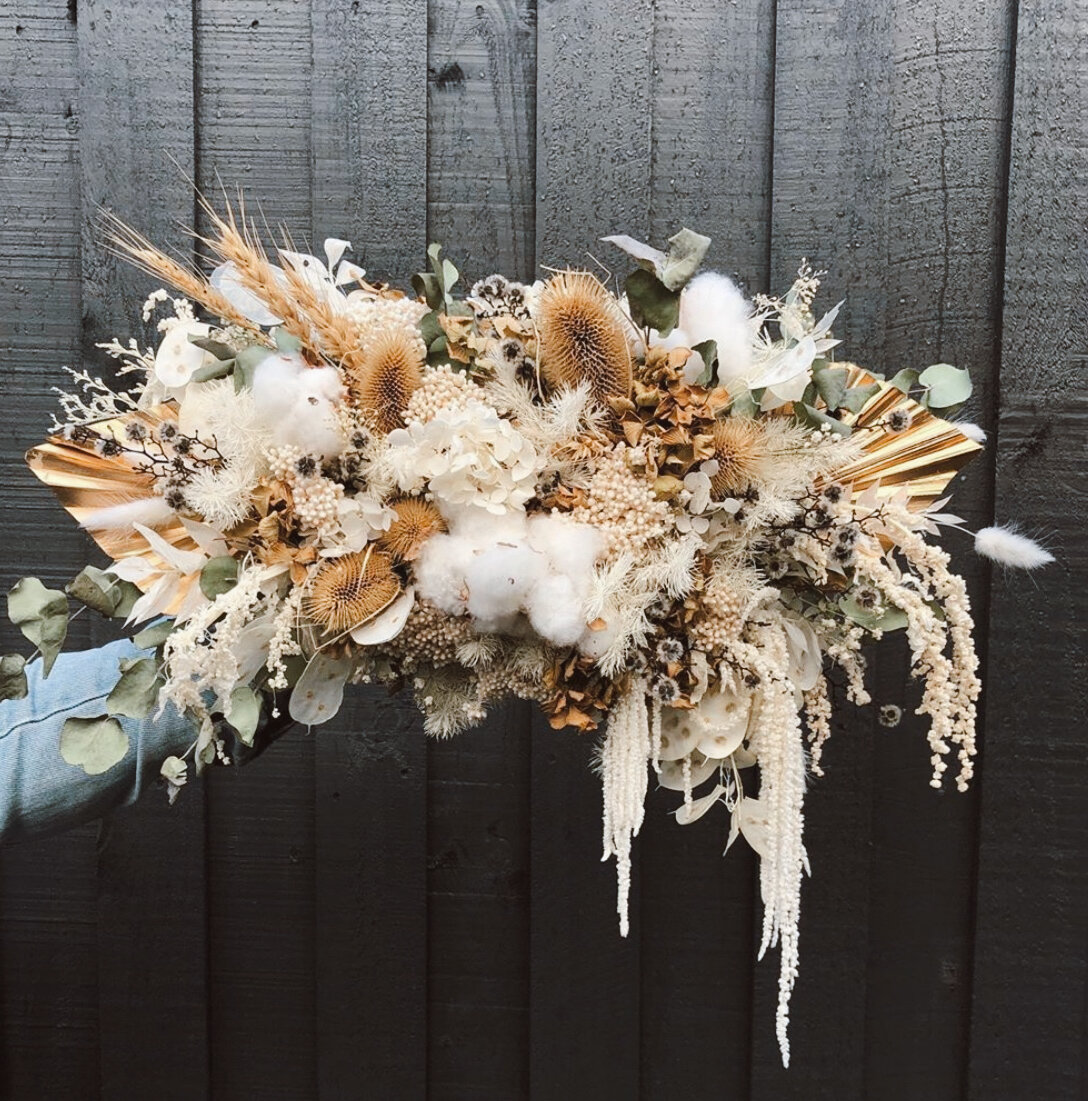
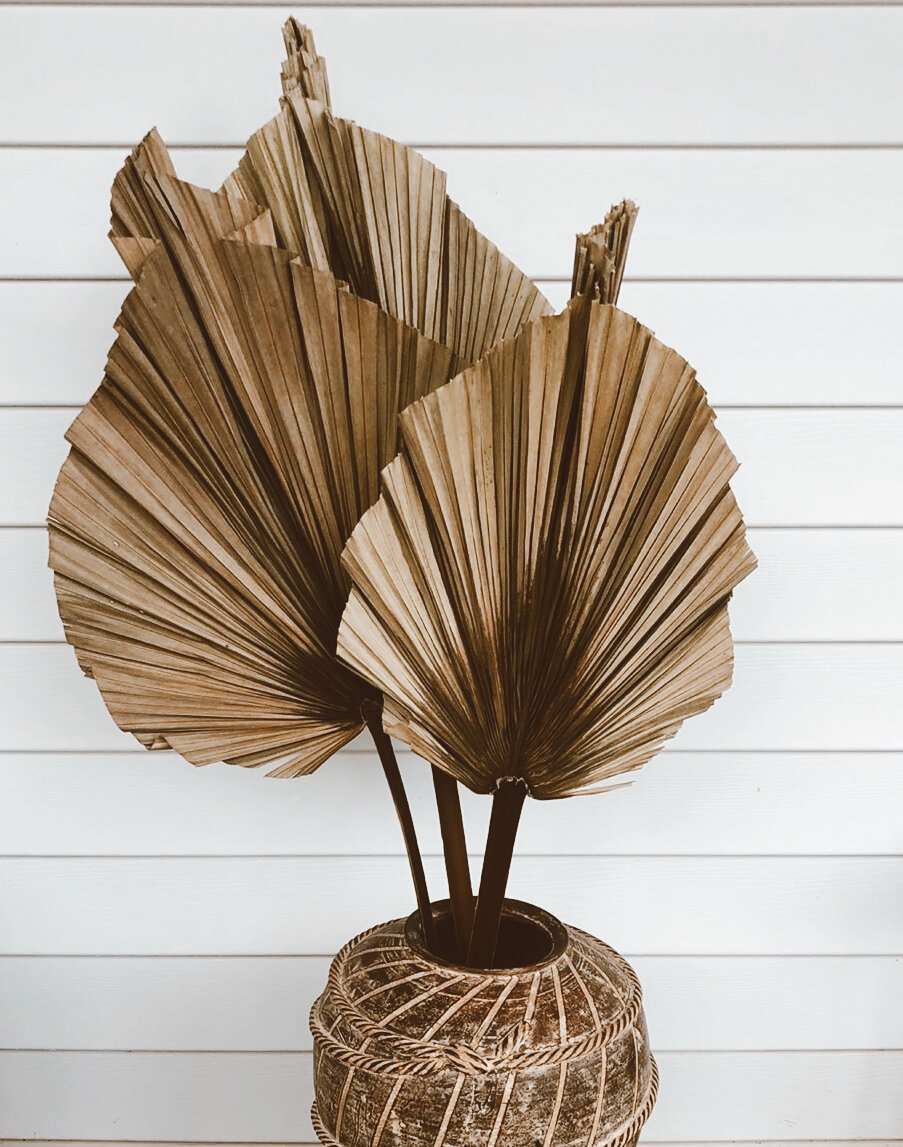
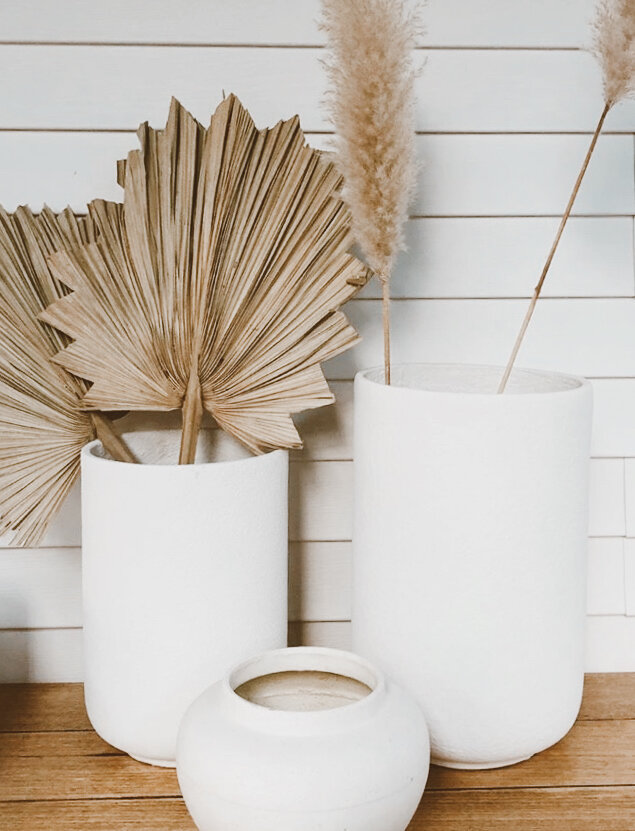
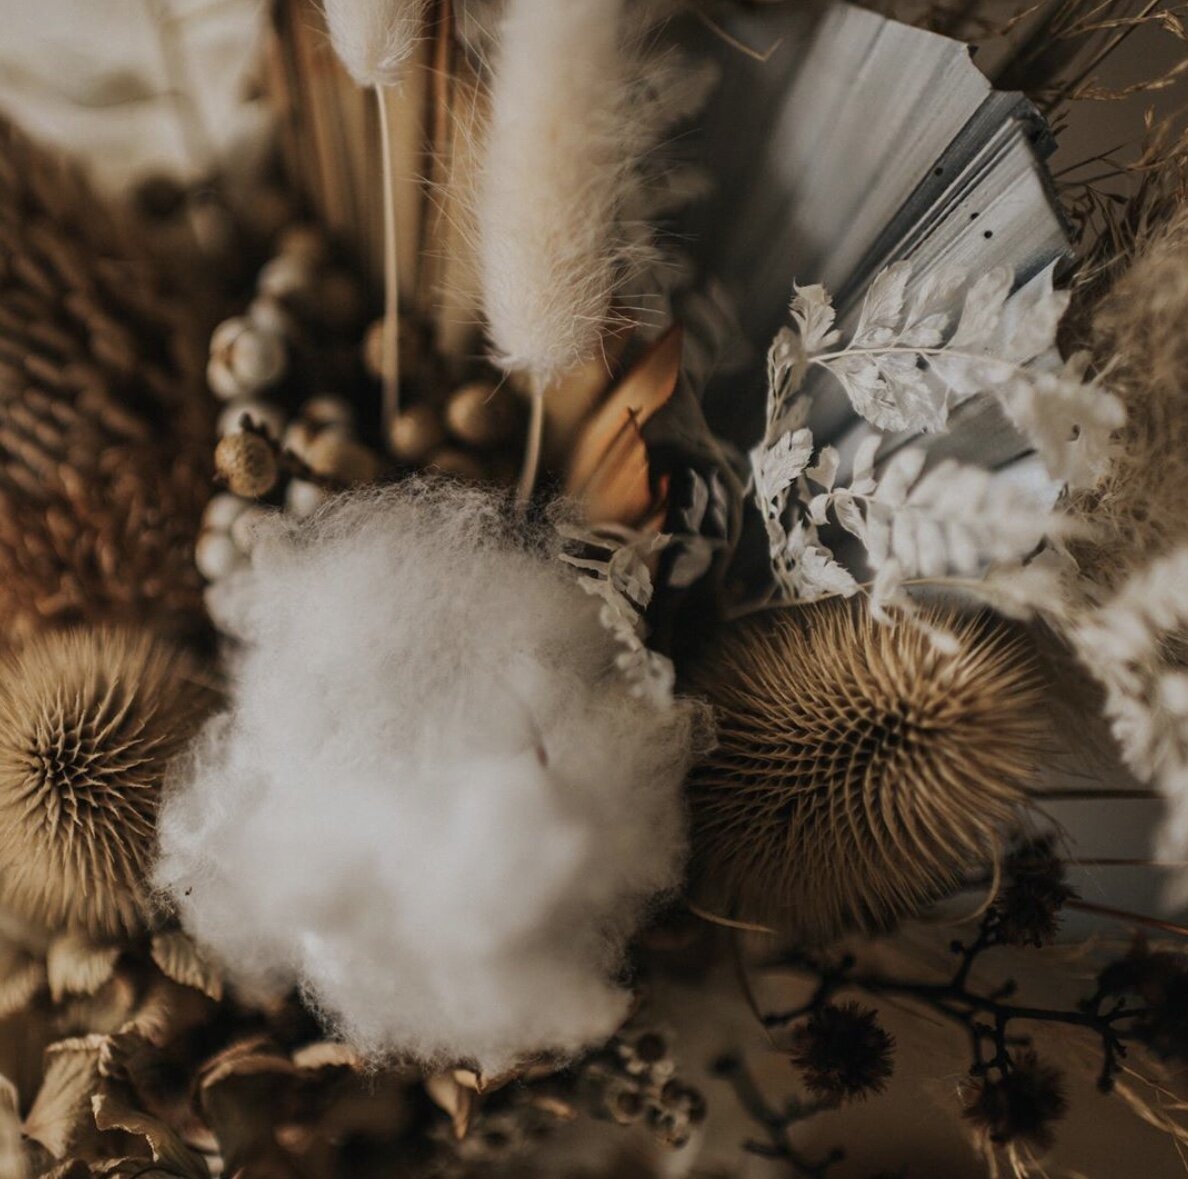
What kind of flower brings you the most joy?
The Flower that brings me the most joy is the Freesia! Their strong smell brings me right back to my childhood in the Garden with my Grandad, every time I smell them it's like I am right there again. Sadly he passed when I was still very young.
What’s your creative process?
I am a visionary, I like to picture things and then bring it to life. Sometimes this does change as I go along. Are there any other florists that inspire you? I absolutely LOVE Flowers by Brett Matthew John and Nikau.Flora - both use such incredible tones and texture!

Tell us about the most memorable event you can think of in your career?
Well I am very new to this, I don't have a most memorable yet, I am just hugely grateful for all the moments of the Posie ride so far!
Any music, artists, books, that you’re loving right now?
Always on repeat, Ziggy Alberts, Meg Mac, Vera Blue, Odette, Angus & Julia Stone - you get the vibe. Artists - Jai Vasicek - he can do no wrong! and I am loving Booie and Ben’s florals! I am not currently reading a book (all awake time is going into biz), but I had started reading one book a month this year! I loved Eggshell Skull, I found it hard to get into and then could not put it down!
Favourite weekend activity?
Creating flower arrangements haha, and exploring our local backyard - which normally ends with me carrying a toddler and filling her pram with foliage from the bush. *get out and walk!
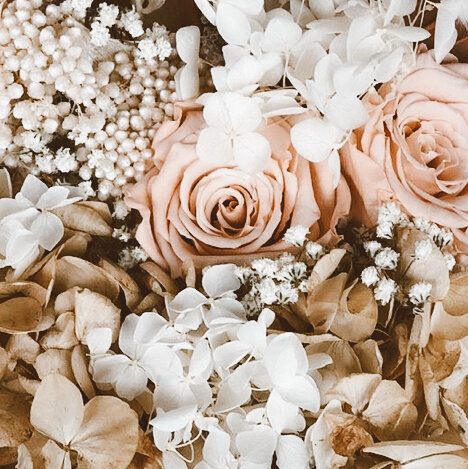
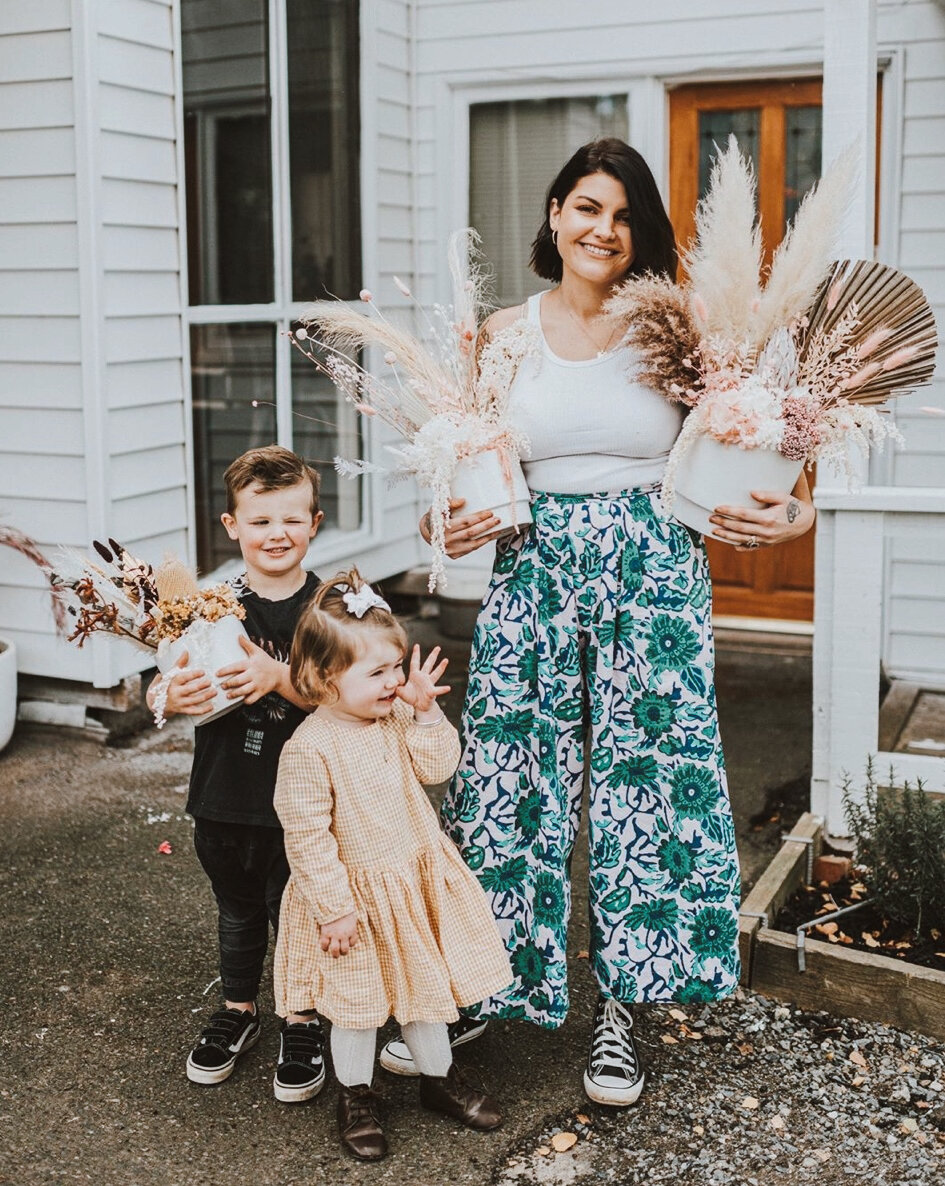
How has COVID effected the floral industry, I’d love to hear your thoughts on this?
I think I am right in saying it has been nuts! Every flower folk I have spoken to have said they have been so, so busy. I think it shows how important it is to help spread the love around. Flowers really do brighten lives, its a proven fact!
Top tip for surviving lockdown?
Fresh air, and focus on the positive! Aside from all the baddd Covid stats, I am grateful for the slow down to take a reality check.
YOU CAN FIND MORE OF shannon’S WORK HERE:
Photography by Posie Project and Sigrid Peterson

Jade Fisher, Abstract Artist, Gerringong
Tell us about yourself and what you do?
I am a Mum of 3 boys and I live in Gerringong. My days are spent doing 'the juggle' between parenting and trying to fit in some painting when I get a spare minute.
Have you always had an interest in creating art?
Yes. I have always loved creating things from a young age. I was always painting and drawing. I went to Art college and then studied Textile Design at University. I had a 15 year career in Fashion Design so painting sort of took a back seat during those years but sketching fashion figures was my favourite part of Fashion Design.
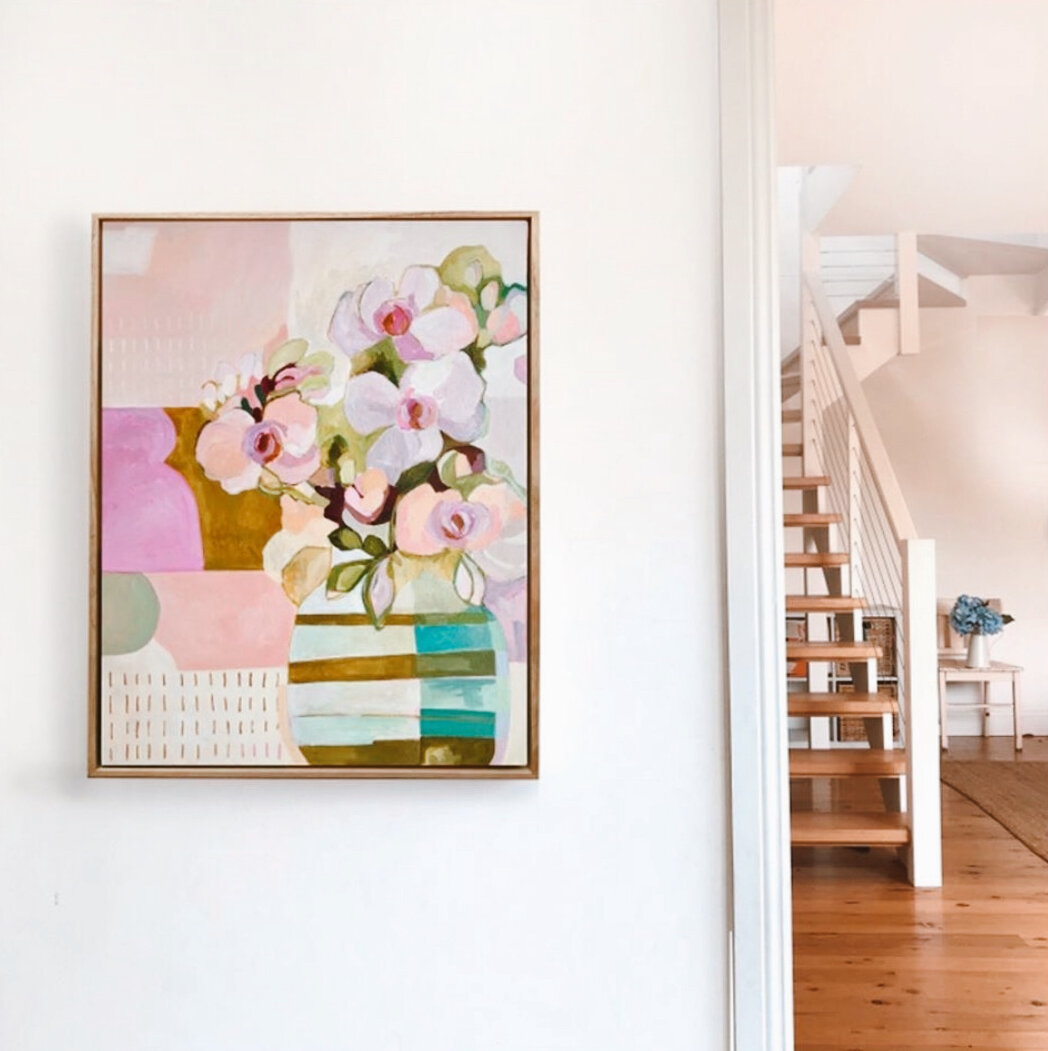
What inspired you to begin painting?
I guess I just remembered how much joy it brought me and I live in such a pretty part of Australia that it's hard not to be inspired everyday when you live here. Starting a family and moving away from the city gave me the perfect opportunity to pursue my dream of getting back to my painting roots.
What’s your creative process?
I like to take photos when I'm out on walks of flowers, plants, nice compositions and textures. That's where my inspiration usually stems from. My technique is to paint layer upon layer until each section of the painting has pleasing colour combinations and textures that delight.


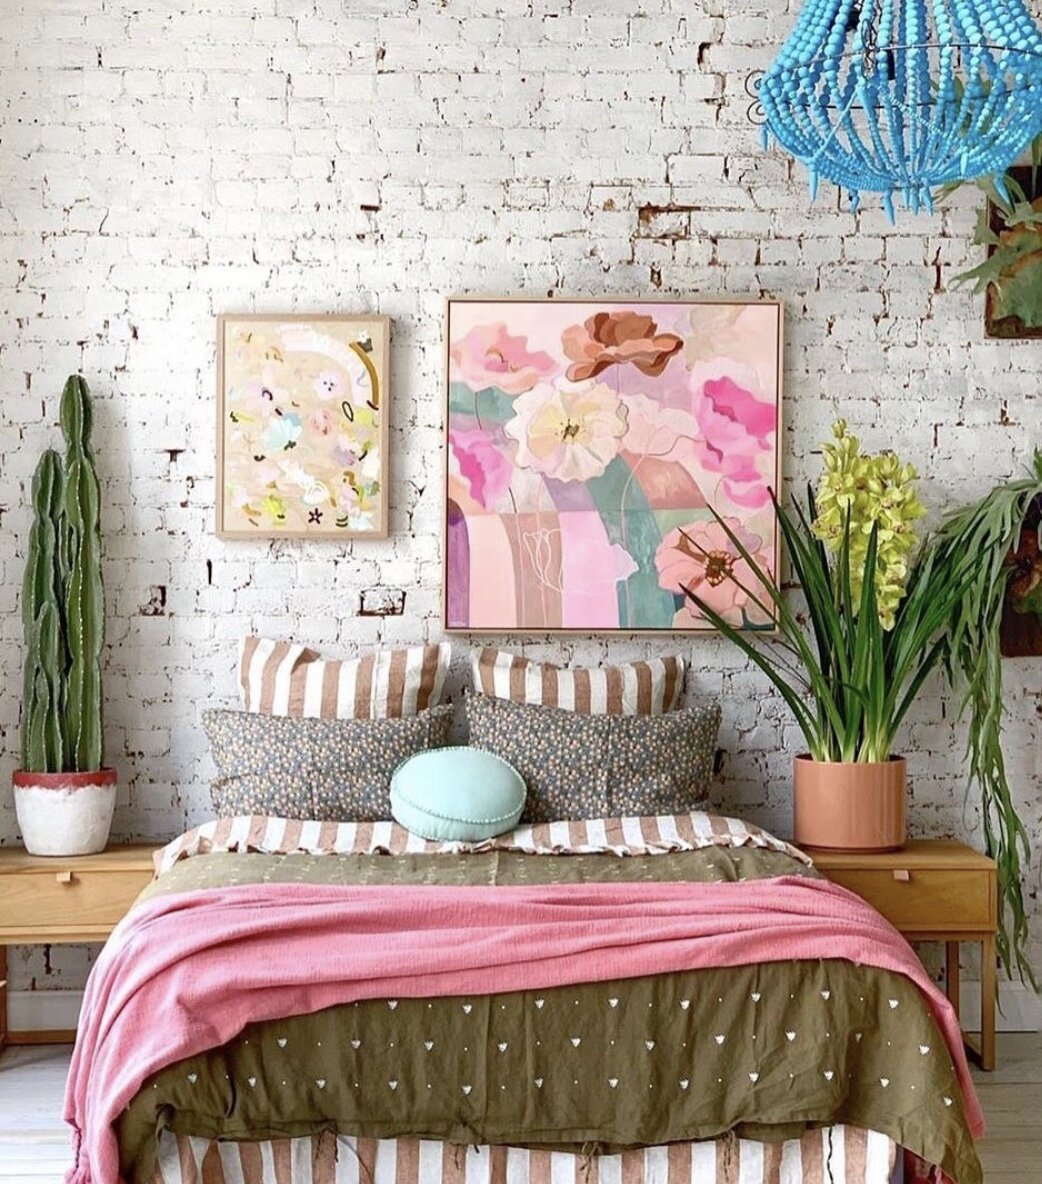
Are there any other artists that inspire you?
So Many. My Instagram is a daily dose of inspiration, So many artists doing great things. My favourites at the moment are Stanislas Piechaczek, Lola Donoghue, Elle Campbell, Georgie Wilson, Spencer Shakespeare, Brittany Ferns and Janey Forbes.
Tell us about the most memorable event you can think of in your career?
Probably when I got sent to Ibiza for a week for work to take photos of what people were wearing. That was a pretty amazing highlight. Take me back.
Any music, or books, that you’re loving right now?
Unfortunately I don't get time to read books these days. But music is my second love and my husband used to be a DJ so you'll often find me bopping away to some old trance tunes whilst painting.

Favourite weekend activity?
Bush walks and Beach hangs with family and friends. I've started doing a few creative workshops recently Pottery, Candle making, fibre art. I'd love to do more of those.
What kind of flower brings you the most joy?
Probably English ones because they remind me of my Grandma and living in England. Tulips, Freesia's, Sweet Peas.


How has COVID affected the art industry, I’d love to hear your thoughts on this?
I think people seem to be buying more art because they are home a lot more and probably staring at their blank walls. I know I've bought more art than ever during these COVID months ( But don't tell my husband) I also think that the consumer has become more savvy about buying Australian made art, which is a great thing.
Top tip for surviving lockdown?
Slow down, pause and try to enjoy this time we've been given. Easier said than done when you have 3 crazy boys running around the house and a list of stockists wanting more paintings.